
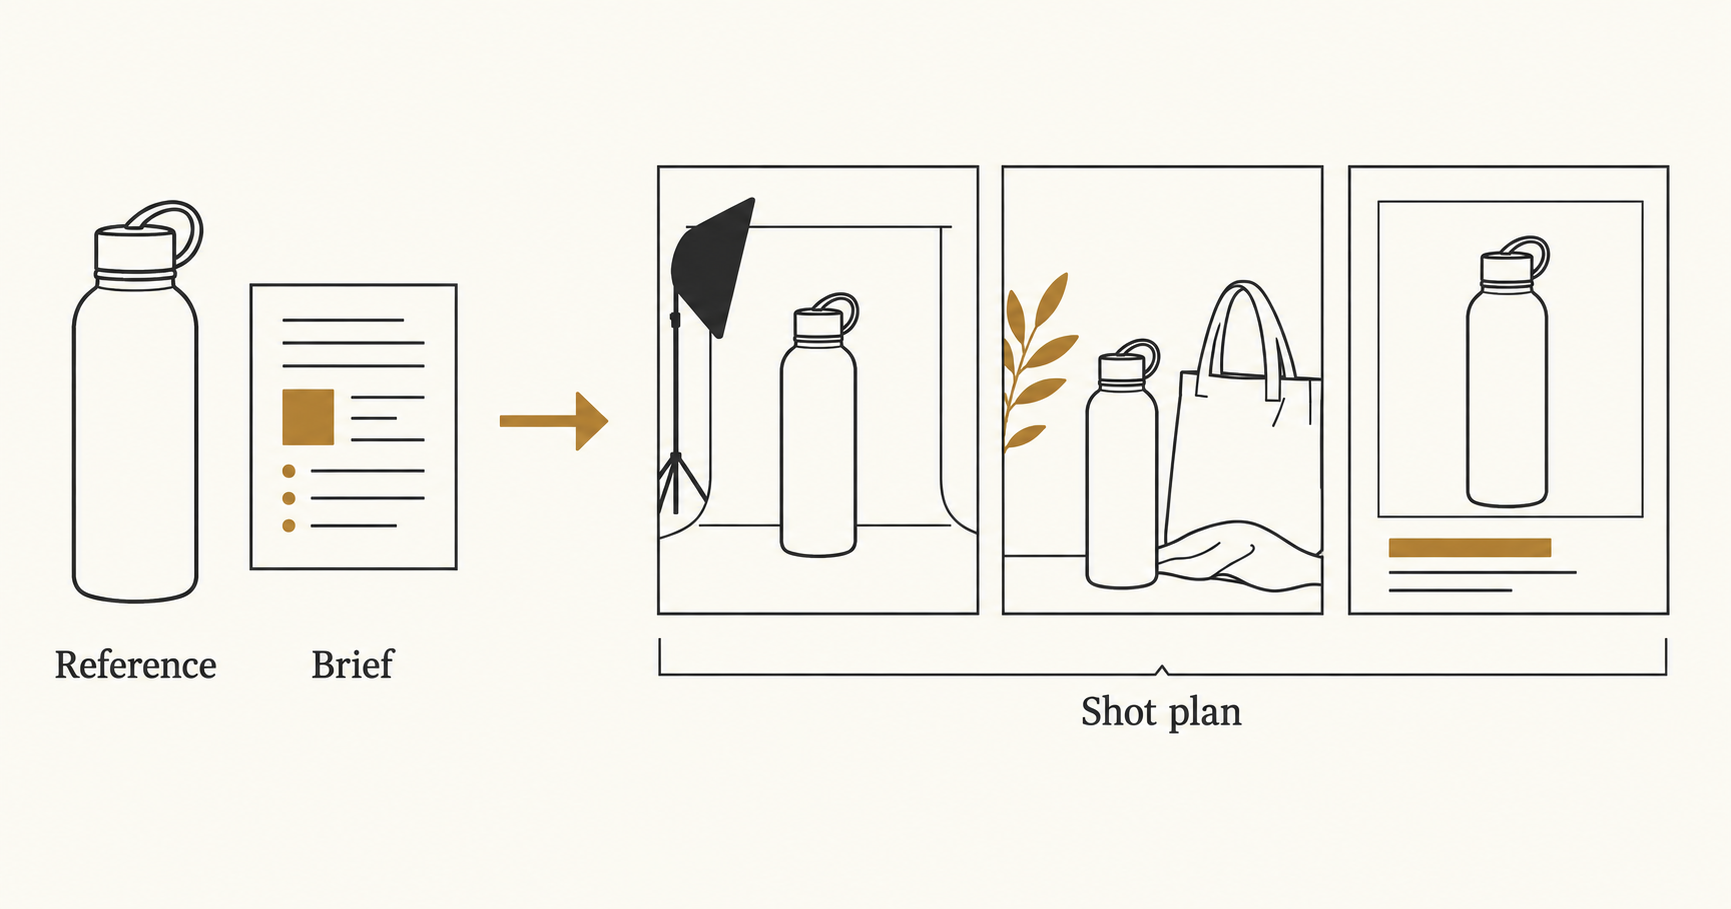
To make an AI product video, start with a brief that specifies the audience, one message, a product reference, the delivery format, and what an acceptable result must preserve. Then turn that brief into separate shot prompts. This gives you something concrete to evaluate when the first generation arrives.
The timing matters: on October 9, 2026, Synthesia announced Syren in beta, a tool that builds videos from prompts or existing materials and supports refinement through chat. That is a useful reason to revisit what we put into a video brief—not evidence that every generator can produce the same finished result. Read Synthesia’s announcement.
Below is a reusable brief and a three-shot example for a fictional reusable bottle. The prompts are instructional examples, not tested performance claims. All illustrations were created with Codex to explain the workflow; they are not outputs from a NanoAI video model.
On this page
- Choose the video job before the model
- Write a brief that defines a usable result
- Turn the brief into three separate shot prompts
- Review the footage before publishing
- Frequently asked questions
- Make your first shot
Choose the video job before the model
An explanation, a moving product shot, and an assembled advertisement are different deliverables. Decide which one you need before comparing model names.
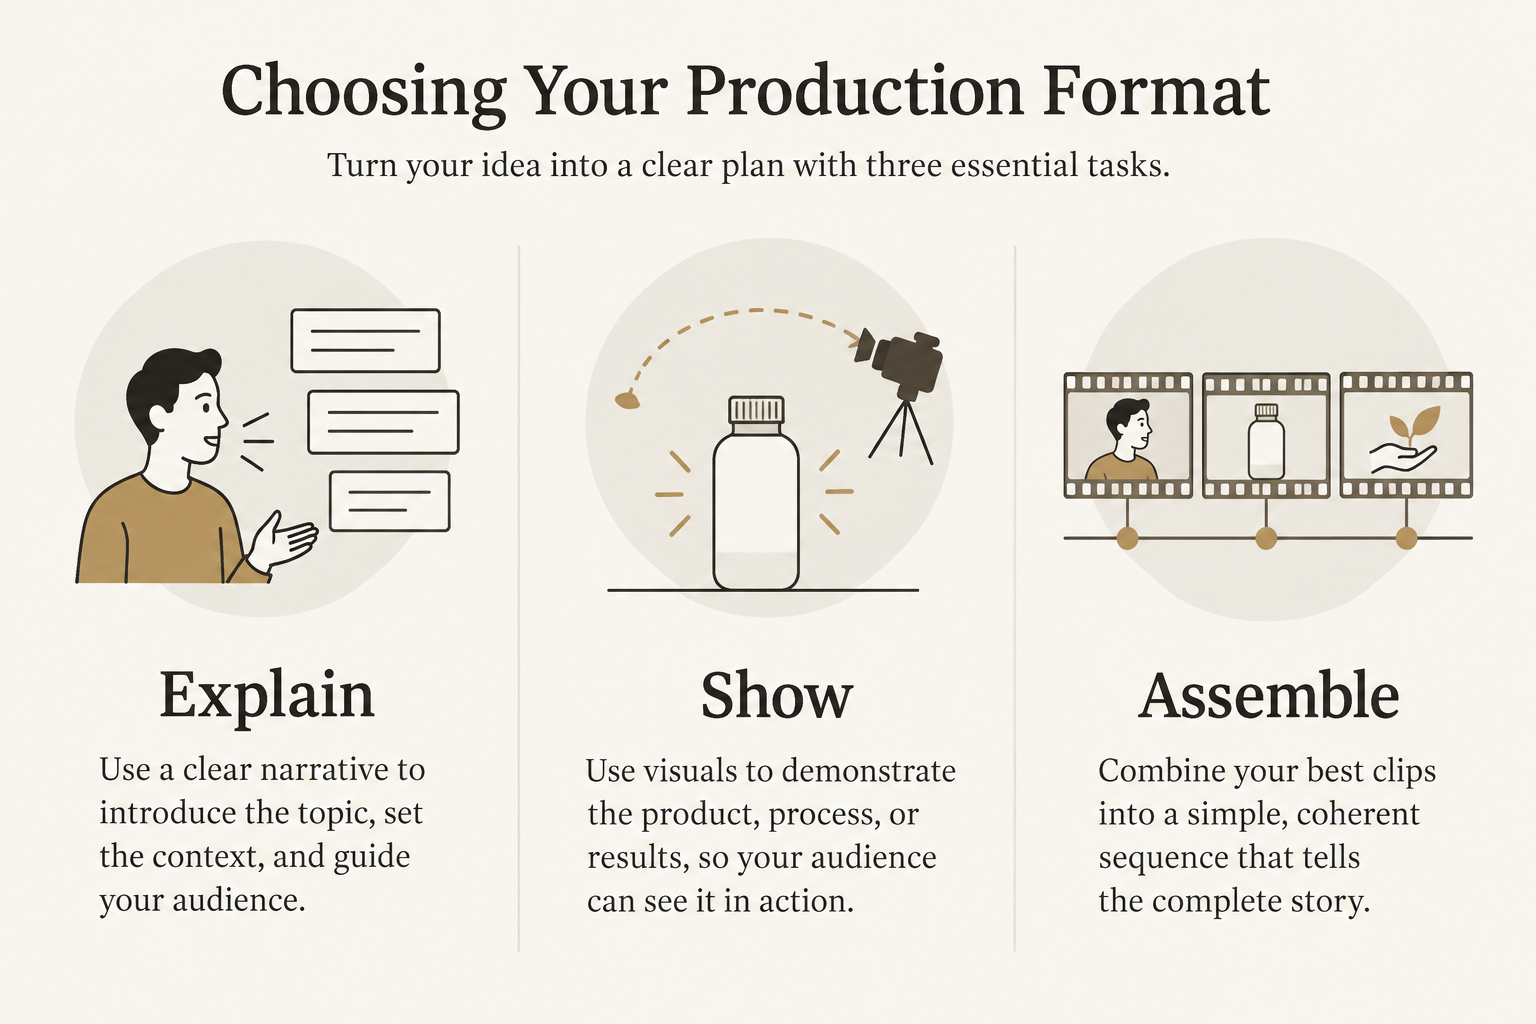
| Your immediate task | Prepare this first | What to evaluate |
|---|---|---|
| Explain a feature or idea | A short script, approved claims, and supporting visuals | Whether viewers can understand the message |
| Animate a product image | A clean reference frame and one motion instruction | Whether the object remains recognizable during movement |
| Deliver a finished campaign video | A shot list, selected footage, text, and audio plan | Whether the complete edit communicates the intended offer |
Check where a tool’s responsibility ends. For example, Krea’s September video-editor guide distinguishes generating footage from placing and cutting it on a timeline. That distinction is useful even when you use a different tool: obtaining a clip and finishing an advertisement are separate acceptance checks. See Krea’s editing guide.
For a physical product whose appearance matters, begin with an approved reference photo when the selected model supports image input. Reserve text-only generation for concepts where inventing the appearance is acceptable. A generic “premium bottle” request cannot specify your actual cap, proportions, or packaging.
The NanoAI video generator exposes text-to-video and image-to-video workflows. Check the selected model’s current settings and the cost displayed on the generation button. This article does not assume that every listed model supports identical inputs, durations, audio, or controls.
Write a brief that defines a usable result
A useful brief makes creative choices explicit without dictating every pixel. It should let another person tell you why a result passes or fails.
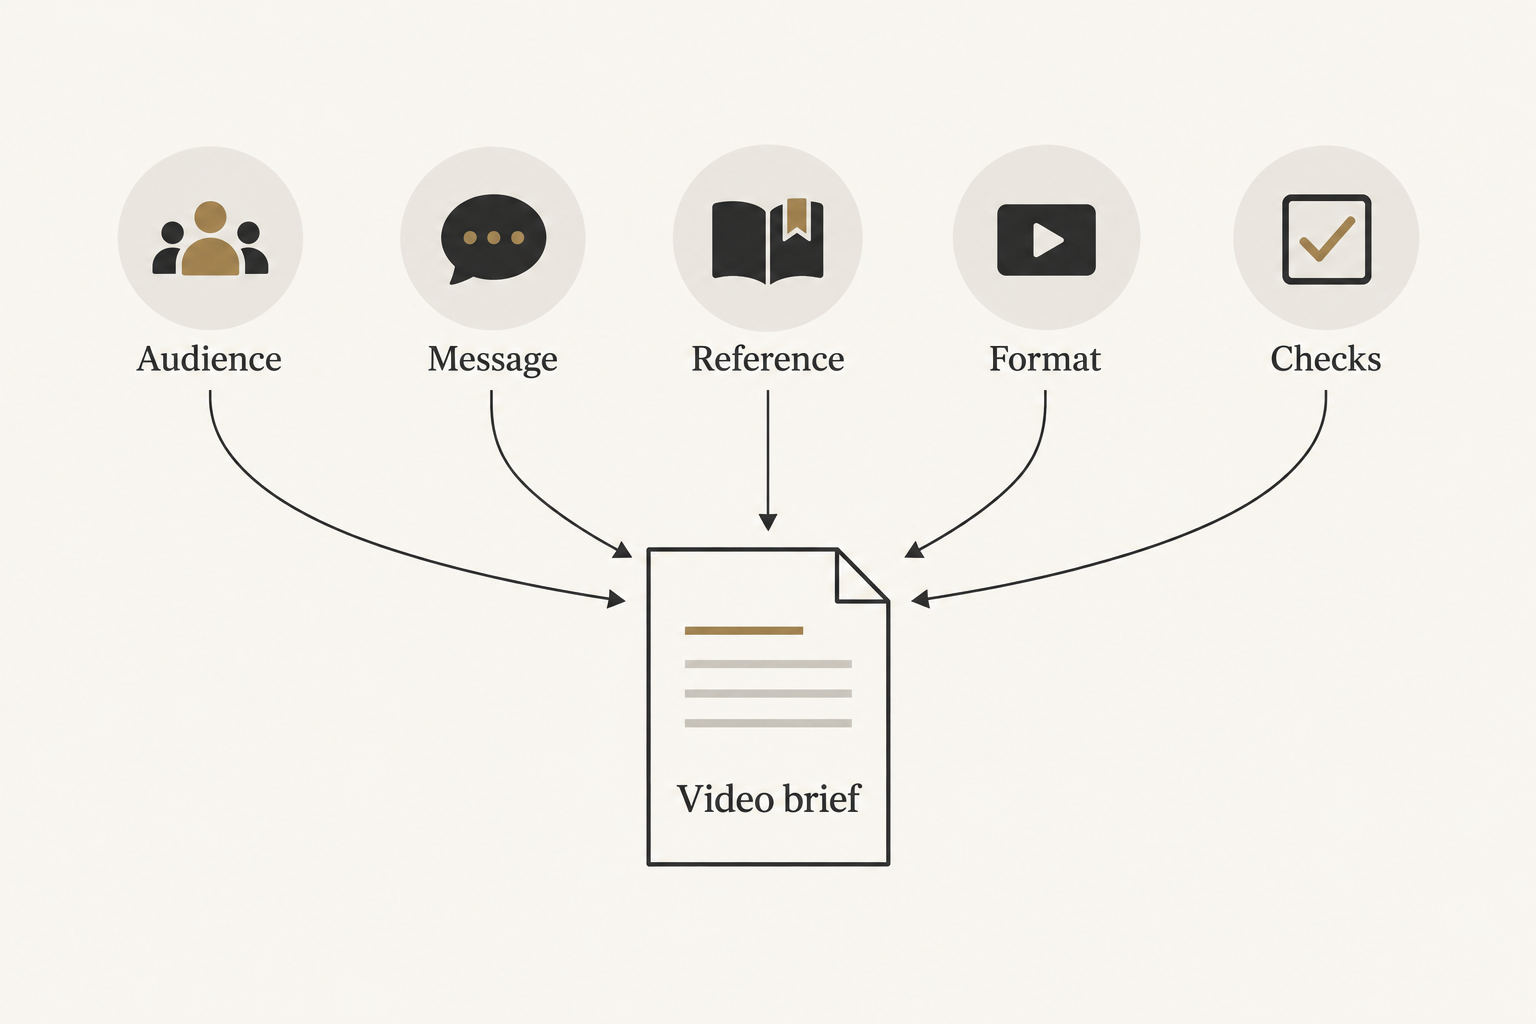
Copy this template into your production notes. Replace every bracket before generating:
Audience: [who should recognize this situation?]
Message: [one thing the viewer should remember]
Product reference: [approved photo or reference file]
Must preserve: [shape, color, cap, label, proportions]
Visual setting: [one location, surface, and lighting direction]
Deliverable: [aspect ratio and target edited duration]
Shot plan: [one purpose and one main action per shot]
Text and audio: [what will be added during editing]
Acceptance checks: [visible conditions for a usable result]
Next action: [what the viewer should do afterward]
Here is an illustrative brief for the bottle example:
Audience: people packing a bag for an ordinary workday.
Message: this bottle belongs in a simple daily carry setup.
Product reference: the approved front three-quarter bottle photo.
Must preserve: the reference bottle's silhouette, finish, and cap.
Setting: a light tabletop, neutral tote bag, soft window lighting.
Deliverable: a vertical edit assembled from three short shots.
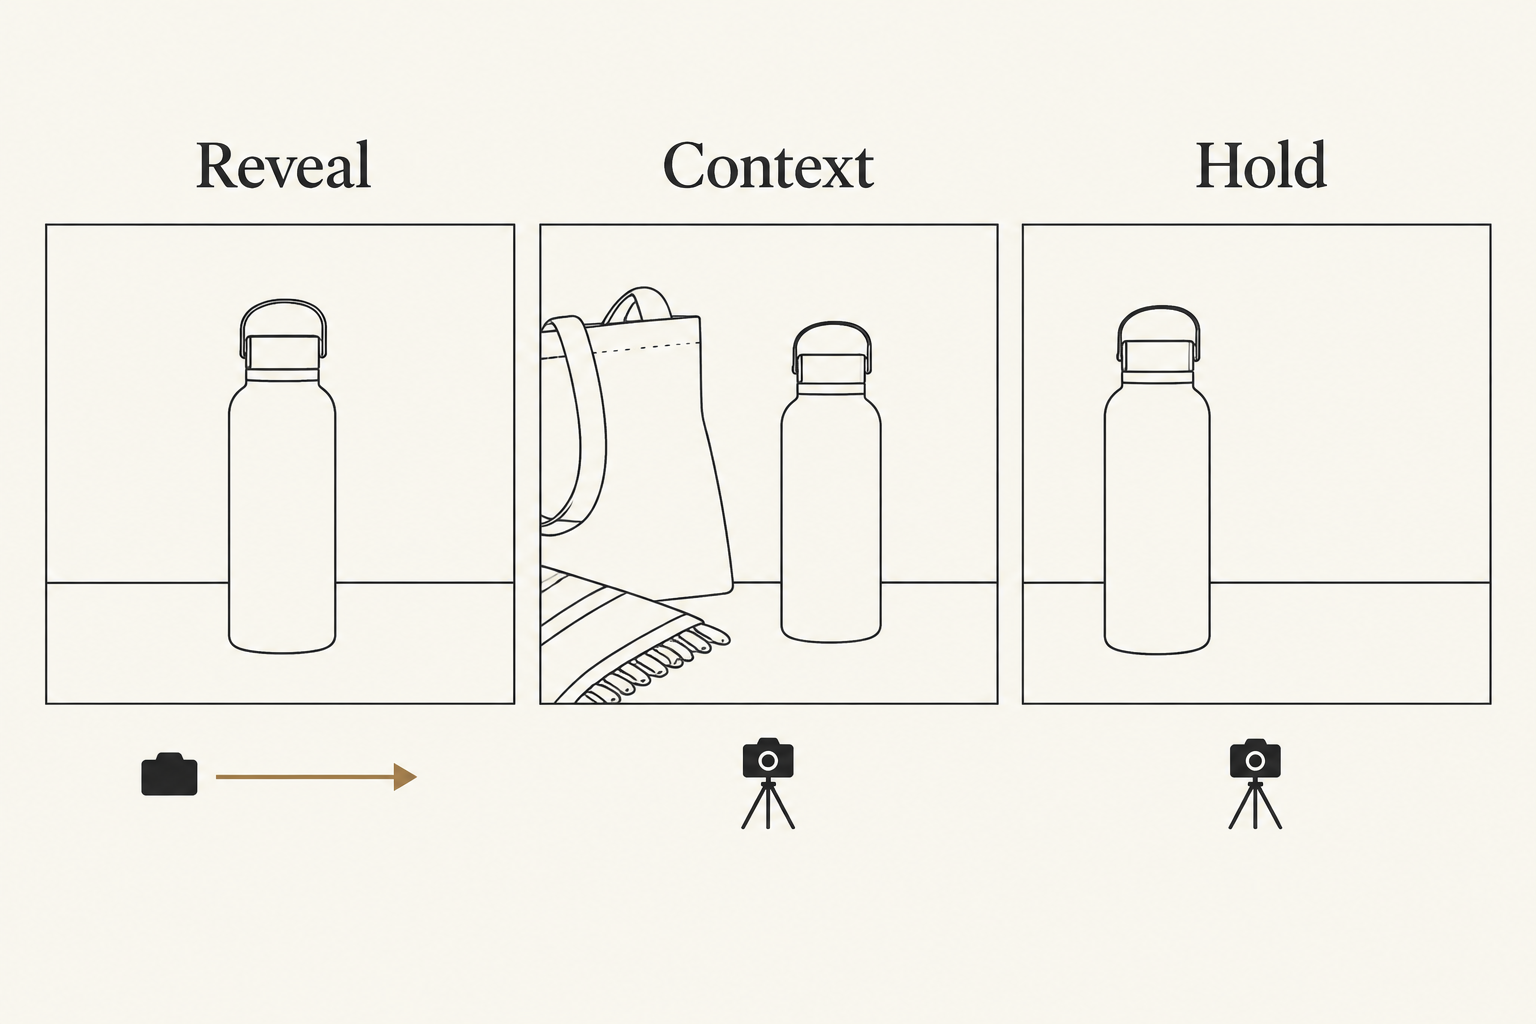
Shot plan: reveal the bottle; show it beside the bag; hold on it.
Text and audio: add the approved name and music in the editor.
Acceptance: stable product shape, clear framing, readable final text.
Next action: visit the product page.
Notice what the example does not claim: it does not invent a capacity, insulation time, leak test, or material certification. If your message depends on a measurable product benefit, supply substantiation before turning it into copy. A convincing visual cannot verify a product specification.
Also separate fixed requirements from creative preferences. “Preserve the cap shape” is a requirement. “A slightly warmer background would be nice” is a preference. If a clip looks beautiful but changes the product, reject it; if it preserves the product but needs a warmer grade, that may be an editing decision.
Keep the brief beside your generation history. Record the reference file, model, available settings, prompt, and reason for accepting or rejecting each attempt. This creates a useful comparison even when two tools expose different controls.
Turn the brief into three separate shot prompts
Treat each generation as one job. For the first pass, keep the setting and product reference consistent and give each shot a different purpose.
Runway’s image-to-video guidance explains that the input frame carries the scene’s appearance, while the text prompt mainly describes movement. It also recommends starting simply and refining. That is provider-specific guidance worth testing with your chosen model, rather than a universal guarantee. Read the image-to-video guide.
Shot 1: Reveal
Prepare a clean frame of the bottle on the intended tabletop. Try this motion instruction:
The camera moves slowly closer to the bottle on the tabletop.
The bottle remains upright and stationary. The soft lighting
stays consistent throughout one continuous shot.
Choose a short duration supported by the model. The desired outcome is one usable reveal, not an entire story with a location change and a final title packed into the same generation.
Shot 2: Context
Prepare a separate reference composition showing the same bottle beside the tote bag. Then try:
A locked camera observes the bottle beside the tote bag.
A soft curtain in the background moves gently. The foreground
objects remain stationary in a continuous shot.
This establishes a daily-use context without asking a generated hand to pick up the bottle or implying that the bottle fits inside an unseen bag compartment. If you need to demonstrate a real physical interaction, use footage that actually proves it or verify the generated sequence carefully against the real product.
Shot 3: Hold
Prepare the final composition with the bottle to one side and enough room for the approved message:
The camera stays fixed on the bottle. Very subtle background
movement continues while the bottle remains still. Keep a calm,
continuous composition suitable for a final product card.
Add the product name and call to action as editable text during finishing. This lets you proofread and reposition them without asking the video model to regenerate the whole scene. A completely static approved image can also work for this final hold if animation adds no value.
These are starting points, not recipes guaranteed to transfer unchanged across models. If the camera moves too much, simplify that instruction before changing the reference, model, and lighting simultaneously. If the bottle changes shape, review the reference and the requested motion first. Change one major variable at a time so the next result teaches you something.
Review the footage before publishing
Watch every selected clip at normal speed, then pause near its beginning, middle, and end. Check transitions too: individually acceptable shots can still look inconsistent when placed together.
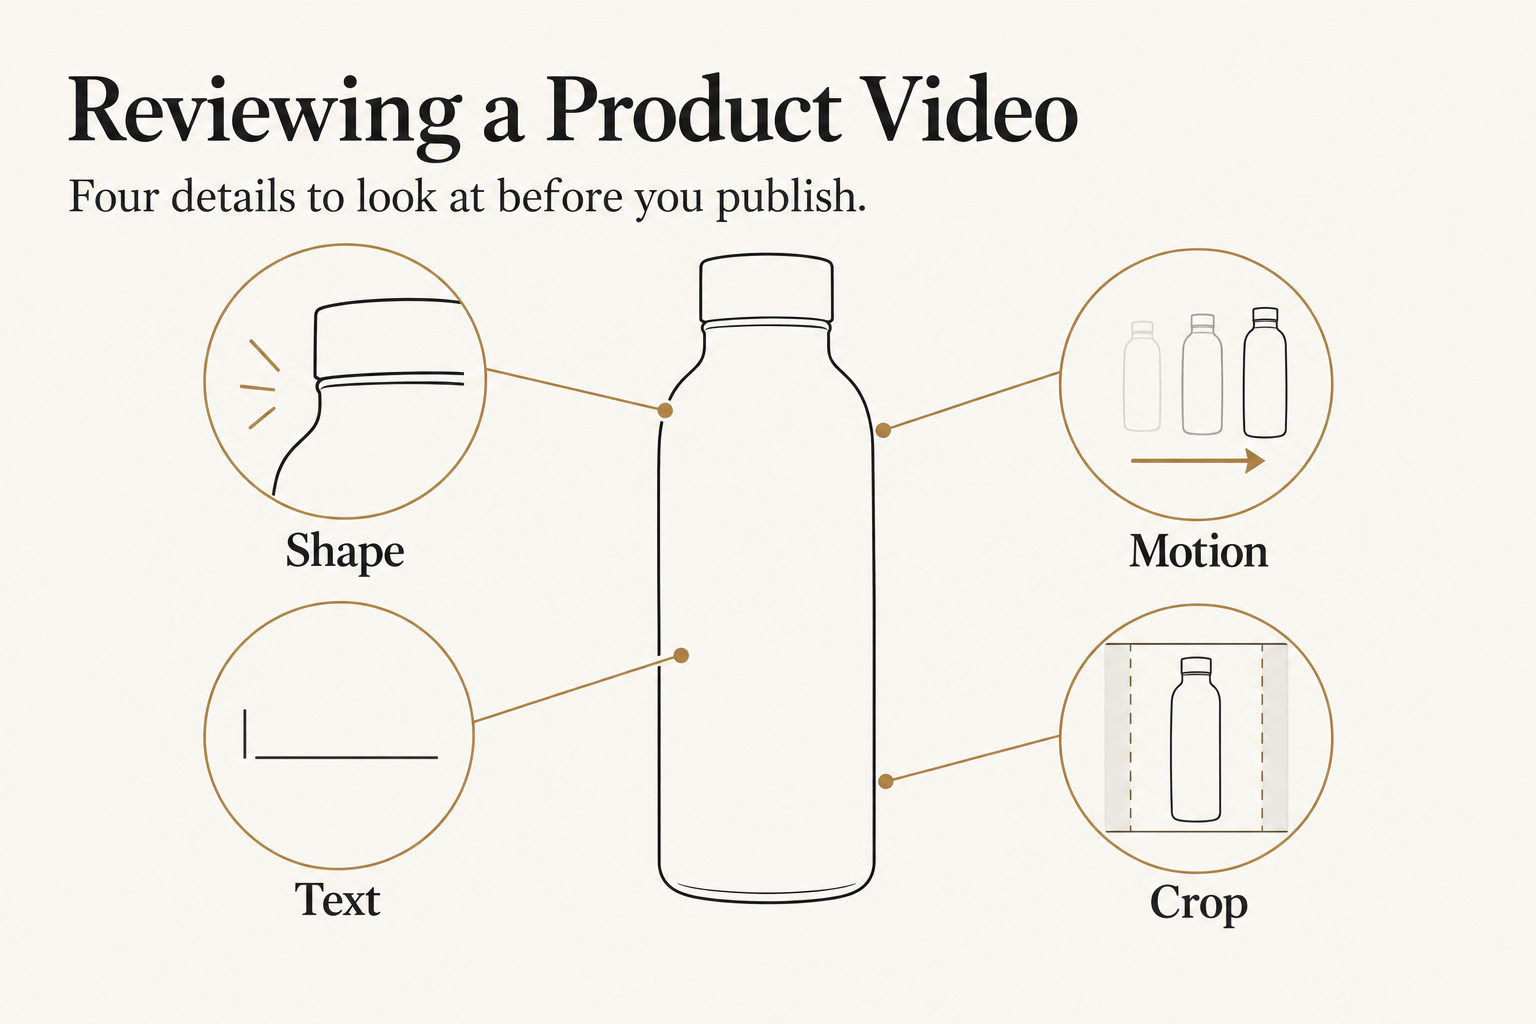
| Check | What should pass | What to do if it fails |
|---|---|---|
| Product identity | Cap, silhouette, finish, and label match the reference | Reject or regenerate the affected shot |
| Motion | Objects behave coherently throughout the clip | Simplify the action or use a different take |
| Continuity | Product appearance and lighting are compatible between shots | Replace a mismatched take or adjust the edit |
| Text | Names and approved claims are correct and readable | Correct editable text before export |
| Framing | Product and message remain visible in the delivery crop | Reframe or use a composition made for that ratio |
| Audio | Voice, music, and transitions fit the message | Adjust or replace the audio in the editor |
Do a second viewing on the device where the audience is likely to watch. A label that is readable on a large monitor may be too small on a phone. Keep essential content away from likely interface overlays and preview the actual destination when possible; do not assume one crop is right for every placement.
Finally, distinguish production quality from campaign performance. Passing these checks means the file is ready for its intended use. It does not establish that the video will increase conversions. Evaluate that separately with an appropriate campaign test and consistent measurement.
Frequently asked questions
Can one prompt create the whole product video?
Some tools are designed to assemble a complete video from a brief. Others produce individual clips. Confirm the workflow you are using, and supply reference assets and acceptance criteria either way. A single input does not remove the need to review the output.
Should I use text-to-video or image-to-video?
Use image-to-video when an approved visual reference is central to the task and the model supports it. Use text-to-video for exploratory scenes where the appearance can be invented. Neither approach guarantees exact product preservation.
How do I keep the product consistent across shots?
Use approved references of the same product, keep its identifying features in the brief, and compare every accepted shot against those references. Prompt wording alone is not a substitute for visual inspection.
What if my model cannot generate the requested duration?
Choose a supported duration and adjust the edit around usable footage. The final video length is an editing target; it does not have to equal the duration of a single generation.
Make your first shot
Fill in the brief, choose one approved reference, and generate only the reveal first. Once you know what a usable result looks like, continue to the context shot and final hold. Open NanoAI’s video generator to try the workflow, or use the image generator to explore a concept frame before moving to video.