
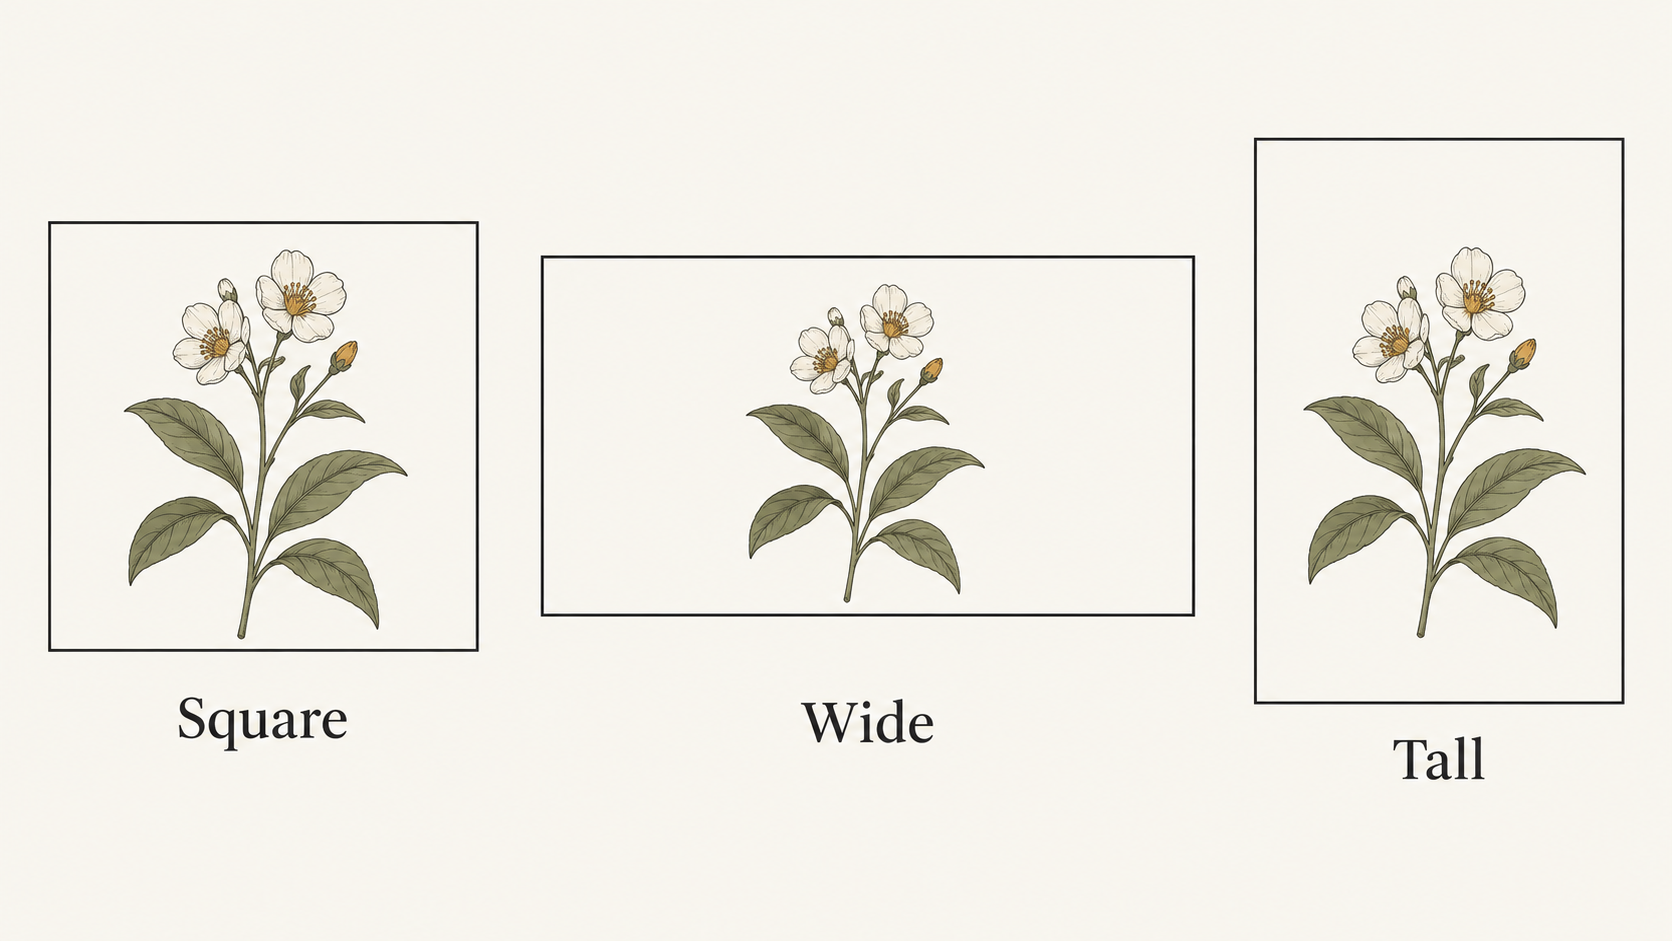
Choose an AI image’s aspect ratio for the space where it will appear. If you already have an image, resize it when only the pixel dimensions need changing, crop it when you can remove part of the composition, fit it inside a larger canvas when every part must remain visible, or expand it when you deliberately want new content beyond its edges. Stretching an image to a different shape changes the subject’s proportions.
Recent reference-editing examples make this distinction useful: fal’s October 12, 2026 Krea 3 guide includes extending an illustration into a wider composition. That example is about generating additional scene content, rather than simply increasing pixel dimensions. This guide explains how to choose the operation before spending time on another generation.
The illustrations below were created with Codex as conceptual diagrams. They are not outputs from a NanoAI model test. Pixel sizes in this article are arithmetic examples, not a list of current social-platform upload requirements.
In this guide
- Separate aspect ratio from pixel dimensions
- Choose between crop, resize, fit and expand
- Build and check a set of deliverable images
- Frequently asked questions
- Start with your next placement
Separate aspect ratio from pixel dimensions
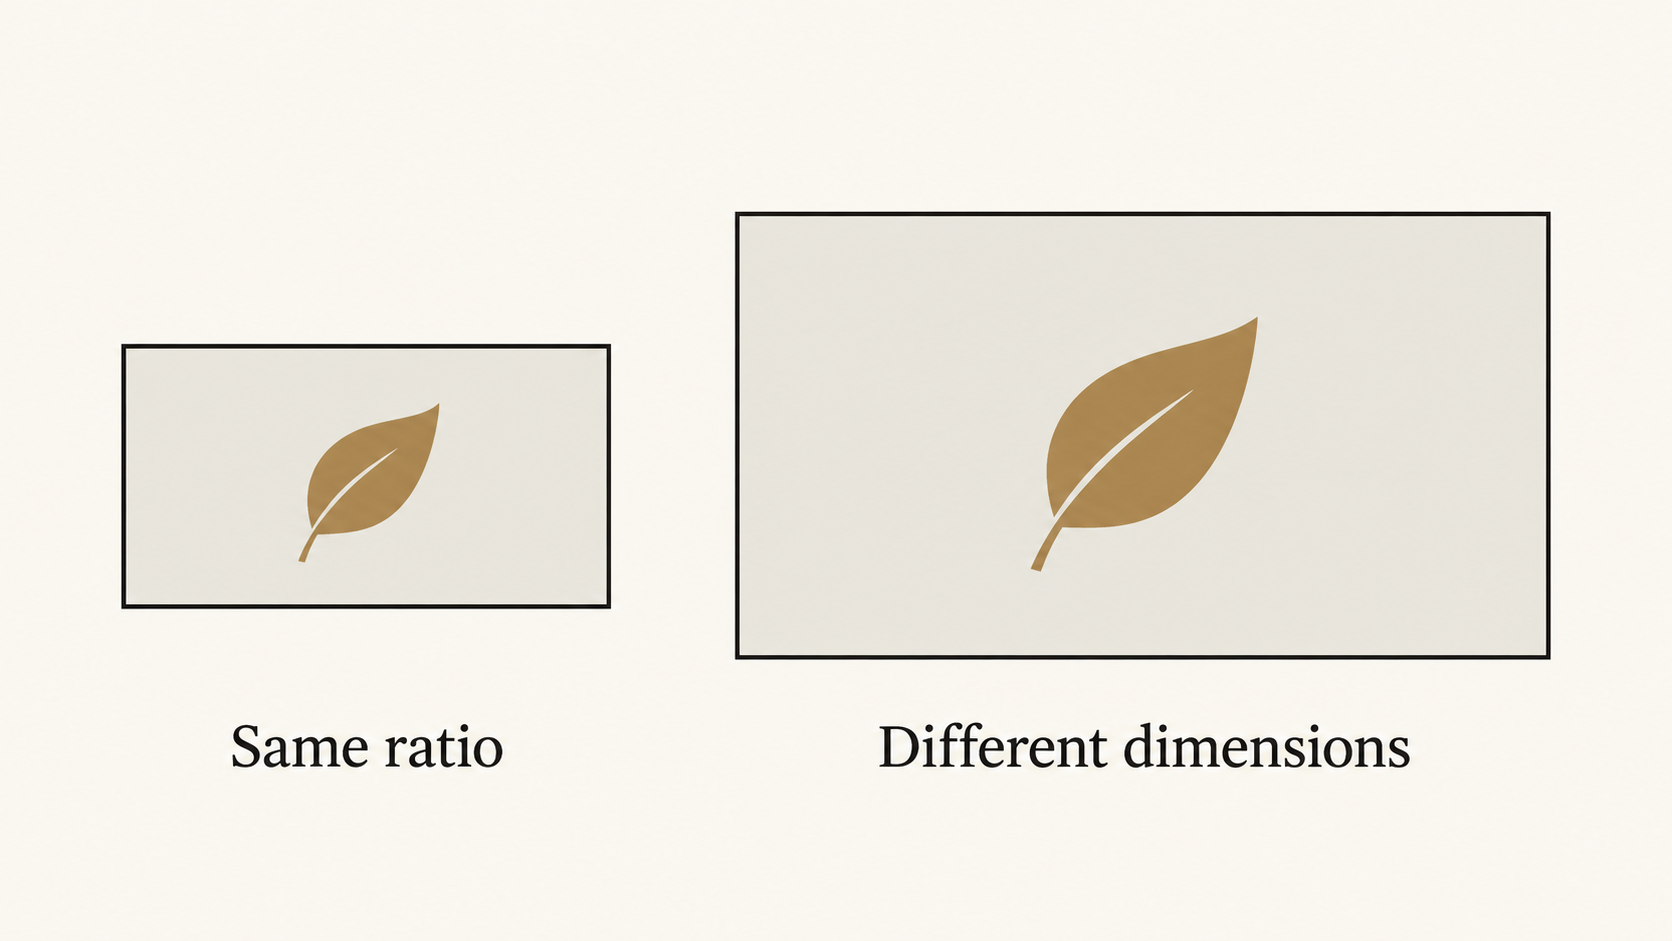
Aspect ratio describes width relative to height. Pixel dimensions describe how many pixels the file contains along each side. A 1600 × 900 image and an 800 × 450 image are both 16:9. The second contains fewer pixels, but its shape is the same.
This matters because “make it bigger” can mean three different requests: increase the file’s dimensions, make the subject occupy more of the frame, or add space around the subject. They require different operations. Write down which one you mean before editing.
| Example dimensions | Ratio | Shape |
|---|---|---|
| 1200 × 1200 | 1:1 | Square |
| 1600 × 900 | 16:9 | Wide |
| 900 × 1600 | 9:16 | Tall |
| 1200 × 900 | 4:3 | Landscape |
These examples show proportions only. The website, template or publishing destination determines the dimensions you actually need. Check its current requirements rather than assuming a familiar social-media preset fits every placement.
When starting a new image in NanoAI’s image workbench, review the aspect-ratio options available for the selected model. Pick the intended shape early, then describe the composition inside it. For example: “A single potted plant positioned on the right, with open wall space on the left for a headline added later.”
Leave important elements clear of the edges if the visual must work in several shapes. That gives you room to crop, but does not guarantee that one image will support every format. A tightly framed portrait and a wide website banner may deserve separate compositions.
Increasing dimensions is also different from recovering detail. An ordinary resize calculates a new grid of pixels; a larger file alone is not evidence of sharper original information. Judge the exported result at the size it will actually be seen.
Choose between crop, resize, fit and expand
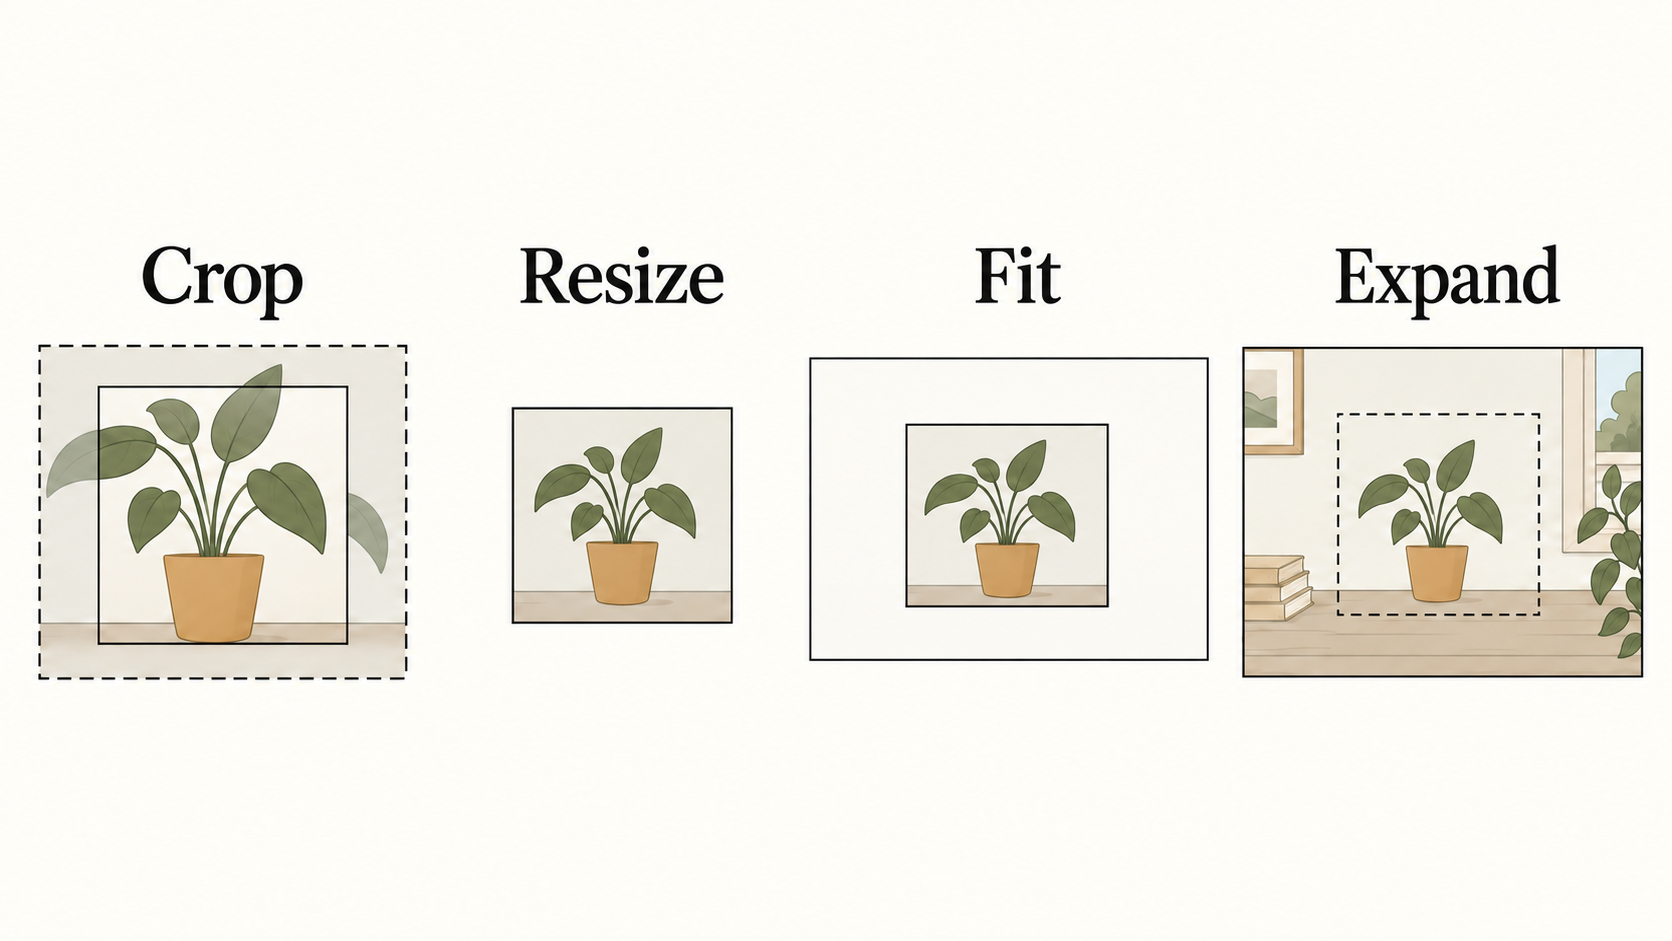
Start with the change you need, then select the method. The simplest method that preserves the useful content is usually the easiest to verify.
| Method | What changes | Use it when |
|---|---|---|
| Resize proportionally | Pixel dimensions; overall shape stays the same | You need a smaller or larger file at the same ratio |
| Crop | Visible area; some content is removed | The subject survives in a tighter frame |
| Fit or pad | Canvas around the image | The whole image must remain visible |
| Generative expand | New content outside the source frame | A wider or taller scene is useful and invention is acceptable |
Resize when the shape already fits
If your image is 1600 × 900 and the target is 800 × 450, resize both dimensions proportionally. You do not need to generate a new background or remove anything from the frame. Inspect small lettering and thin lines after reduction, since details can become difficult to read.
NanoAI’s image resizer provides a platform-and-size selector and shows dimensions and aspect ratio. Use the displayed values to check the intended output. If the selected preset changes the ratio, inspect how the tool frames the result instead of assuming it is a proportional resize.
Crop when the edges are expendable
To turn a 1600 × 900 source into a square without distortion, a square crop can retain a 900 × 900 region. You lose some horizontal content. A centered subject may survive that crop; a plant placed at the far right beside important text may not.
Move the crop around before committing. Watch for clipped leaves, hands, product edges and text. If there is no crop that preserves what matters, choose a different method instead of squeezing the image to fit.
Fit when invention is unnecessary
Place the complete image inside the target canvas and fill the unused space with a chosen background or transparency where your output format supports it. This can be a good design choice for diagrams, illustrations and promotional layouts with intentional margins.
Fitting does not make every composition attractive automatically. The image may become too small within the new frame. Check whether the remaining space serves a purpose, such as room for a title, rather than looking like accidental padding.
Expand when you need more scene
Generative expansion creates content beyond the original boundary. Adobe’s Firefly documentation describes using Generative Expand to extend images and choose a new aspect ratio. This is a specific generative workflow, not a synonym for any resize button.
For an illustration, an expansion request might be: “Continue the wall and tabletop to the left; keep the existing plant and match the original drawing style.” Treat that as an example of intent, not a guarantee of preservation. Inspect repeated textures, perspective and any unexpected new objects.
NanoAI’s general Image Edit mode should not be assumed to offer a dedicated expansion canvas or a locked central region. Use a tool with the necessary controls when you need that behavior. For new image creation, selecting the target ratio before generating may be more direct.
Build and check a set of deliverable images
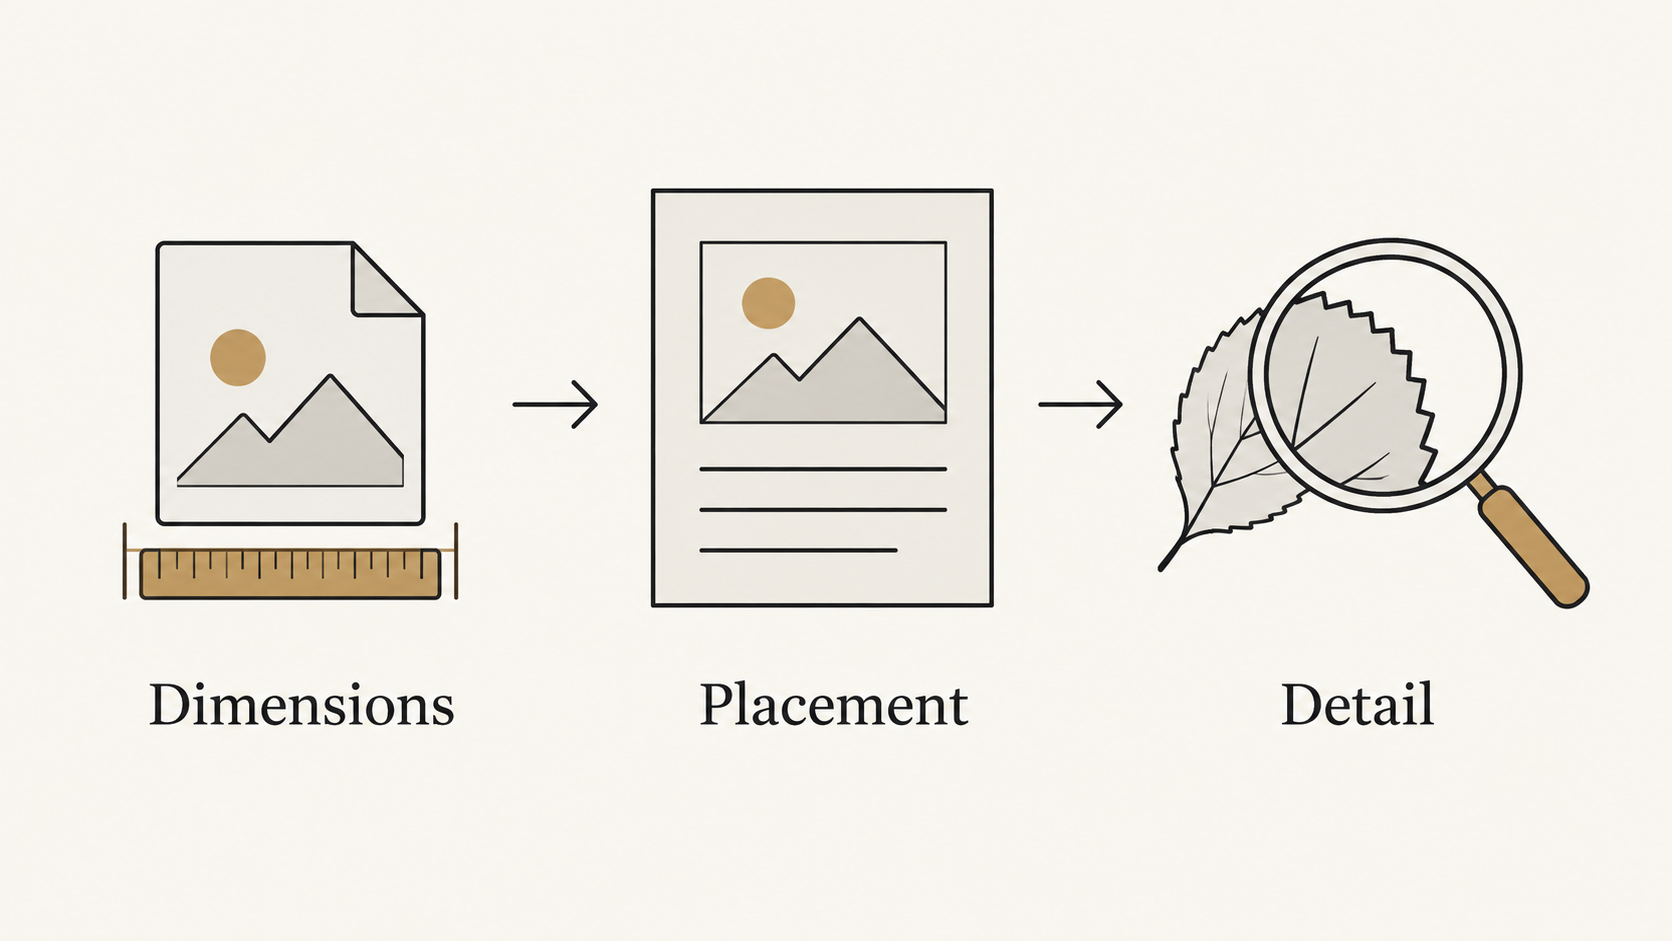
Imagine a fictional plant shop needs a square card and a wide website banner. The square card emphasizes the plant; the banner needs open space for a headline. Start by writing those two jobs down instead of exporting the same composition twice at different shapes.
For a new generation, describe each layout explicitly. The square brief could ask for a centered plant with breathing room around the leaves. The wide brief could place the plant on one side and keep the other side uncluttered. Add final text in an editor when you need precise, editable typography.
For an existing image, follow this sequence:
- Keep the master. Save resized, cropped and expanded versions separately.
- Record the target. Note width, height, intended placement and required content.
- Choose the operation. Use the table above; do not silently substitute stretching.
- Export a candidate. Give it a filename that identifies its role, such as
plant-banner-wide. - Open the exported file. Verify dimensions and inspect the actual image, not only the editor preview.
- Check it in context. A page or template may apply its own crop or scale after upload.
If a banner looks wrong after upload, first distinguish a file problem from a display problem. The exported image might be correct while the website crops it to fill a container. Preview the intended placement and keep essential content within the visible area. Regenerating the asset will not necessarily fix a layout that applies another crop.
Review a small version for composition and a larger view for artifacts. Look at the headline space, subject boundaries, repeated patterns and any generated additions. When several exports belong to one campaign, compare them together so that a different crop does not accidentally hide the main product in one version.
Frequently asked questions
Does changing the aspect ratio reduce image quality?
It depends on the operation. Cropping removes content. Proportional resizing changes dimensions. Stretching changes proportions. Expansion generates additional content. Assess the specific result rather than treating all four operations as equivalent.
Can I change a square image to 16:9 without cropping?
Yes: you can place it inside a wider canvas with margins or use an appropriate expansion tool to generate surrounding content. Those produce different looks. Ordinary stretching fills the frame by distorting the image.
Is 16:9 always 1920 × 1080?
No. It describes a proportion. Both 1920 × 1080 and 1600 × 900 are 16:9, as are many other dimension pairs. Choose the actual dimensions for the destination and the available source quality.
Should I regenerate an image for every placement?
Not necessarily. Reuse a source when a proportional resize or sensible crop works. Create a separate composition when the new placement changes the visual task, such as adding substantial headline space around a tightly framed subject.
Start with your next placement
For a new visual, choose its shape in NanoAI’s image workbench before writing the composition prompt. For an existing asset, review the dimensions in the image resizer, then inspect the exported file in its final placement.