
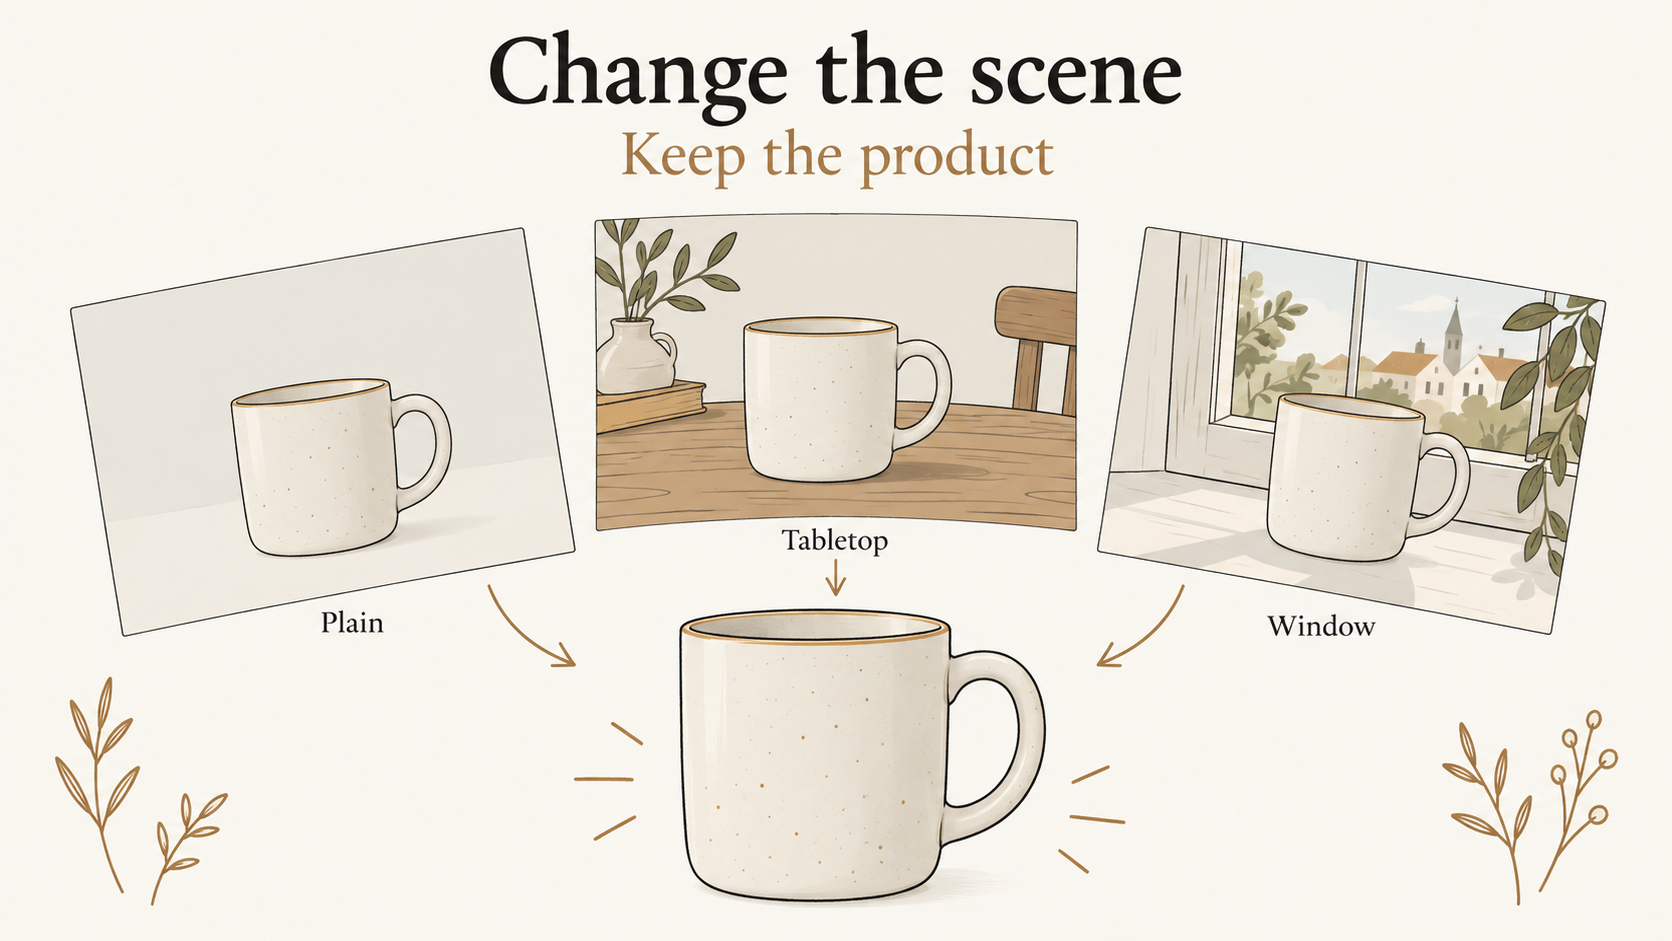
To replace a product photo’s background with AI, start with a clear reference, specify the background change separately from the product details that must remain, and compare the result against the original before using it. If the product must remain pixel-identical, preserve it on a separate layer and generate only the surrounding scene. A prompt alone cannot guarantee that a generative editor will leave every detail untouched.
Reference-based editing is a timely topic: fal published its Krea 3 prompting guide on October 12, 2026, with examples of product restaging and explicit preservation instructions. That is a useful prompt-design reference, not evidence that every editor preserves products perfectly. This tutorial focuses on a narrower task: changing the setting of a product photo while checking its identity.
You can explore this workflow in NanoAI’s image workbench, which offers an Image Edit mode. The examples below are original prompt templates, not benchmark results. All illustrations were created with Codex to explain the workflow; they are not NanoAI or Krea model outputs.
In this guide
- Choose the right editing workflow
- Prepare a reference worth preserving
- Write a background replacement prompt
- Inspect the product before exporting
- Frequently asked questions
- Try one controlled background edit
Choose the right editing workflow
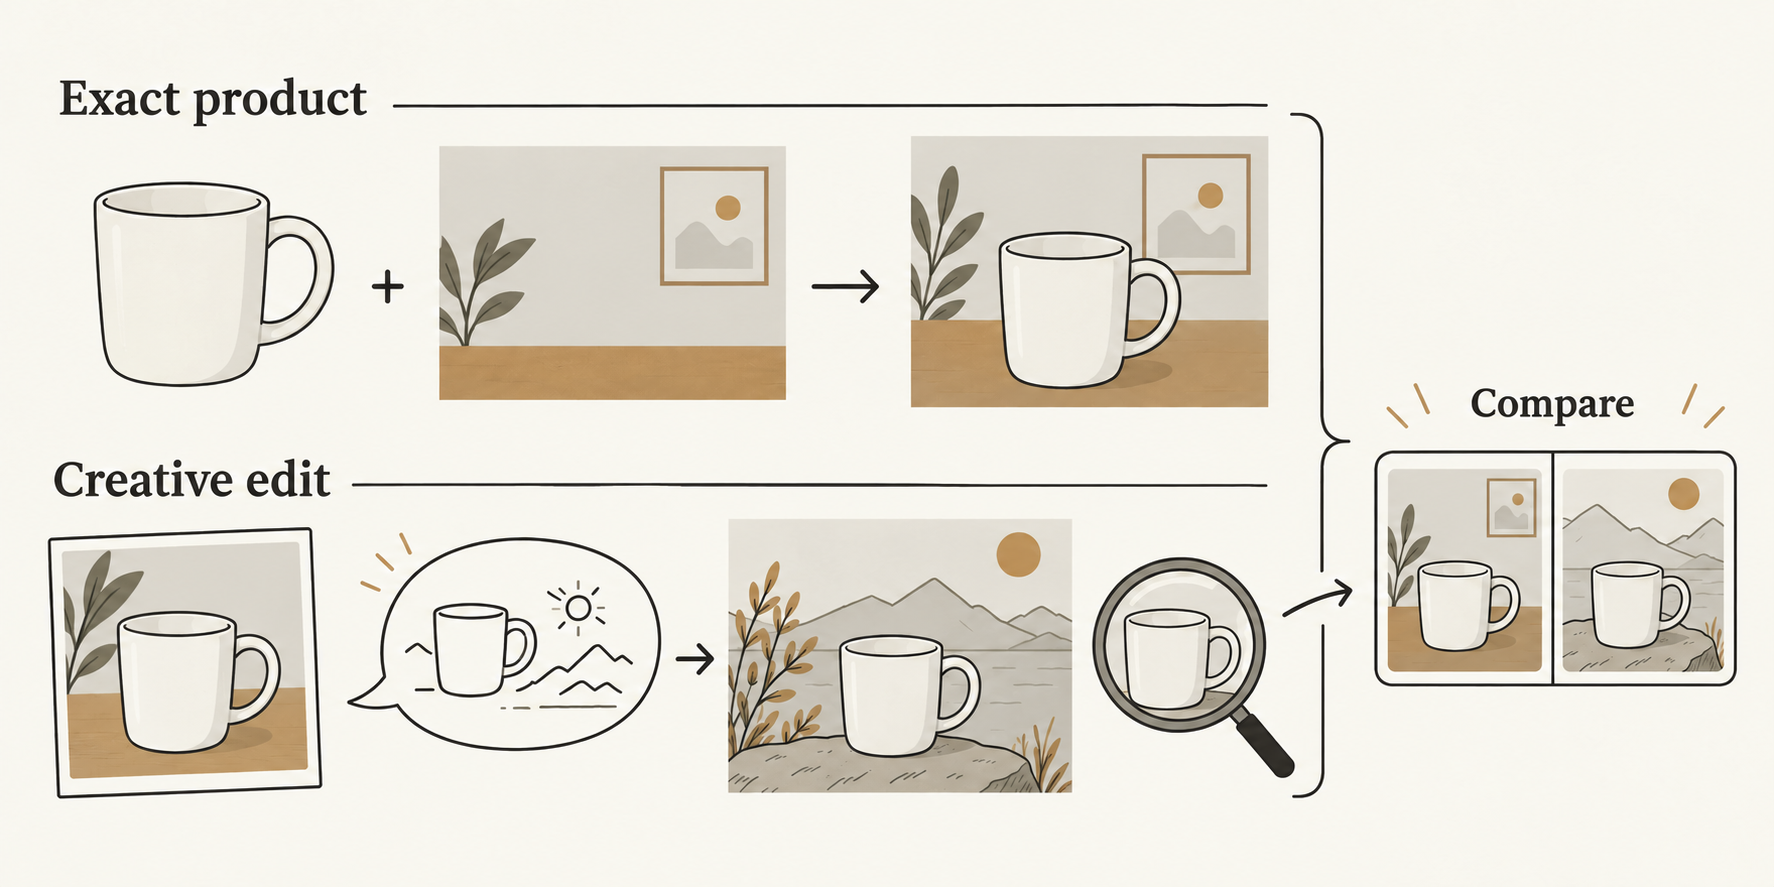
Decide what “unchanged” means for your image. A concept for a campaign mood board has different requirements from a close-up that customers use to inspect a product’s label or construction.
| Your requirement | Suitable approach | What to check |
|---|---|---|
| Explore a new setting quickly | Reference-based generative editing | Product shape, color, text and added objects |
| Keep original product pixels | Separate product layer over a new background | Cutout edges, scale, perspective and contact shadow |
| Change a small part of the setting | A selection or mask in an editor that supports it | Boundary of the edited area and unintended changes |
| Create a wider layout | Crop or expand the surroundings, where supported | Product size and any newly invented scene details |
These are workflow choices, not a feature comparison of specific NanoAI models. Controls vary by tool and model. Do not assume that selecting Image Edit also gives you a mask, a layer stack, or a pixel-preservation switch.
Dedicated background workflows are documented elsewhere: Photoroom’s AI Backgrounds documentation describes generating backgrounds from text or image guidance. Krea’s image editor page describes background changes alongside other image-editing tasks. Neither description means that an arbitrary prompt in another tool inherits the same controls.
For a product whose printed information must stay exact, an efficient choice is to retain the original photographed product in a layer-based editor. Use a generated setting behind it. You still need to make the composite look believable, but you can separate product integrity from scene invention.
Prepare a reference worth preserving
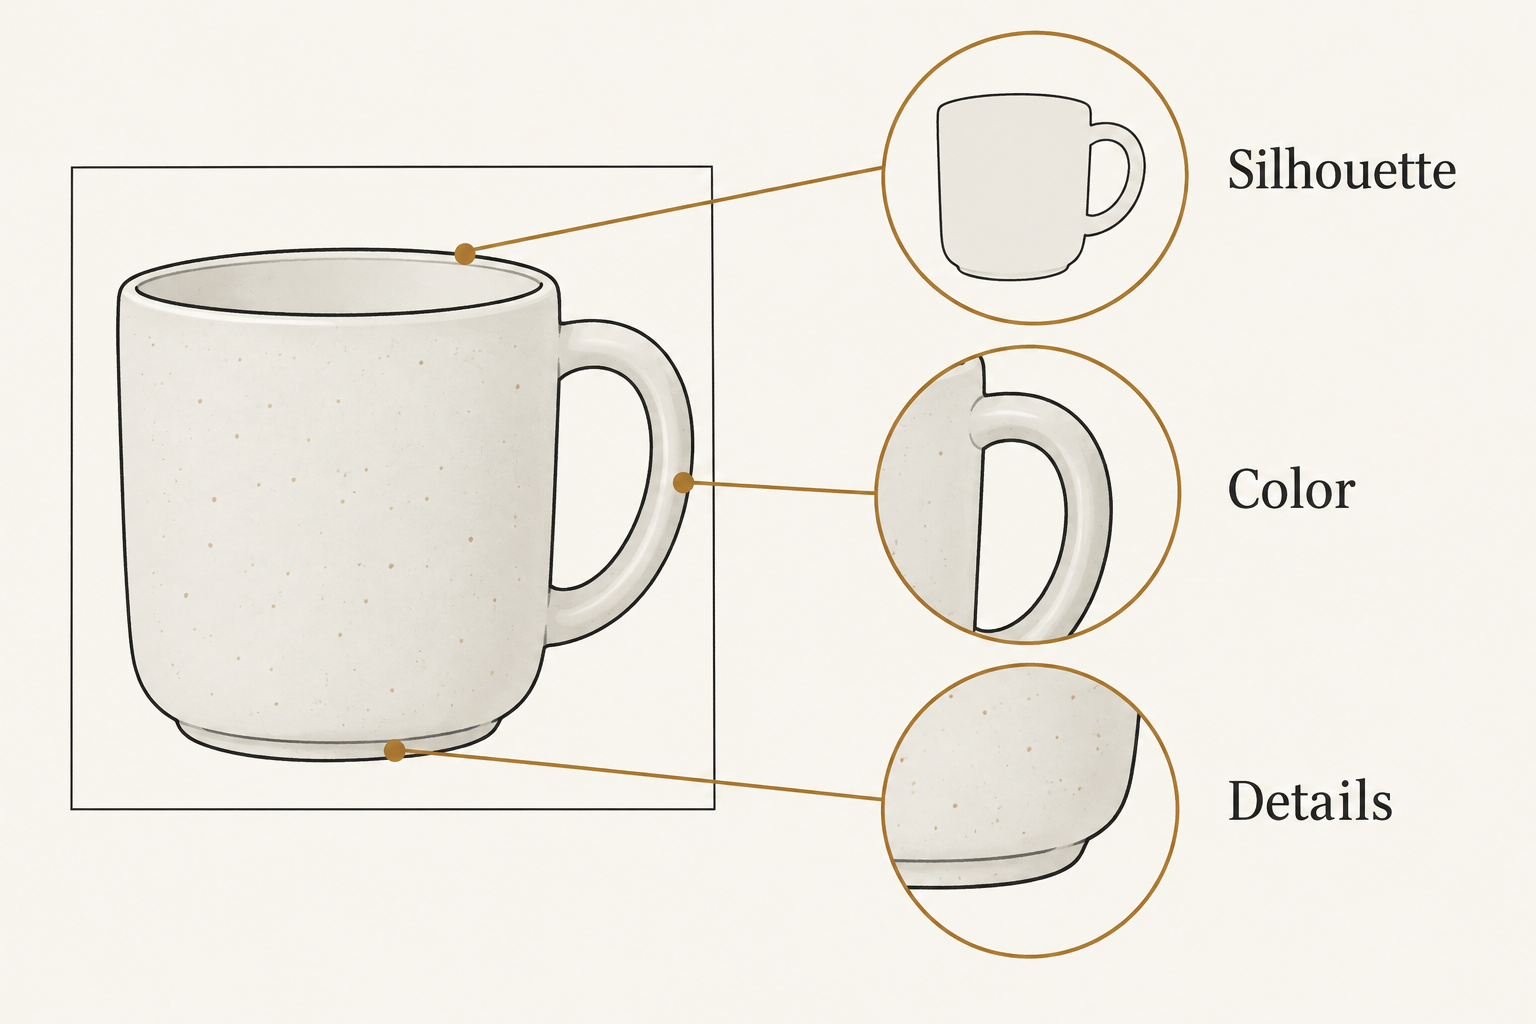
Choose an original photo in which the important details are visible. If the handle is hidden, the label is blurred, or the base is outside the frame, an editor has less reliable information to preserve. A clean source also gives you a fair comparison after the edit.
Before uploading, write a short inventory. For a ceramic mug, it might be: one rounded handle on the right, a flat circular base, a narrow dark rim, and a matte cream glaze. For a packaged item, include the package proportions, cap shape, printed wording and any visible seams. Use details that actually appear in the photograph.
Then decide on three scene constraints:
- Surface: Where does the object rest—on paper, wood, stone or another material?
- Light: Which direction already lights the product, and how soft is that light?
- Layout: Where should empty space remain for a headline or another design element?
Match the scene to the source when preservation matters more than a dramatic transformation. A softly lit product is easier to place convincingly into a softly lit environment than into a scene with hard, opposite-direction light. This is a compositing recommendation, not a measured performance claim about a model.
Keep an untouched copy of the source. Give each proposed background its own output file so that a rejected edit does not become the only remaining version. If you use multiple references in a tool that supports them, state each image’s role explicitly; avoid mixing a product reference with a style reference without saying which details come from which.
Write a background replacement prompt
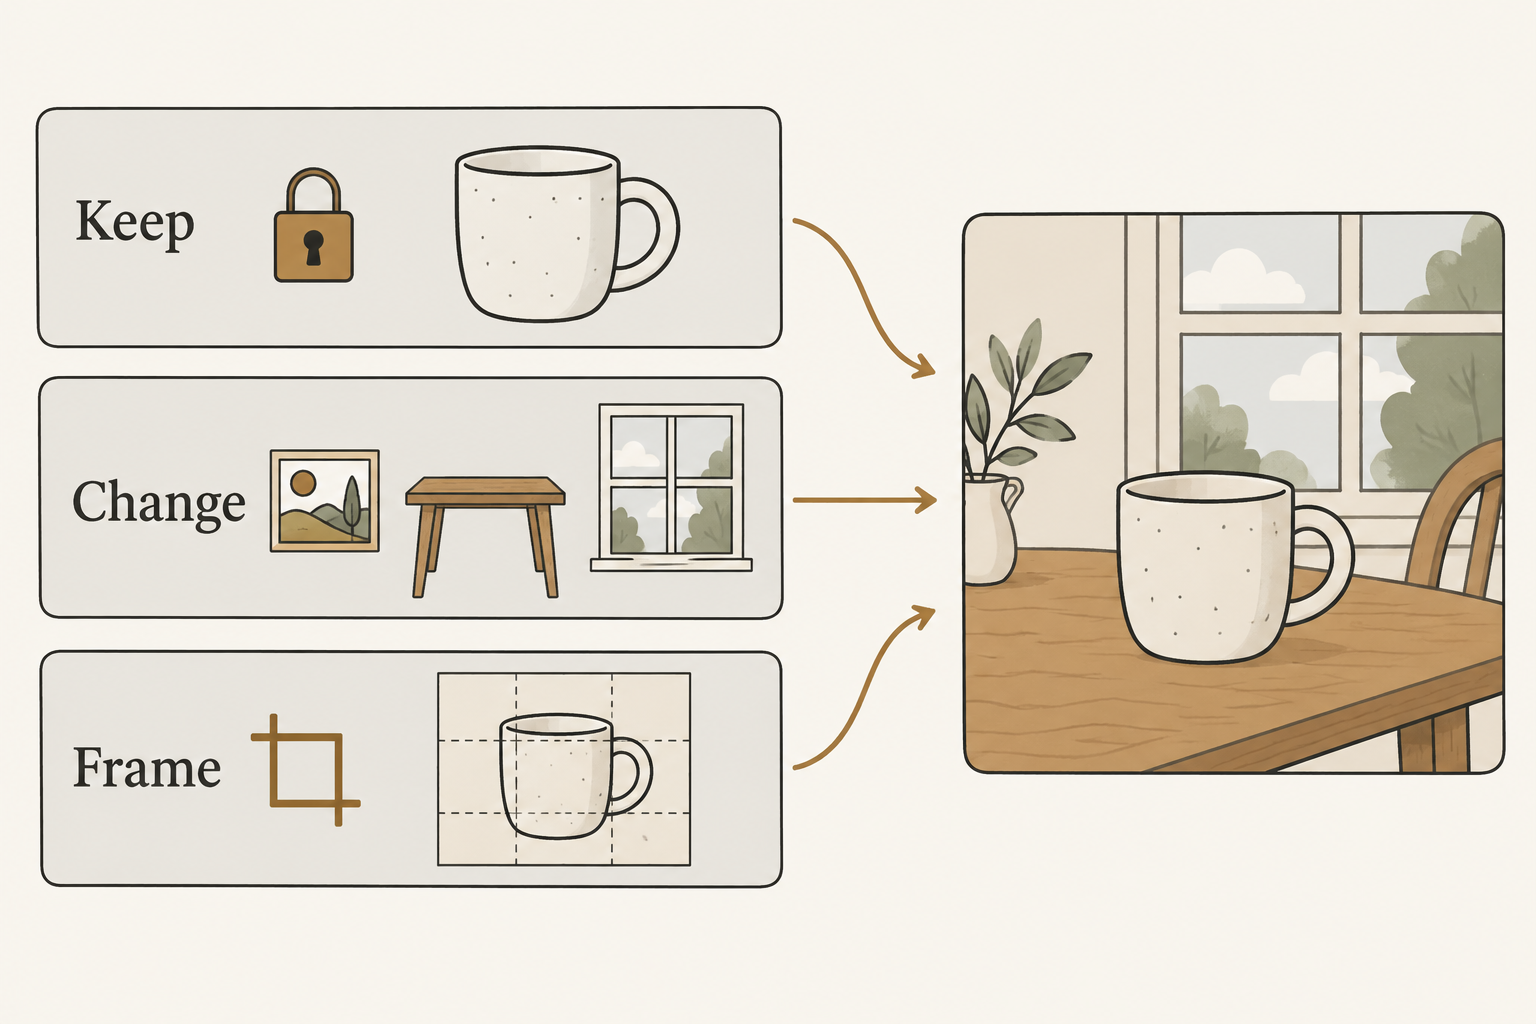
Separate the instruction into what stays, what changes, and how the final frame should look. Start with a single scene change. Adding new props, relighting the object, rotating it and changing the camera all at once makes an unwanted change harder to diagnose.
A tabletop scene
Upload your own mug photo and adapt this example to its actual features:
Edit the uploaded product photo.

KEEP: Preserve the mug's visible silhouette, handle shape,
rim, base, matte cream color and existing markings.
Keep its orientation and proportions as photographed.

CHANGE: Replace the surrounding background with a pale
wood tabletop and an uncluttered warm ivory wall.
Use soft light from the same direction as the source.
The mug rests naturally on the table. Add no other objects.

FRAME: Leave open space above the mug for later layout work.
Do not add lettering, logos or decorative graphics.
The preservation language expresses your intent. It is not a technical lock. Compare the result even when it looks plausible at first glance.
A seasonal variation
To create a second option, return to the original reference and change only the setting paragraph:
Replace the surroundings with a muted autumn-colored paper
backdrop and a plain cream display surface. Keep the setting
minimal, with no leaves, food, packaging or added accessories.
Match the source light direction and retain open space above.
This gives you a seasonal palette without asking the model to invent items that might be mistaken for included accessories. It also avoids building the next version on top of an unnoticed mistake in an earlier generation.
A layout variation
For a banner, ask for space on one side rather than asking the model to redraw the product from a new angle:
Keep the photographed product and its current viewing angle.
Arrange the composition with clear background space to its left
for a headline to be added later. Use a simple ivory background.
Do not generate the headline inside the image.
Select an appropriate available aspect ratio in the interface. If your chosen tool cannot expand the image while maintaining the product as required, switch to a separate background and product-layer composition. Avoid repeated generations whose only purpose is to recover an already accurate label.
In NanoAI, open the image workbench, choose Image Edit, and use the upload and model controls shown for that mode. Check the displayed credit cost and available output settings before generating. These templates describe the desired edit; they do not require a particular model or claim that every model follows them equally well.
Inspect the product before exporting
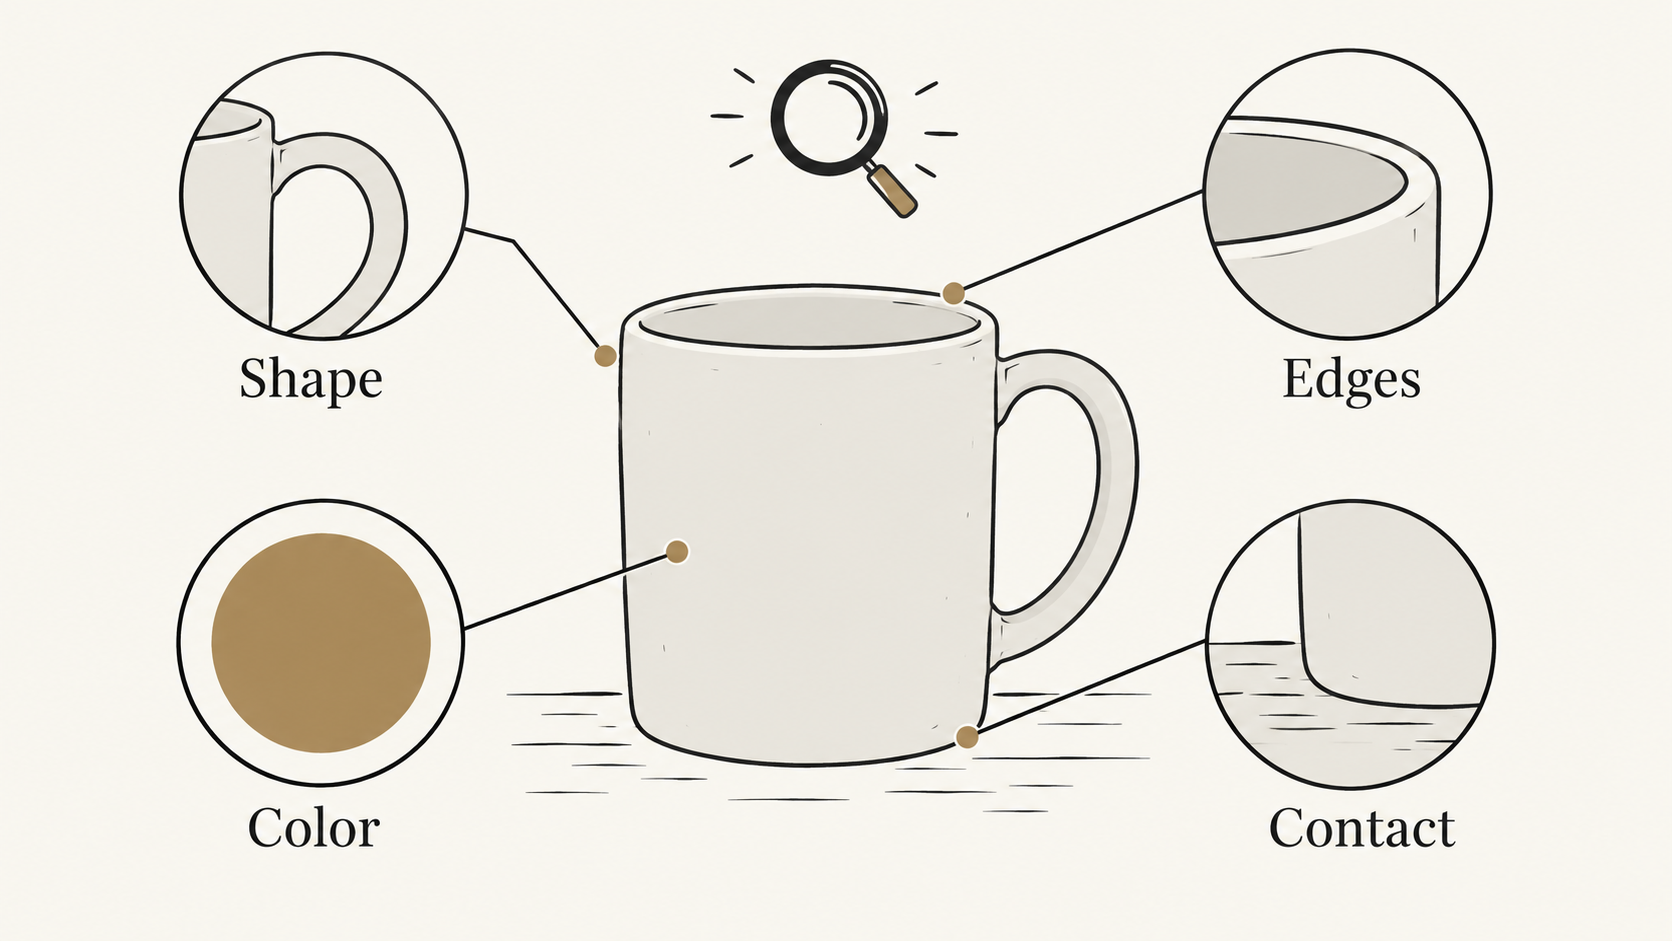
Compare the original and the candidate at the same display size, then zoom into important details. Judge product fidelity before choosing the most attractive background.
| Check | Look for | Next action if it fails |
|---|---|---|
| Shape | Changed handle opening, rim thickness or package proportions | Return to the original; simplify the edit |
| Text and markings | Rewritten letters, moved symbols or invented details | Restore the original product layer or reject the result |
| Color and material | A different glaze, finish or apparent product color | Use a scene closer to the original lighting |
| Edges | Halos, missing parts or background leaking through | Refine the cutout in an editor with suitable controls |
| Contact | A floating base or inconsistent shadow direction | Adjust the composition and shadow separately |
Check the image at its intended placement size as well. A useful detail may become unreadable in a small thumbnail. A scene that looks spacious at full size may leave too little room for a headline after cropping.
When a result fails, change one instruction and keep a brief note of what improved. If the same critical feature keeps changing, stop treating it as a wording problem. Preserve the source product separately and use AI for the background concept instead. That decision often gives you more control than adding a longer list of prohibitions.
Save the approved image with the original reference and prompt. This makes later revisions easier to assess and helps prevent a visually appealing but inaccurate version from being reused accidentally.
Frequently asked questions
Can AI replace a background without changing the product?
It can produce a suitable result, but a generative prompt does not guarantee exact preservation. If unchanged product pixels are essential, retain a separate product layer and edit the surroundings. Review the cutout and composite afterward.
Why does the logo or label change?
A generative edit can redraw details while creating its output. More precise instructions may help communicate intent, but they are not a substitute for comparing the label with the original. Reject altered wording or restore the original photographed area.
Should I remove the background before uploading?
It depends on the workflow. A separate product layer is useful for compositing. A full photo can supply lighting and context for reference-based editing. Follow the chosen tool’s accepted inputs and keep the untouched source either way.
Does NanoAI offer the Krea 3 workflow shown in the source?
This article does not claim Krea 3 availability in NanoAI. The recent fal guide is the editorial context; NanoAI’s Image Edit mode is the linked place to explore the general task with the models and controls currently shown there.
Try one controlled background edit
Open NanoAI’s AI image generator and editor, start with a clear product reference, and request one background change. Compare the product before selecting the final scene. Once a still image is approved, the product video brief template can help you plan a separate motion project around it.