
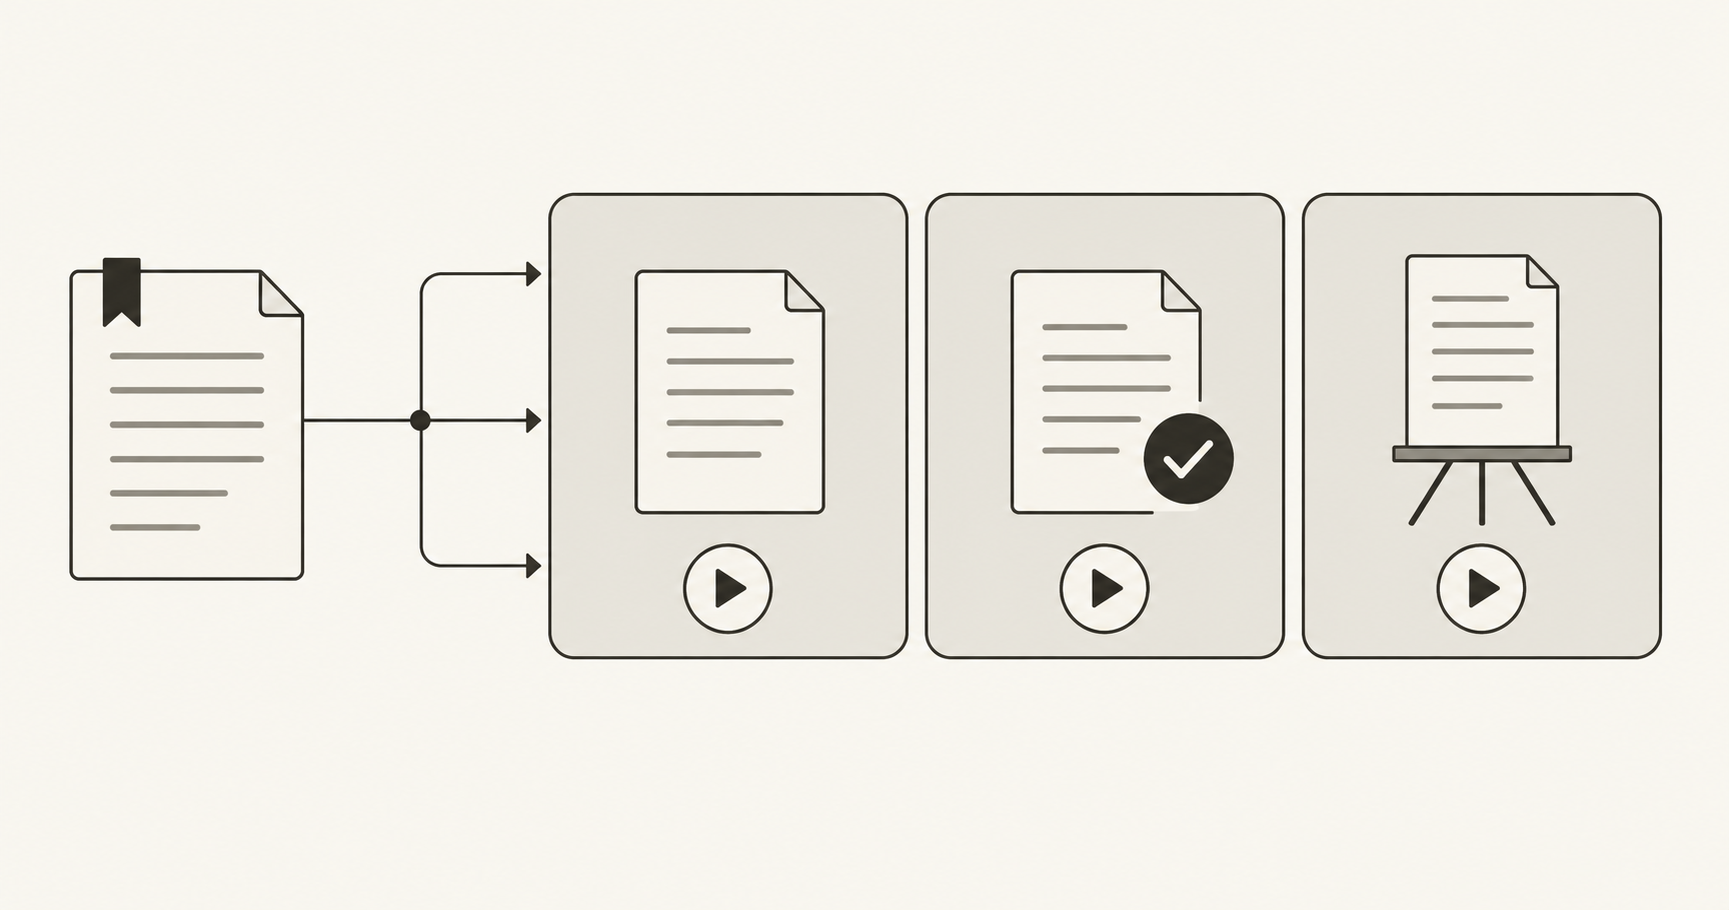
An AI explainer video storyboard should connect one viewer question to a short sequence of supported statements and useful visuals. Write the answer first, attach a source to each factual claim, and decide what each scene must help the viewer understand. Generate footage only where movement adds meaning; use a clear diagram or a real screen recording when accuracy depends on it.
There is a timely reason to revisit this workflow. Google's October 16, 2026 Gemini Notebook article introduces its recently launched 60-second Short Video Overviews as a way to unpack concepts. That is a feature of Google's product. For creators assembling an independent explainer, the underlying editorial task remains: choose what to teach and check that the pictures communicate it accurately.
This guide is for educators, onboarding teams, and creators making short explanations. NanoAI's video generator can supply text-to-video or image-to-video material, while source review, narration, captions, and final assembly need their own production steps.
The illustrations were created with Codex to explain the planning method. They are not NanoAI video frames or evidence of model performance. The workflow example and prompts below are instructional suggestions, not tested generation results.
On this page
- Build the AI explainer video storyboard around one question
- Choose visuals that explain rather than merely decorate
- Check understanding before polishing the final edit
- Frequently asked questions
- Make one explanatory scene
Build the AI explainer video storyboard around one question
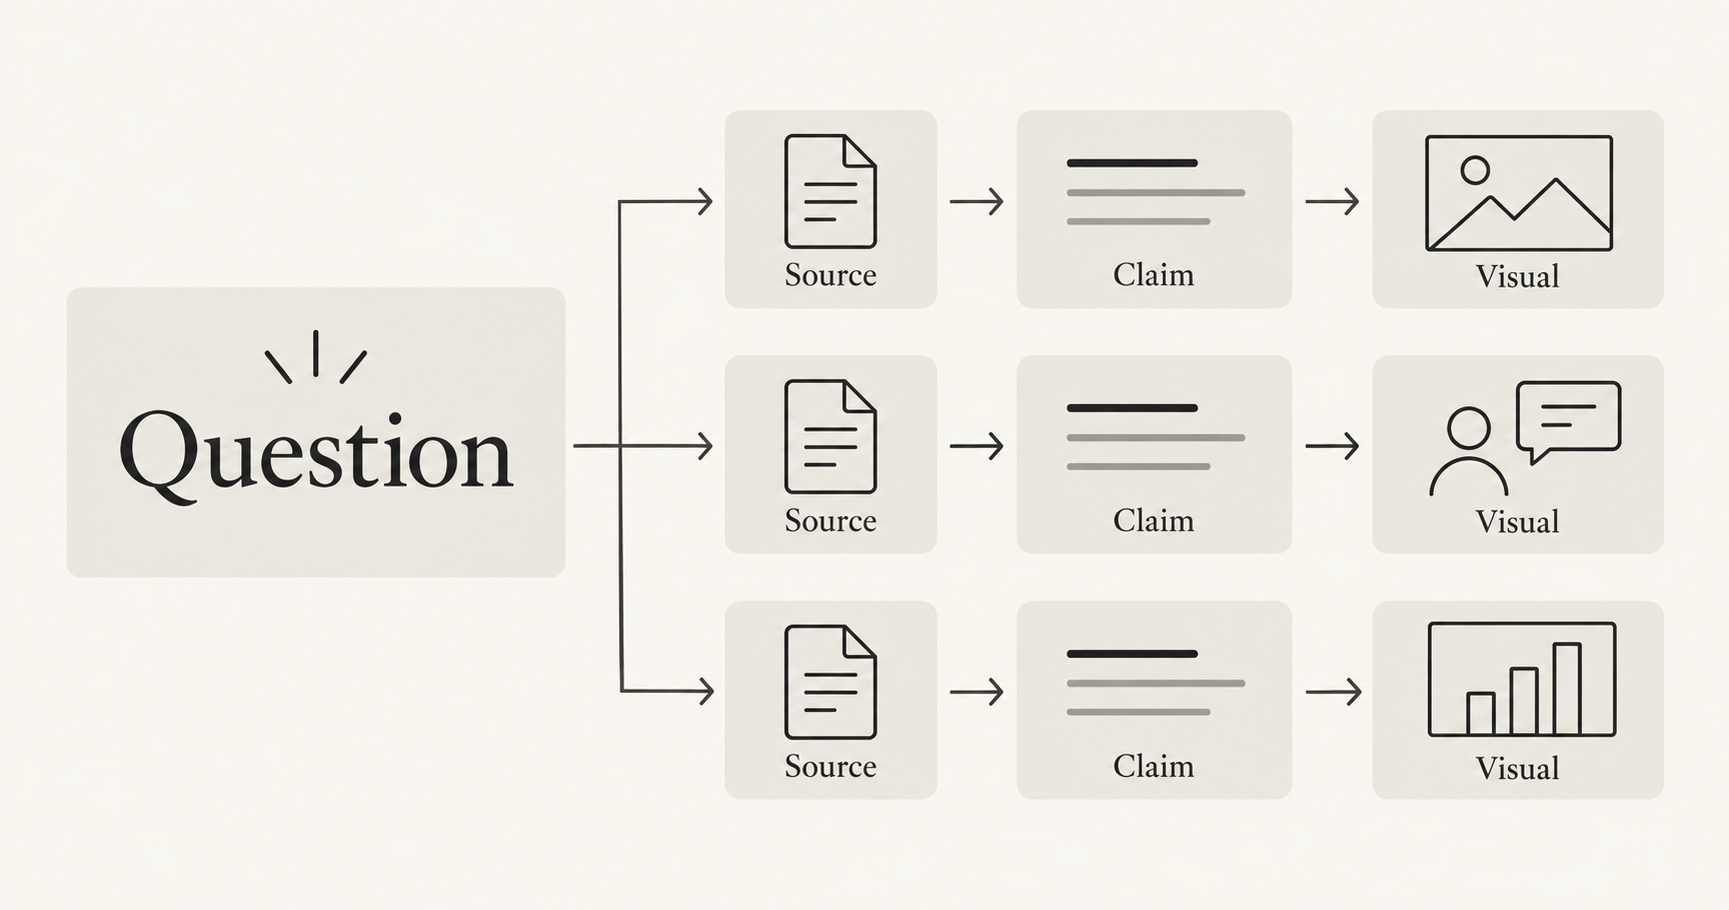
Write a question that a viewer can answer after the video. “An introduction to our workflow” is broad. “Does approval make a document public?” is specific. The second question tells you which misconception to resolve and what the viewer should be able to explain afterward.
Use an approved document, a current manual, or a subject specialist as the source. Keep the exact passage beside the script. If the source does not establish a detail, leave that detail unresolved instead of asking an image model to make it look plausible.
Here is a fictional policy for a demonstration team:
Example policy — fictional, for this tutorial only:
A draft is editable and not public.
A reviewer can mark a draft as approved.
Approval means the content is ready, but does not make it public.
A publisher must perform a separate publish action to make it public.
This is not a statement about NanoAI's permissions or any real company's process. It gives us a small, complete source against which to judge a storyboard. In your project, replace it with the actual policy and preserve any exceptions that affect the answer.
The learning question is “Does approval make a document public?” The answer is “In this example, no: approval and publication are separate actions.” Build each scene around that distinction:
| Scene | Supported statement | Visual job | Narration direction |
|---|---|---|---|
| Draft | The document is editable and not public | Establish the starting state | Define what a draft means in this policy |
| Approval | A reviewer marks it ready; it remains nonpublic | Show readiness without implying publication | State that approval does not publish it |
| Publication | A publisher performs a separate action | Show the change to public availability | Name the separate action and responsible role |
Add a source reference to each row in your working file. All three rows here point to the example policy. For a real lesson, different rows might refer to separate manual sections. Do not silently turn a conditional statement into an absolute one just to make the narration shorter.
This planning step also prevents decorative footage from dictating the lesson. A shot of people celebrating may suggest that the task is complete, even if the narration says publication is still pending. Write down the intended interpretation before choosing the picture.
You can keep the storyboard in a document or table. Tools can provide richer editing views: Synthesia's Storyboard documentation describes reviewing a continuous script to assess pacing and structure. That is a useful example of script-level planning, without implying that NanoAI provides the same editor.
Choose visuals that explain rather than merely decorate
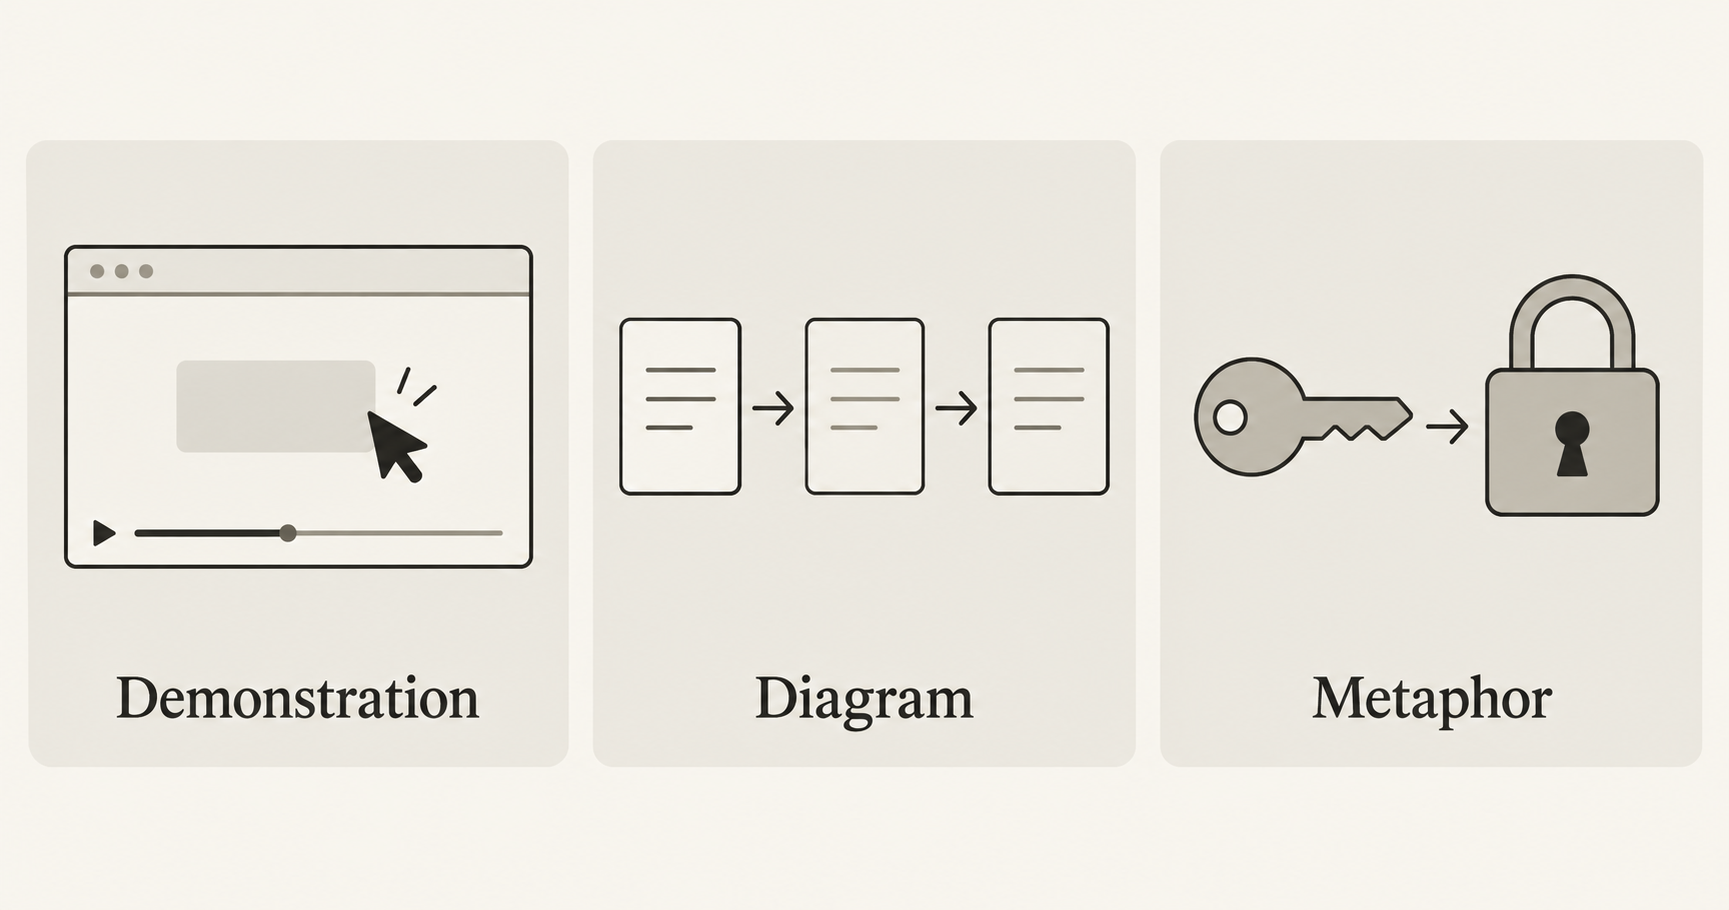
Pick the visual form that matches the claim. A clip can look convincing while showing the wrong sequence, a nonexistent control, or a physical process that does not work that way.
Use a real demonstration for exact actions. If the lesson teaches someone where to click, record the actual approved interface using a safe demonstration account. Hide private information and confirm the current labels. Generated software imagery should not stand in for evidence that a particular button or setting exists.
Use a diagram for states and relationships. In the fictional approval example, three labeled cards and two distinct transitions may explain more than a cinematic office scene. Create the labels and arrows in a layout or video editor so you can control their wording and timing. A static diagram is a valid scene when it already communicates the relationship clearly.
Use a metaphor for orientation. A gate can suggest that a separate action is required. It does not prove the actual approval rules. Introduce it as an illustration and return to the literal workflow before the viewer must make a decision.
For this example, begin with a simple reference frame: three blank paper cards, with space for labels that you will add later. You can explore that frame in NanoAI's image generator, or build it directly in your layout tool. Use a common visual system across the scenes so a change of color or object does not accidentally suggest an extra state.
If motion helps direct attention, prepare one scene at a time. In NanoAI's video workbench, choose Text to Video for an invented illustrative scene, or Image to Video when you have a prepared reference and the selected model supports that input. Check the available duration, ratio, and displayed cost rather than assuming all models have the same controls.
For a reference frame containing one blank paper card, a motion prompt could be:
Locked camera on the paper card. The card remains stationary.
A small circular marker moves slowly beside it and then holds.
Keep the scene simple and continuous, with no new objects.
No lettering or interface elements appear.
The narration and editable label would explain “approved, but not public.” The marker merely directs attention; it does not encode the policy by itself. If it moves to the wrong place or the card changes shape, use a different take or a simple editor animation instead.
Runway's image-to-video guide recommends focusing the text prompt on motion when the image supplies the appearance. Adobe's video prompt guidance similarly separates shot description, subject, action, setting, and aesthetic. These are provider-specific references for constructing a clear request, not promises that every model will obey it identically.
Keep narration out of a visual prompt unless you have verified that the chosen workflow supports the audio behavior you need. Write the voice script and captions separately, then assemble them with accepted footage in an editor. A short generated clip is a building block; its duration does not set the length of the finished lesson.
Check understanding before polishing the final edit
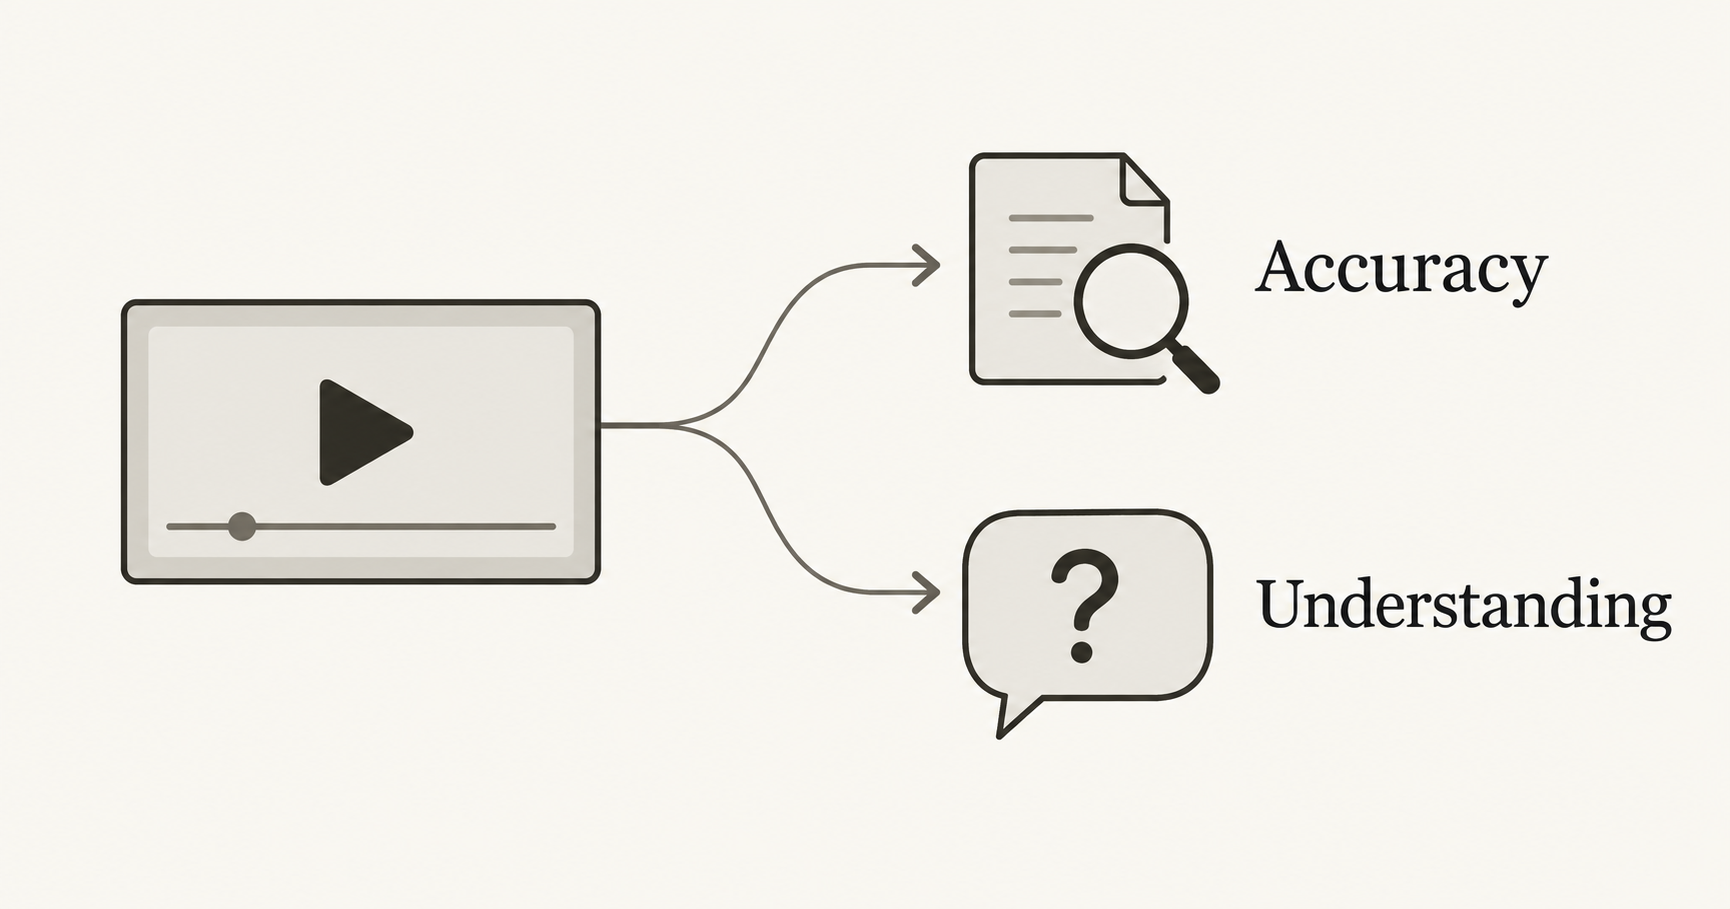
Make a rough cut with your approved narration and temporary visuals before adding elaborate transitions. Watch for the meaning created by the combination of voice, image, labels, and cuts. A factually correct sentence can still be undermined by an arrow that implies the wrong cause.
For the fictional workflow, pause immediately after the approval scene. The viewer should understand that the document is ready and still not public. If the image already shows it on a public page, the scene contradicts the lesson. Replace the visual rather than trying to explain away the contradiction with more narration.
Run two separate reviews:
- Accuracy: compare each spoken claim, label, and implied transition with its source. Check role names and conditions, including what does not happen automatically.
- Understanding: ask someone unfamiliar with the draft to answer the learning question and apply it to a small scenario. Ask what they think happens next, without supplying the expected answer.
For this example, the scenario could be: “The reviewer has approved the draft. Can an outside visitor read it now?” The expected answer under the fictional policy is “No; the publisher still needs to publish it.” Follow with “Which part of the video helped you decide?” Their explanation can reveal whether the sequence taught the distinction or whether they simply remembered one sentence.
This is a practical review suggestion, not a claim that the storyboard has been tested with learners. If reviewers misunderstand, revise the unclear scene, the missing condition, or the order of explanation before increasing visual polish. A comprehension problem may need a simpler diagram rather than another generation.
After the explanation works, finish the presentation. Check that captions match the approved narration, remain readable over the background, and stay visible long enough for the intended audience. For exact labels, keep text editable during production; the AI poster text guide explains why generated lettering needs deliberate proofreading.
Preview the exported video at its intended size and with the actual audio mix. Make the essential point available through captions, and provide a short written summary or transcript alongside the video where your publishing format permits. Keep source references and the review date in the production notes so later policy changes can be traced to the scenes they affect.
Frequently asked questions
What belongs in an AI explainer video storyboard?
Include the viewer question, each supported claim, its source, the scene's visual purpose, narration, and a check for successful understanding. Note when a scene is an illustration rather than a real demonstration.
Can NanoAI turn my documents into a finished explainer?
The verified NanoAI workflow provides text-to-video and image-to-video generation. This guide uses it for visual material. It does not assume automatic document grounding, narration, captions, or full-video assembly; plan and verify those stages separately.
Does every explanatory scene need AI video?
No. Use a real recording for exact interface steps and an editable diagram for precise relationships. Generate footage when it contributes something useful, such as a clearly labeled illustrative scene or purposeful motion.
How long should the explainer be?
Use enough time to answer the selected question without unnecessary material. Google's 60-second overview format is a product-specific example, not a universal target. Read the narration aloud and allow time to inspect the important visual before choosing the final edit length.
How can I tell whether the video teaches the idea?
Check the content against its source, then ask an unfamiliar reviewer to answer the question and use the idea in a scenario. Treat their response as feedback for revision, rather than assuming attractive footage proves understanding.
Make one explanatory scene
Write one viewer question and one sourced answer. Sketch the scene that makes their relationship clear, then use NanoAI's video generator only for the visual material that benefits from generation. Review the rough explanation before expanding it into a finished edit.