
For reliable AI poster text, approve the wording before you generate the image, keep the visible copy short, and give each line a clear place in the layout. If a date, price, address, or exact brand font must be correct, generate the artwork first and add that information as editable text in a layout tool. Review the exported poster against your approved copy before sharing it.
Recent model discussions make this distinction useful. In its October 13, 2026 comparison, fal discusses text rendering and infographic layout alongside other image-generation capabilities. That is a recent supplier comparison, not a guarantee that a particular poster will contain every character correctly. This guide turns that question into a practical production workflow rather than ranking models.
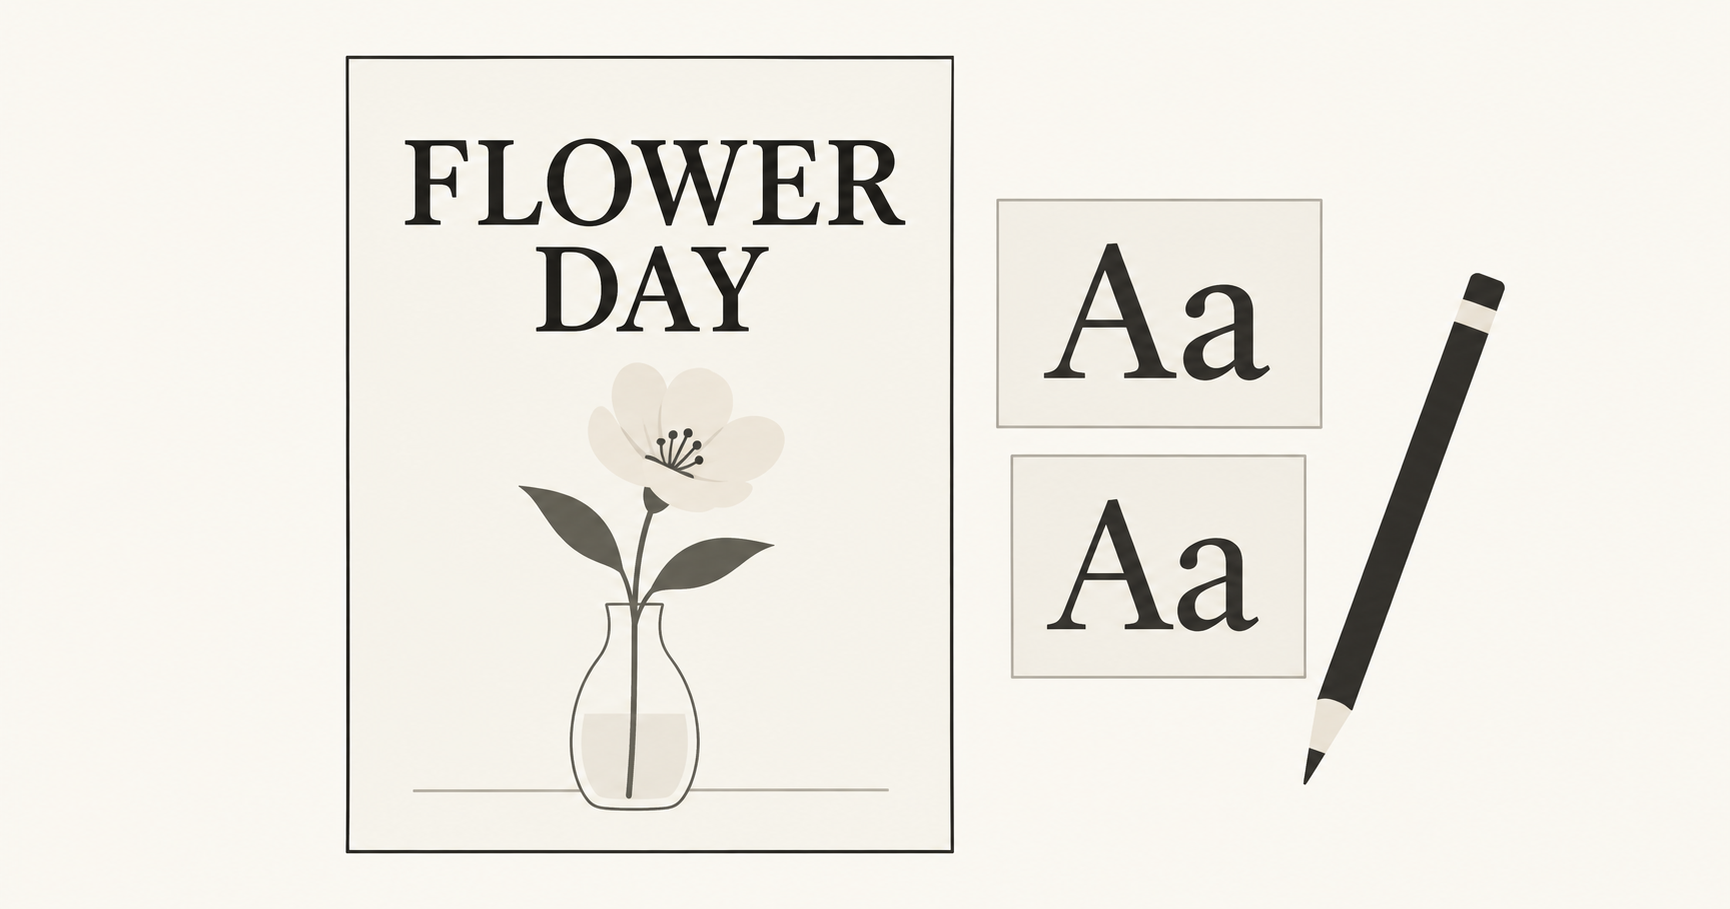
You can start the artwork or a short headline concept in NanoAI's AI poster generator. The example below uses a fictional flower event, so you can see exactly which words belong in the image and which need deliberate review.
The illustrations are explanatory graphics created with Codex. They are not NanoAI model-test outputs. The sample prompts are suggested starting points, not measured performance results.
On this page
- Plan the words before generating the poster
- Choose generated lettering or an editable text layer
- Proofread the exported poster at its real viewing size
- Frequently asked questions
- Create your first readable poster
Plan the words before generating the poster
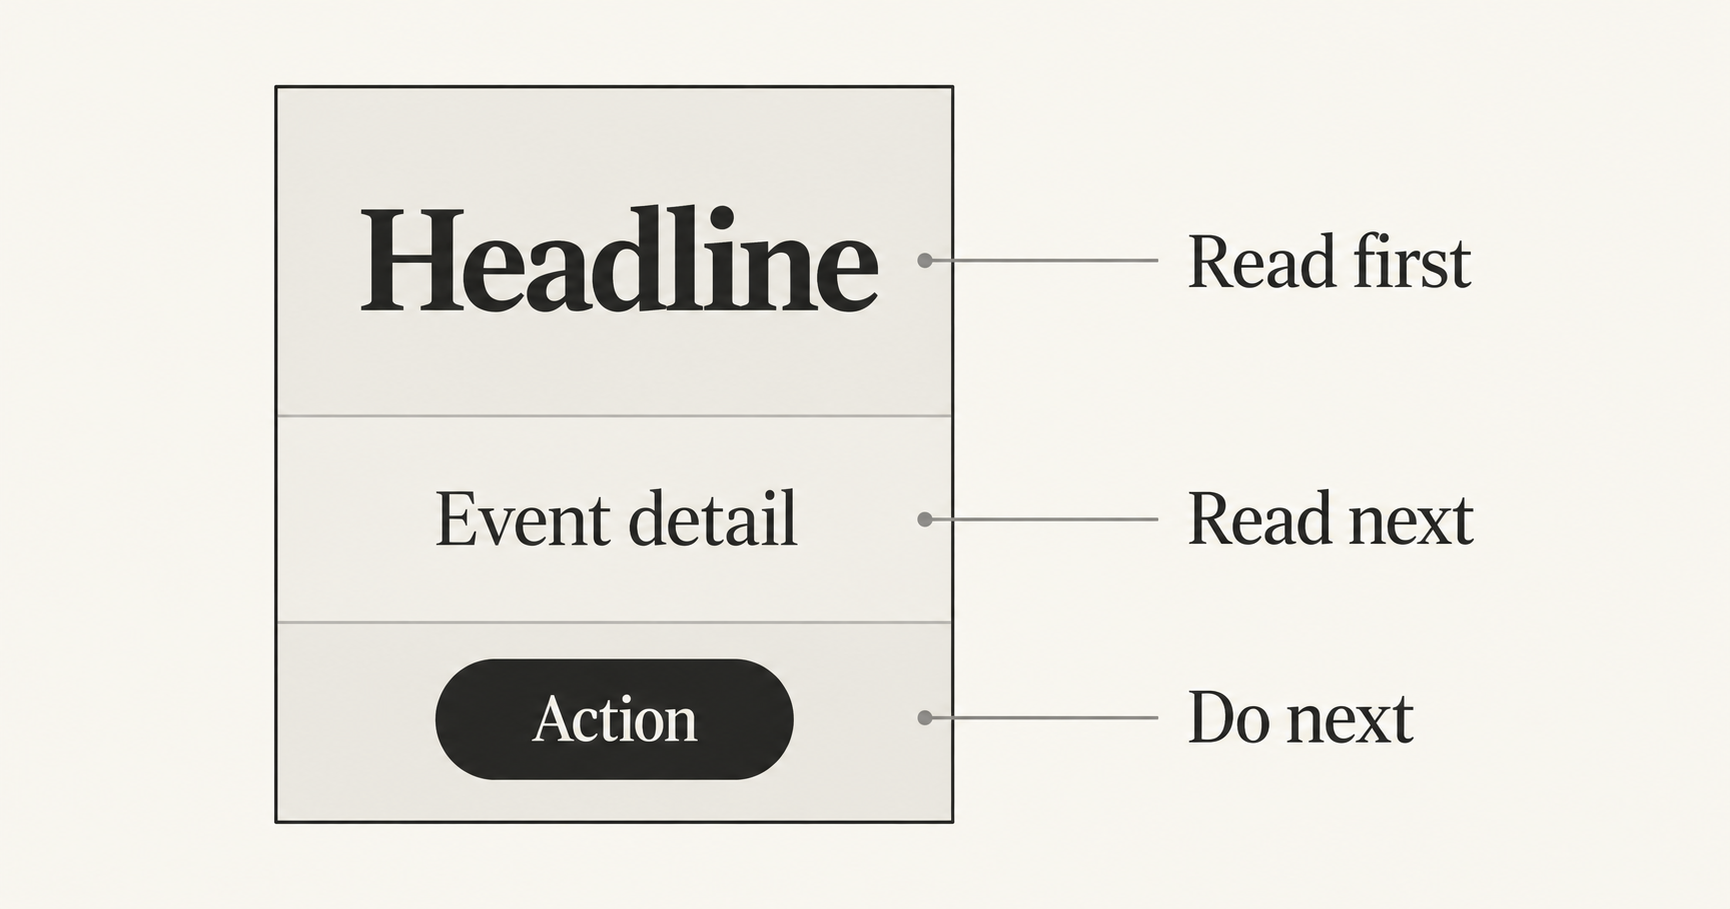
Start in a plain text note, before choosing a visual style. Write down the exact headline, the essential detail, and the action you want a reader to take. Separate those words from instructions about flowers, lighting, composition, or color. Otherwise, a prompt becomes a mixture of copy and art direction that is difficult to check later.
For a fictional event, the approved copy might be:
Headline: FLOWER DAY
Detail: OCTOBER 24, 2026 | 10 AM–4 PM
Action: EXPLORE THE MARKET
This is demonstration copy, not a real event announcement. Replace it with confirmed information before creating a public poster. If an online event reaches more than one time zone, include the appropriate time-zone label in your final copy.
Decide what the viewer should read first. A poster with equally large headline, date, venue, sponsor names, and action text has no obvious entry point. Assign one dominant line, then supporting information. Leave more space than a long paragraph would need; a phone preview or distant printed poster cannot rely on the reader zooming in.
Google's image-generation documentation recommends preparing text before requesting an image containing it, and describes specifying the wording, font appearance, and overall design. Apply that advice as a clear brief, then inspect the output rather than treating the instruction as a guarantee.
Use a copy plan like this:
| Text element | What to decide | Practical handling |
|---|---|---|
| Short creative headline | Exact words, case, and intended line breaks | Can be explored as generated lettering |
| Date, time, price, or address | Approved factual value and punctuation | Prefer an editable text layer when accuracy is essential |
| Brand name or logo | Approved spelling and actual brand asset | Place the approved asset when exact reproduction matters |
| Supporting paragraph | Whether readers need it on the poster | Move lengthy details to a caption or linked page |
| Call to action | One clear next step | Keep it short and readable at the final size |
Quotation marks in a prompt help identify literal copy. Also say whether those marks should appear in the artwork. For example, “Render the words FLOWER DAY without quotation marks” removes one small ambiguity. Avoid several competing headlines in one request unless you actually want all of them printed.
Choose generated lettering or an editable text layer
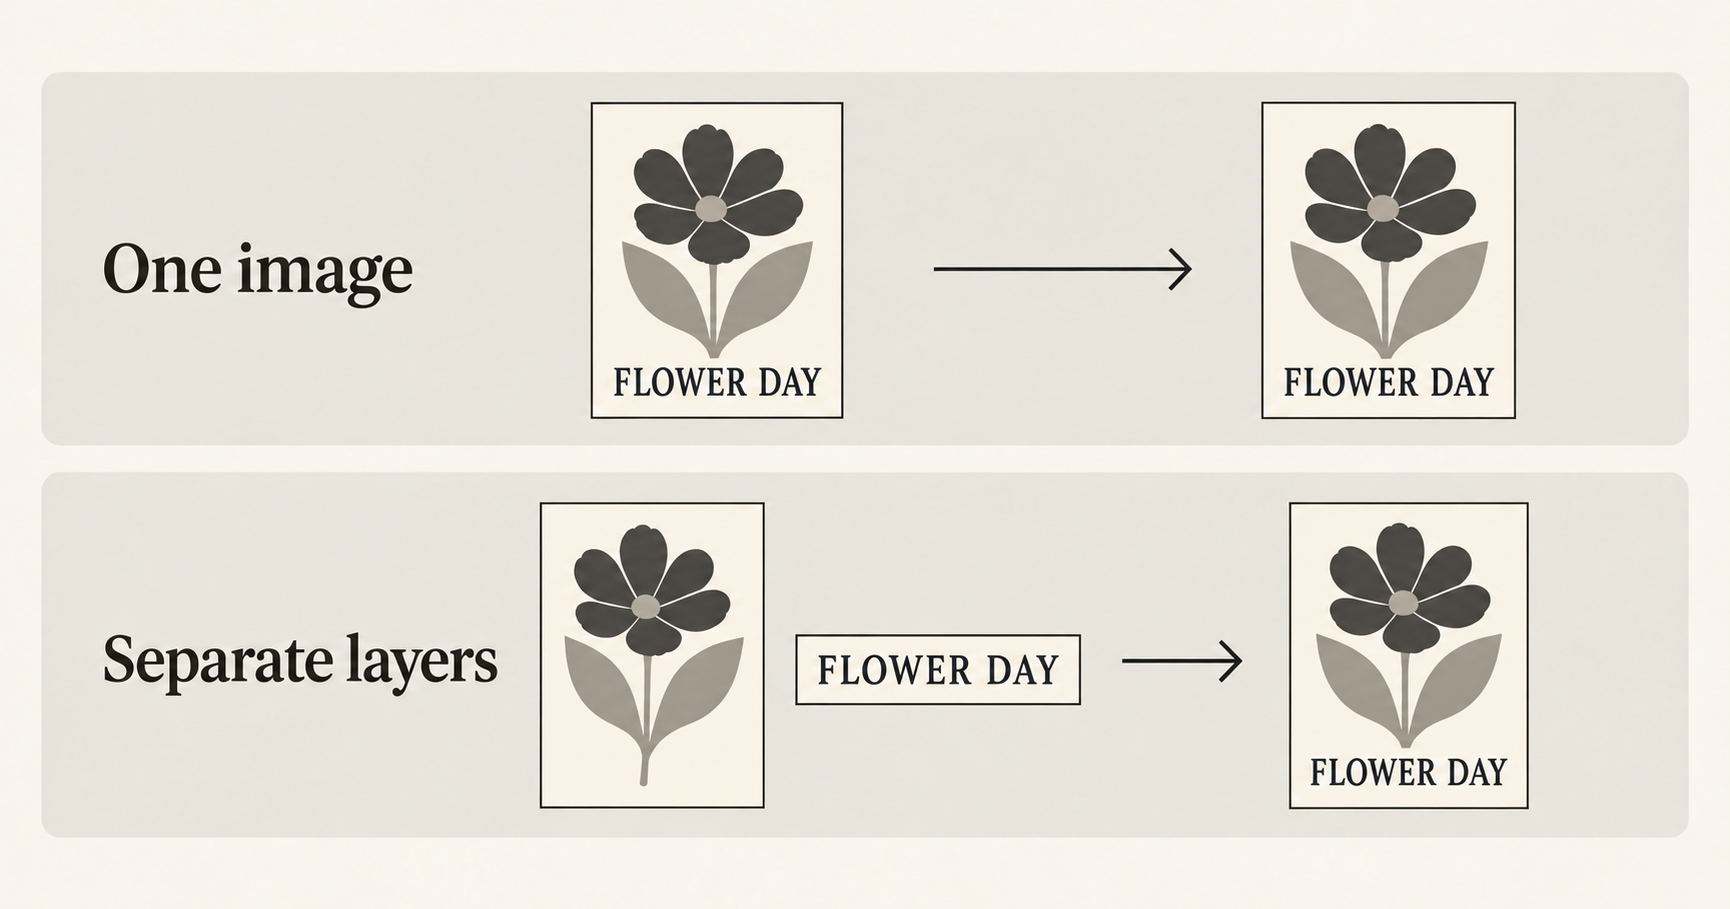
There are two useful routes. Pick based on how the poster will be revised and what must remain exact, rather than on whether a model can draw attractive letters.
Route one: generate a short headline with the artwork
This works for an early concept, a simple greeting, or a decorative title where you can inspect every character. Open NanoAI's poster tool. Its interface provides Style Selection and Custom Prompt, plus fields for Poster Title, Event Time, Subject Description, and Background Description.
For the example, use FLOWER DAY as the title. Keep Event Time empty while exploring the visual direction, then add confirmed event details in a layout editor. Describe a single flower in a vase as the subject and a plain background with open space as the setting. If using Custom Prompt, make the requested hierarchy explicit:
Create a clean editorial poster concept for a fictional flower market.
Render exactly the words FLOWER DAY, without quotation marks, as a
large dark serif headline in the upper third. Show one simple flower
in a vase in the lower half. Warm ivory background, generous clear
space around the headline. No other lettering, numbers, logos or
small decorative text. Keep the full headline inside the canvas.
Keep the separate fields and the prompt consistent: do not put one title in the title field and another in the instructions. Review the displayed generation cost before running it. This walkthrough checks the available controls; it does not claim that this prompt was generated or benchmarked in NanoAI.
If a single letter is wrong, a targeted edit in an image-editing workflow may help. Ask for the exact replacement and identify the line to change. Then inspect the complete result again: correcting one area can change neighboring letters or visual details. When repeated edits make the poster less predictable, switch to the second route.
Route two: generate artwork and typeset the copy separately
Use this route when the poster needs an exact date, a price, multiple languages, several revisions, or a specified font. Create an image with an intentionally quiet text area, download it, and place the approved words in your preferred layout application. Canva's AI image workflow explicitly includes opening an image in its editor to add text and layers; this is an example of a separate layout stage, not a NanoAI feature claim.
An artwork-only prompt for the NanoAI image workbench could be:
Create artwork for a vertical flower-market poster. Place one
illustrated flower in a vase in the lower half, on a warm ivory
background. Keep the upper third empty and visually quiet for a
headline that will be added later. Use a restrained charcoal and
gray palette. No letters, words, numerals, signs, labels or logos.
In the layout editor, add the headline, detail, and action as separate text objects. Keep the editable project file as well as the exported image. If the event time changes, update that one text object instead of regenerating the whole scene.
A downloaded PNG or JPEG contains the visible lettering as pixels; it does not give you editable font objects just because the letters look like a specific typeface. Naming a font in a generation prompt is also not proof that the output uses that font file. For exact typography, select the actual font in your layout tool and check that the export preserves the intended appearance.
Proofread the exported poster at its real viewing size
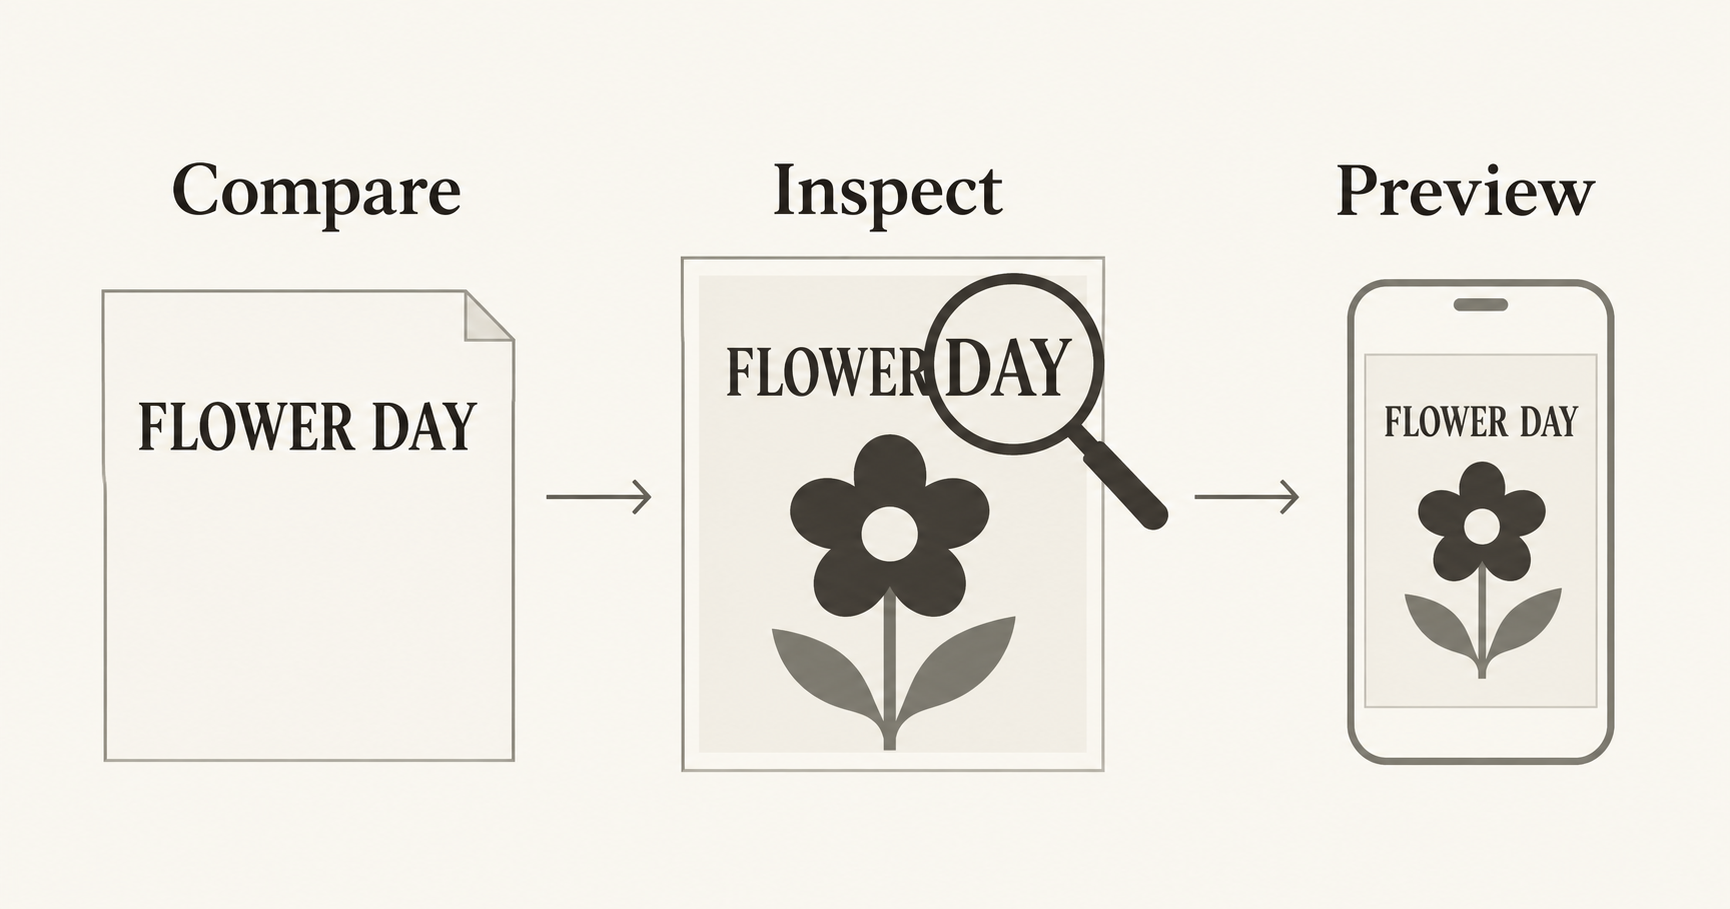
The generation preview is only one checkpoint. Inspect the downloaded file, then the file after resizing or adding text. Small changes in the export can make a once-readable line difficult to read.
First, compare each line with the approved note. Read characters individually, including repeated letters, accents, punctuation, currency symbols, and the distinction between a zero and the letter O. Check the date and time as facts, not just as a plausible-looking string. A perfectly spelled wrong date still fails the task.
Second, look for layout defects. A word may be clipped at the canvas edge, partly hidden behind the subject, split at an awkward position, or lost against detailed scenery. Move or simplify the artwork if it competes with essential copy. Increasing output dimensions alone does not fix an unclear hierarchy or a missing letter.
Third, preview the poster where people will encounter it. For a social post, look at it at ordinary feed size without zooming. For print, ask the printer about the required file dimensions, bleed, and output format, and review a proof before a larger run. A generator's “high resolution” description is not a substitute for those production requirements.
Use this final sequence:
- Compare every line with the approved copy.
- Confirm names, dates, times, prices, and destinations independently.
- Check the headline and action at the intended viewing size.
- Inspect the edges after any crop or resize.
- Save the final export together with its editable source and approved text.
If you need to change dimensions, NanoAI's image resizer can help prepare the file. For the difference between resizing and changing the composition, see the aspect-ratio guide. Keep important words away from areas that a destination might crop.
Finally, include essential event information in the accompanying post or webpage text too. People should not have to extract every detail from a picture. If the poster includes a URL or a QR code, use a verified destination and a separately created code, then test it from the final exported file; do not rely on a decorative generated pattern to function.
Frequently asked questions
How do I make AI poster text more accurate?
Finalize the copy first, specify the exact words and their placement, and keep generated lettering short. Inspect the output character by character. For facts that must be exact, use editable text added after image generation.
Why is the text still wrong when the prompt is correct?
A correct prompt describes the desired result; it is not a character-by-character validation of the output. Check the exported image. Simplify the requested wording, try a focused correction, or replace the lettering in a layout editor.
Can NanoAI make a poster from a custom prompt?
Yes. Its poster page includes a Custom Prompt mode and separate fields for the title, event time, subject, and background. Keep those fields consistent and verify the generated result before using it publicly.
Can I change the font inside a downloaded AI image?
Not as a normal text object in a flat PNG or JPEG. You can edit the pixels or recreate the lettering as a separate text layer. Save an editable layout file when you expect future changes.
Should I generate a bilingual poster in one image?
You can explore the composition that way, but both languages need careful review. When exact spelling, diacritics, or line breaks matter, add each language as editable text and have a fluent reader check the final export.
Create your first readable poster
Start with one headline and one main visual in NanoAI's AI poster generator. Approve the words, choose the lettering workflow, and proofread the downloaded file. Add essential details in a layout tool whenever you need precise control over the final copy.