
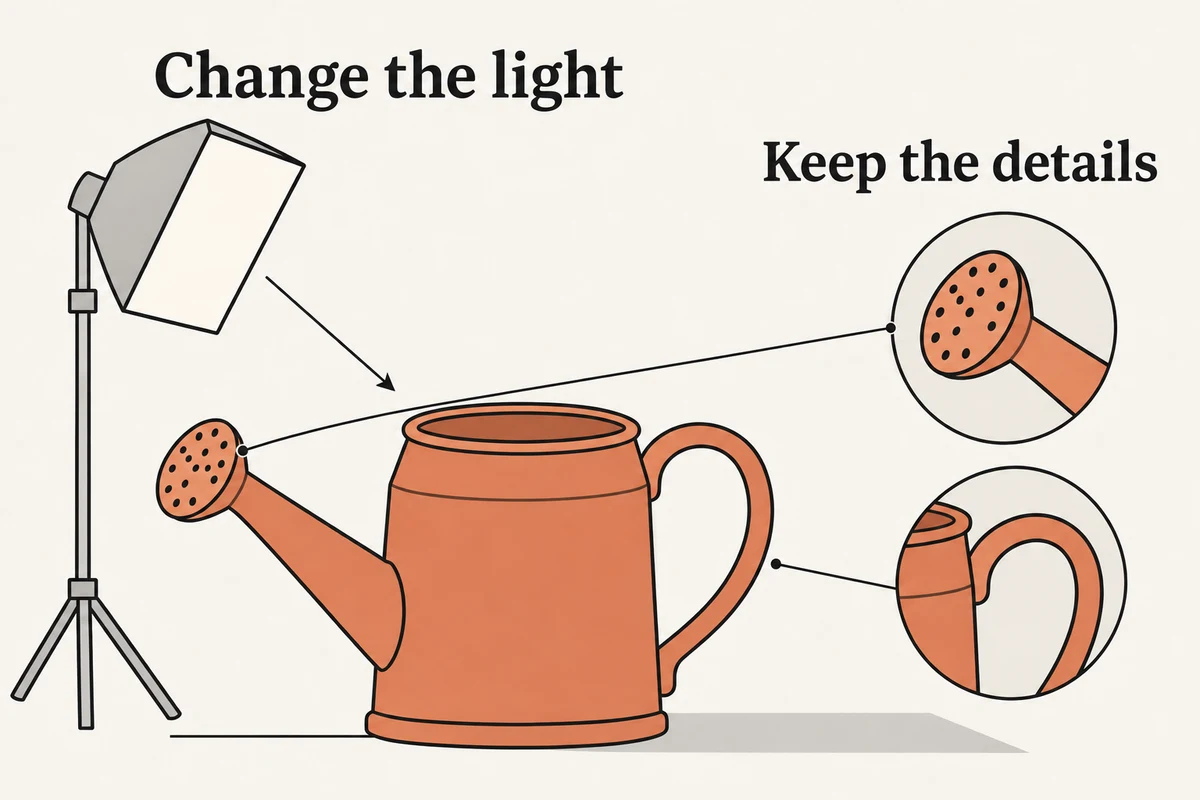
For AI product photo relighting, first decide whether you need brighter tones or a different lighting setup. If the photograph is simply too dark, start with exposure and shadow adjustments. If the light should come from another direction or become softer, describe that change explicitly, keep the composition fixed, and compare the edited product with an approved source. A brighter image is useful only if it still shows the right item.
The distinction is timely: MorningAI's November 2, 2026 Studio update describes an “Exact product” option that retains the photographed product, including its lighting. That is a feature of that service, but it highlights a general production decision: preserving source lighting and deliberately changing it are different jobs. Read MorningAI's update.
This guide provides a lighting brief, an example prompt, and a review checklist for a fictional terracotta watering can. The instructions are untested teaching examples. All illustrations were created with Codex as planning diagrams; they are not NanoAI results or evidence of a successful product edit.
On this page
- Choose the smallest lighting change that solves the problem
- Write a lighting-only edit brief
- Review the light and the product as separate checks
- Frequently asked questions
- Plan one controlled lighting edit
Choose the smallest lighting change that solves the problem
Look at the source before writing a prompt. “Make this professional” can invite changes to the background, material, contrast, and product shape. A more useful diagnosis names the visible problem: the front is too dark, the lighting is too harsh, or the product appears lit from the opposite side to its surroundings.
A tonal adjustment changes how existing image information is displayed. Relighting aims to change the impression of illumination across the subject. Replacing a background changes the setting. You may eventually need more than one operation, but separating them makes the result easier to judge.
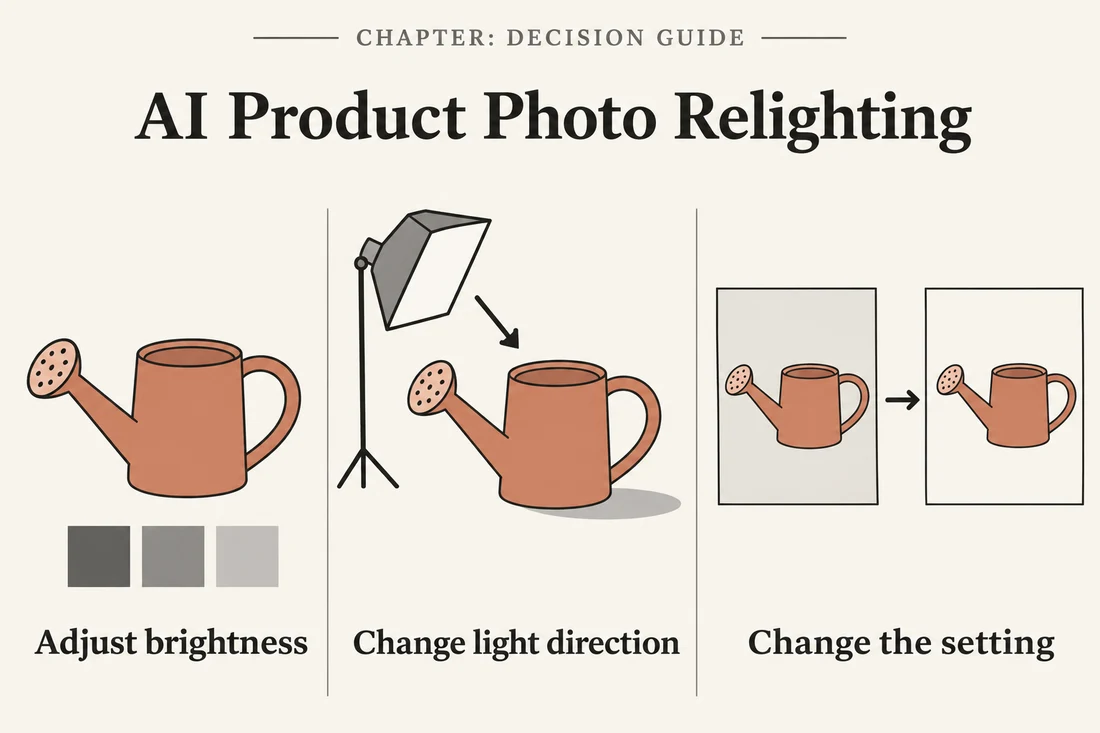
| What you see | Start with this task | What should remain stable |
|---|---|---|
| The whole image is too dark, but the light direction works | Exposure or tonal adjustment | Composition and existing light pattern |
| Useful surface detail is difficult to see in a shadow | A restrained local or shadow adjustment | Texture and believable contrast |
| The light needs to move from overhead to a softer side direction | A deliberate relighting edit | Product geometry, viewpoint, and intended finish |
| The setting is unsuitable, while the product's light already works | Background replacement matched to the source light | Product appearance and source lighting |
| Important label or surface information is absent from the source | A clearer source photograph | Verified product details |
Adobe's current Photoshop documentation describes a Light adjustment layer with exposure, contrast, highlights, shadows, whites, and blacks controls, with non-destructive editing. Those controls are a concrete example of tonal correction; brightening dark areas is not the same instruction as moving a light source. Adobe's Light adjustment documentation.
Dedicated relighting workflows also exist. Photoroom describes a product-catalog relighting service for poorly lit product photos. Its implementation and controls belong to that service, rather than establishing what a general image-editing prompt can guarantee. Photoroom's relighting overview.
For our watering-can example, suppose the composition is already approved, but a hard overhead light leaves the front difficult to read. The assignment is to explore softer illumination from the upper left, without moving the camera or replacing the plain backdrop. That is a lighting brief, not a request for a new product scene.
When exact catalog detail matters, use a method that preserves or directly verifies it. An editor cannot confirm hidden lettering, reconstruct an unseen seam reliably, or establish the real surface color from an ambiguous source. A clearer photograph can be a better starting point than a more elaborate prompt.
Write a lighting-only edit brief
Keep the assignment small enough to inspect. Name the current problem, the desired light, the features that must remain, and the composition that is already approved. Describe directions relative to the image or camera so that “left” does not depend on how someone imagines the object facing.
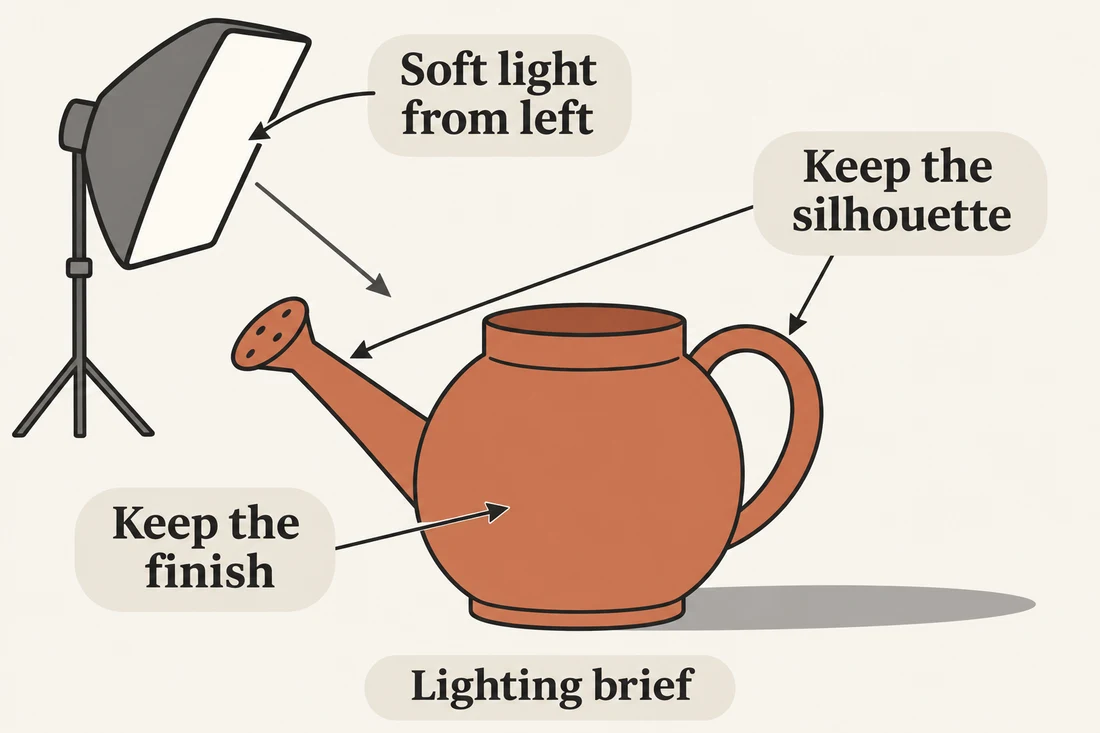
For the fictional watering can, use this original planning template:
Source: approved front three-quarter watering-can photo.
Problem: harsh overhead illumination; front is difficult to read.
Lighting target: a broad, soft source from the upper left
as viewed in the image, with gentle fill on the darker side.
Keep: rounded body, long left-pointing spout, arched handle,
visible openings, proportions, and matte terracotta finish.
Composition: same camera angle, scale, crop, surface, and backdrop.
Review: check light direction, shadow contact, shape, and finish.
“Soft” describes the transition between light and shadow. It does not mean that the object should lose its edges or become uniformly flat. Likewise, “brighter” does not require every shadow to disappear. Some tonal difference helps the viewer read a curved body, a recessed opening, or the separation between the handle and the background.
A prompt for a supported reference-editing workflow could be:
Edit the lighting of the uploaded watering-can photograph.
Keep the same product, viewing angle, framing, surface, and backdrop.

Replace the harsh overhead lighting with a broad, soft light
from the upper left of the image. Gently lift the darker front
so its visible surface can be read. Keep a believable contact
shadow where the base rests on the surface.

Retain the rounded body, long spout, arched handle, openings,
and matte terracotta finish. Do not redesign, rotate, polish,
repaint, or add objects. Add no lettering or logos.
This wording communicates a desired edit. It is not a pixel lock, a physical lighting simulation, or a promise that a particular model will preserve the product. Use only the descriptions that match your actual photograph; a copied feature list can conflict with a different item.
Explore the brief in NanoAI
The NanoAI image workbench exposes Image Edit, model selection, image shape, and variation controls. We checked the public interface on November 4, 2026, without running paid generations. It is a place to explore a reference-based lighting request, rather than a dedicated relighting interface with movable light controls.
- Choose Image Edit and upload the source through Add Image in the reference-image area.
- Select an editing-capable model and inspect its current options and displayed credit cost.
- Enter the lighting-only brief, retaining the same crop and viewpoint for the initial attempt.
- Save the candidate separately from the untouched source.
- Compare them using the two-part checklist below before accepting the edit.
If the background also needs replacement, finish this lighting decision separately or choose a scene that matches the approved source light. The background replacement guide covers that different task. Combining a new location, a camera rotation, and a lighting change makes it harder to identify why the product looks different.
Review the light and the product as separate checks
Compare the source and edited image at the same size and crop. First ask whether the lighting request was met. Then ask whether the product is still faithful to the approved reference. A candidate can pass one check and fail the other.
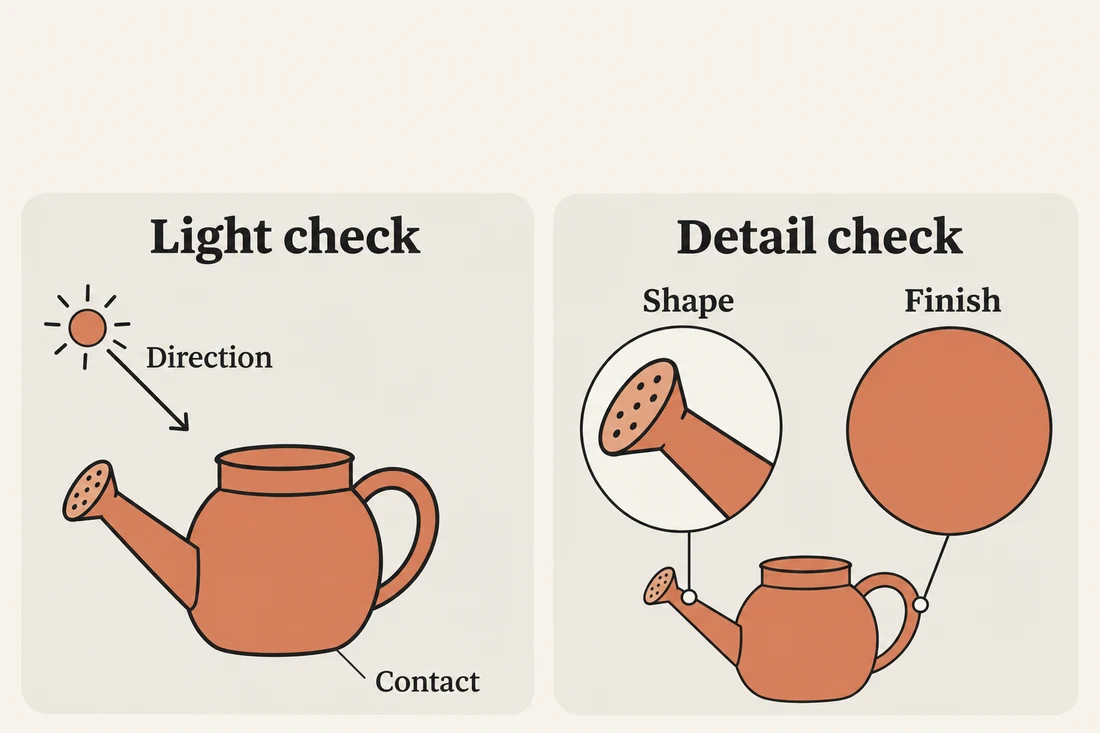
Check the light
Inspect the bright and dark sides of the object together with its shadow. In the simple one-source plan used here, an upper-left light should produce a coherent pattern rather than contradictory highlights and an unrelated ground shadow. Real scenes can contain several sources and reflected light, so use the intended setup as your reference instead of applying a rigid rule to every photograph.
Look closely at the base. A missing contact area can make the object appear to float, while an excessively dark patch can look pasted on. Inspect soft transitions too: a halo around the spout is an edge problem, not evidence of attractive rim lighting.
Check the product
Use a separate list for features that the lighting edit was not meant to redesign:
| Area | What to compare | Reason to reject or revise |
|---|---|---|
| Silhouette | Spout length, body proportions, handle opening | A brighter candidate shows a differently shaped item |
| Openings and construction | Visible rim, holes, joins, and edges | New parts or missing structural details appear |
| Material | Matte surface versus glossy or metallic reflections | The finish has been reinterpreted |
| Markings | Approved wording, symbols, and placement when present | Letters or graphics have changed |
| Color appearance | The item under an appropriate trusted reference | The edit suggests a different product color |
Changing illumination can change the displayed color and brightness of a surface. Identical pixel values are therefore not a sensible requirement for a relighting edit. At the same time, a warm grade should not quietly turn one product color into another. If accurate color is important, use suitable color-managed photography and a trusted reference; attractive generated lighting is not a color measurement.
Write the next instruction from the failed check. “The handle opening narrowed; return to the source and preserve that outline” is more useful than “make it more realistic.” If the geometry is correct but the front remains too dark, revise the lighting target instead of adding unrelated product instructions.
Keep the source, brief, model settings, candidate, and approval note together. If a critical detail repeatedly changes, use a more controlled adjustment or a new photograph rather than accepting the wrong product because its lighting looks polished.
Frequently asked questions
Is AI relighting just increasing brightness?
No. Brightness or exposure adjustments change tonal presentation. Relighting can seek a different direction, softness, or distribution of illumination. Diagnose which problem you have before selecting a tool or writing the edit.
Can a prompt guarantee that the product stays unchanged?
No. A generative edit can alter shape, markings, or finish while changing the light. Compare the result with the source, and choose a more controlled workflow when those details must remain exact.
Should I remove every shadow from a product photo?
Not automatically. Shadows can communicate shape and contact with the surface. Decide what the image needs and judge whether the lighting remains coherent and the item easy to inspect.
Can relighting recover a label that was unreadable in the source?
It may create plausible-looking detail, but that is not verification of the actual label. Use a clearer photograph or an approved original graphic when exact wording matters.
Does NanoAI provide the same light controls as a dedicated relighting service?
This guide does not establish that. It uses NanoAI's general Image Edit workflow to explore a written lighting brief. Check the controls currently exposed by the selected model; do not assume another service's sliders or preservation options are available.
Plan one controlled lighting edit
Identify one lighting problem, retain the approved composition, and write down the product details that must survive. Open NanoAI's image workbench to explore the brief, then approve the lighting and product fidelity separately.