
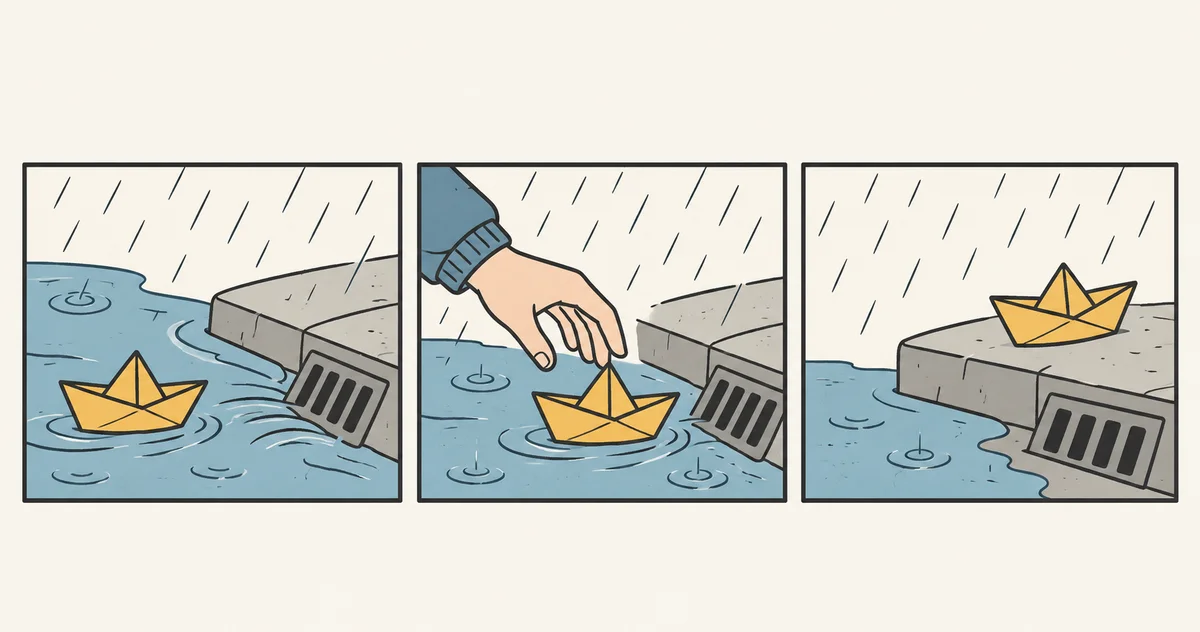
To make an AI comic strip one panel at a time, write a short sequence of visible actions, generate one image for each action, and assemble the approved images in a layout editor. Add speech balloons as editable layers after the artwork is in place. For a first strip, three panels are enough to test whether readers understand the setup, the action and the payoff.
Higgsfield introduced Mangaka on November 3, 2026, describing a dedicated workflow for planning stories, drawing pages and editing individual panels. OpenAI's November 4 announcement also described reusable image references in ChatGPT Images. Those are two different approaches to reducing repeated setup. The workflow below is for creators who want to control the order, crop and lettering of a short strip in their own editor.
- Plan three story beats
- Generate one panel at a time
- Assemble and letter the strip
- Frequently asked questions
Plan three story beats
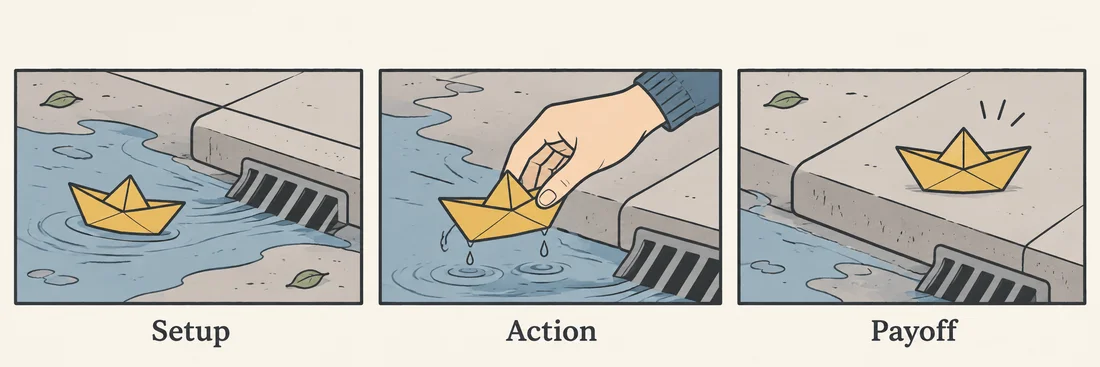
Write one visible change per panel. For example, a yellow paper boat drifts toward a storm drain. A hand reaches for it. The boat ends up safely on the curb. The reader can infer the rescue without a caption explaining every step.
| Beat | What the reader needs to see | Framing to try |
|---|---|---|
| Setup | The boat, the water and the drain are in the same space | Wide enough to show the boat's path |
| Action | A hand reaches the boat before it disappears | Close enough to see the hand and the boat together |
| Payoff | The same boat is on the dry curb | Medium shot with the wet street visible below |
Sketch three rough boxes before generating artwork. Mark where the subject and any text will sit. If the strip is for a phone, stack the panels and check that the key object stays large enough to recognize. For a horizontal strip, try a left-to-right sequence. Choose the reading direction before generating the images because a later crop can remove the clue that makes a panel intelligible.
Read the sketch without dialogue. If the action is hard to follow, identify which fact is missing. In the boat example, a close-up of a hand alone would leave the reader guessing what it touched. Keeping the yellow bow in frame solves that problem with a small composition change.
Generate one panel at a time
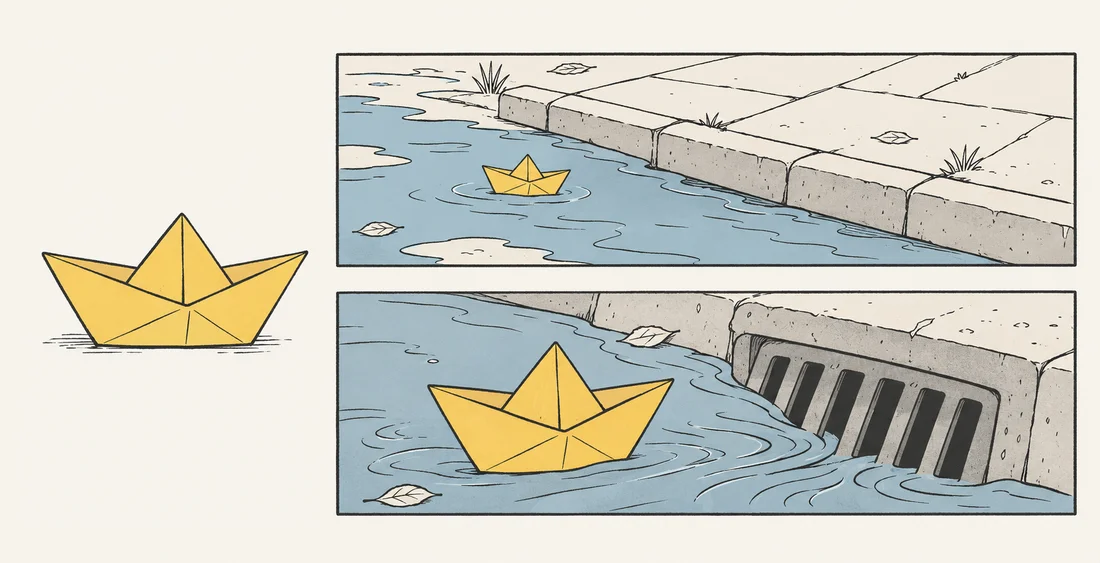
Start with the panel that best establishes the recurring subject and setting. Save the approved image and write a short list of details that must carry across panels. For the boat, record the folded triangular bow, yellow paper and plain sides. For the setting, record the gray curb, dark metal grate and muted blue water. A list like this helps you notice when a plausible drawing has quietly changed the story.
Use the NanoAI comic panel generator to create individual stills from prompts. If you want to revise a panel from an existing image, use Image Edit in the NanoAI Image Workbench and check the current model's available inputs. You can arrange panels and add lettering separately in your layout editor.
Example prompt for the middle panel:
One rectangular comic panel in a clean ink-and-flat-color style. Close view from curb height of a hand reaching down to pinch the folded bow of a small yellow paper boat in a blue rain puddle. Keep the dark drain grate behind the boat so the reader sees what it was approaching. Leave the upper right quiet for optional dialogue. Draw a single moment, with no lettering, panel border or speech balloon.
Keep stable details in each prompt and change the shot or action where the story calls for it. Check the output at the intended crop before moving on. If a new angle changes the boat into a toy sailboat, revise that panel using the approved reference when the tool accepts it. If the image is accurate but too crowded, adjust the framing instruction first. Separating these two problems makes the next attempt easier to evaluate.
Assemble and letter the strip
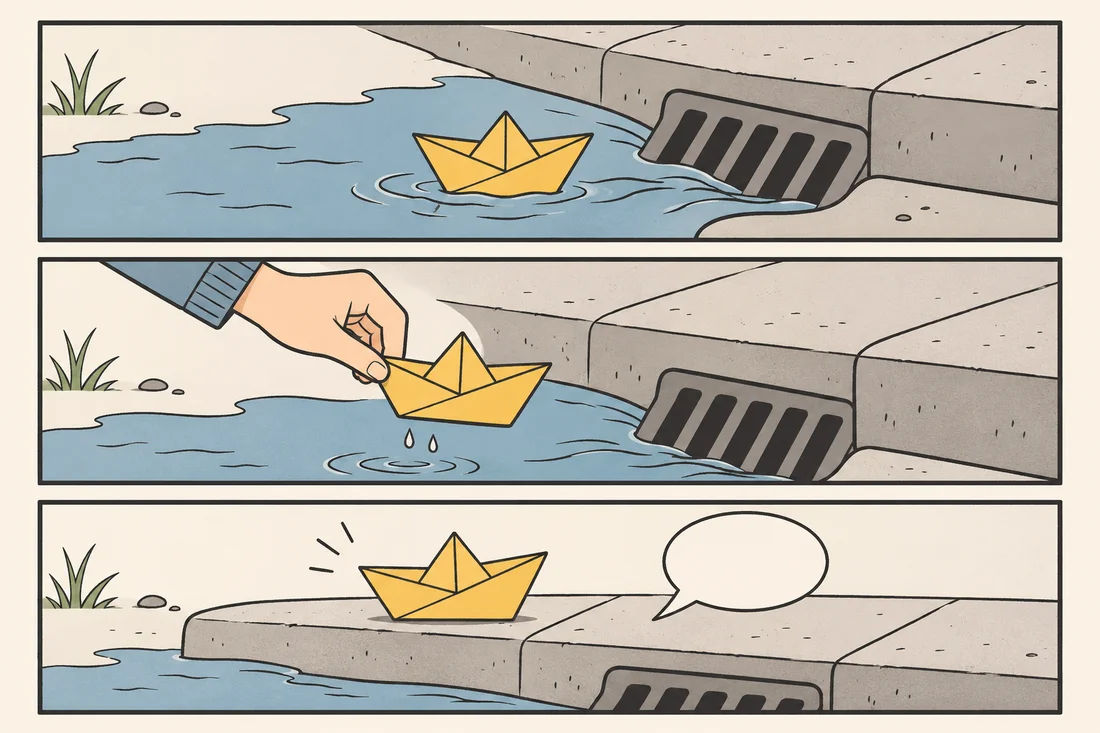
Import the images into one document and place them in reading order. A gutter is the visible gap between adjacent panels. Give the gutters enough space to separate one moment from the next, especially where two panels share the same background. Crop each image around its story action and keep the full image available on a separate layer or in the project folder.
Add dialogue once the images and gutters are stable. Put each balloon close to its speaker, aim the tail clearly and keep the words away from the key action. If the only line is a quiet “Got you,” the hand and boat still need to read before the line lands. You may decide the silent version already works. For a multilingual strip, editable lettering lets you revise the words and fit the balloon without regenerating the drawing.
Run a quick phone-size check. Look at the exported strip from top to bottom or left to right without zooming. Check whether the eye follows the intended order, whether small props are recognizable, and whether every line can be read at the published size. If someone pauses at a gutter, ask what they think happened between those panels. Fix the missing visual information where they hesitated.
Frequently asked questions
Can I generate all three panels in one image?
Yes. A single generated strip can help you explore pacing or visual style. Separate panel files are easier to reorder, recrop and revise independently. Keep an editable layout if you expect to change the composition or dialogue later.
How do I keep an object consistent across panels?
Save one approved depiction and list a few distinguishing features. Use it as a reference where the model supports image inputs, and compare each new panel against it. A prop may look smaller or partly hidden as the camera moves, so compare its shape, color and story-relevant details.
Should I ask the model to draw speech bubbles?
For a quick concept, a generated bubble can suggest where dialogue might fit. For a final strip, reserve a quiet area and add the balloon in the layout editor. That gives you direct control over wording, order, legibility and later translations.
What should I do if my comic only makes sense with a caption?
Check whether one panel is missing a visible cause, action or result. Add the clue to the relevant image, or split a crowded panel into two moments if the action genuinely needs more room. Keep the caption when it adds a voice or fact that the pictures cannot convey on their own.
Try one three-panel sequence with a single recurring prop. Save the approved panel files and editable layout so you can revise the pacing after the first read-through.