
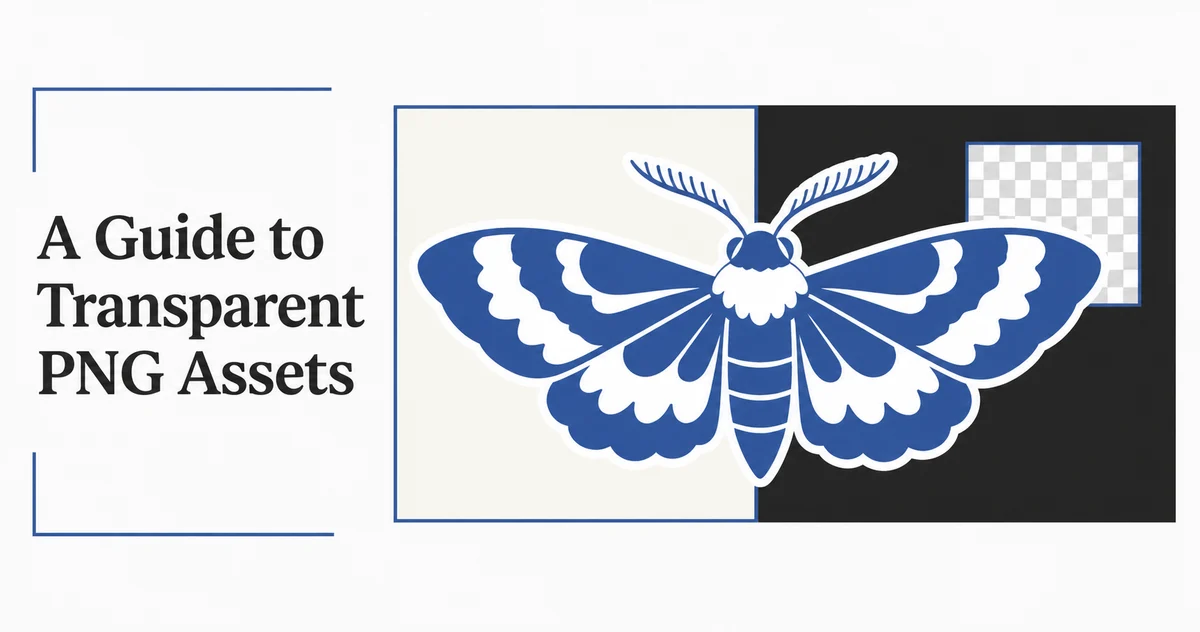
To make an AI transparent PNG, use a generator's transparent-background export for new artwork or mask the background of an existing photo and export the result as PNG with transparency. Then reopen the downloaded file and place it over a dark and a light background. The backdrop should show through around the subject and inside any holes. A checkerboard in a preview can represent transparency, but it can also be part of the image itself.
On November 4, 2026, Higgsfield described transparent PNG, GIF and SVG options in its GPT Image 2.6 workflow. That release makes a useful distinction for anyone handing off creative assets. A sticker for a website, an editable icon and an animated reaction each need a different deliverable.
- Choose the right file format
- Generate artwork or cut out a photo
- Check the exported PNG
- Frequently asked questions
Choose the right file format
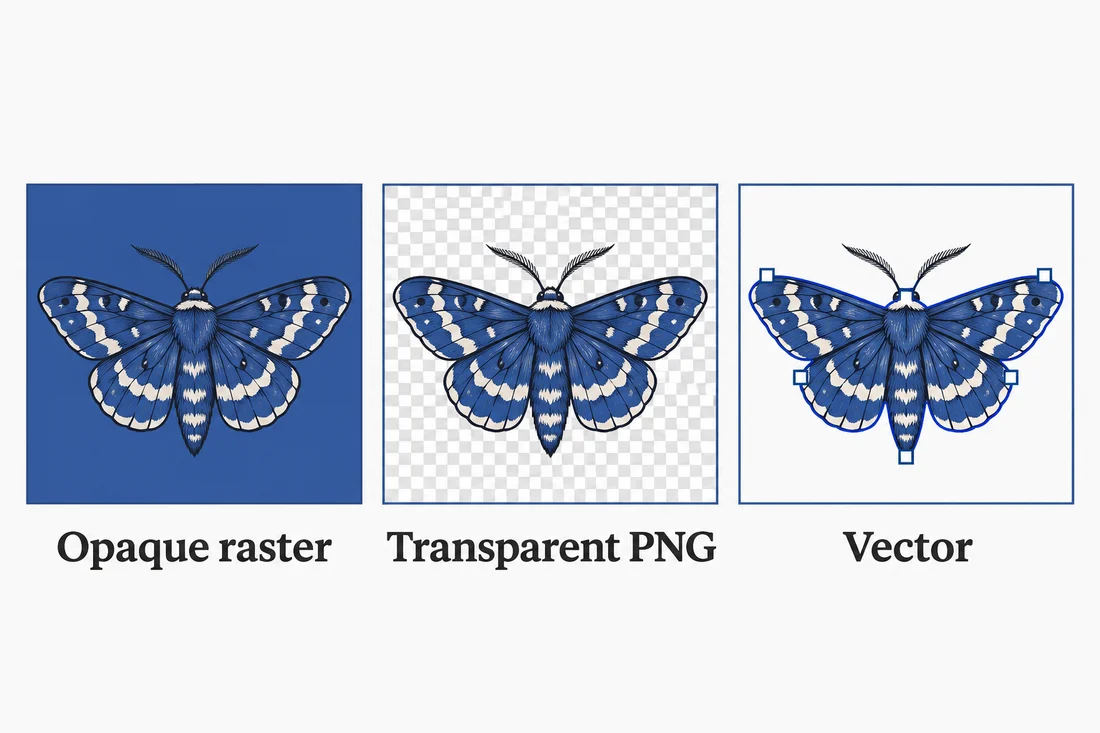
Start with where the asset will go. If the same blue moth sticker needs to sit on an ivory product page and a charcoal email header, the designer needs a movable layer with transparent pixels outside the silhouette. If a developer needs to recolor individual wing shapes or enlarge the icon for signage, editable vector paths are more useful.
| Deliverable | Use it when | Check before handing it off |
|---|---|---|
| Transparent PNG | A still cutout must sit over different backgrounds, with soft edges or small raster details | Confirm the downloaded image has transparent pixels and a clean edge at final size |
| SVG with vector paths | An icon or simple illustration needs to scale or be edited as shapes | Open it in a vector editor and confirm the parts are selectable paths |
| Opaque PNG or JPEG | The background belongs in the finished graphic, such as a flattened ad layout | Check that the baked-in color matches the final placement |
The W3C PNG specification defines ways to store transparency, including an optional alpha channel. Alpha describes pixel opacity. It can keep the center of a sticker solid while letting the background show through at its antialiased edge. A PNG can also be completely opaque, so the file extension alone tells you little about how it will behave in a layout.
Generate artwork or cut out a photo
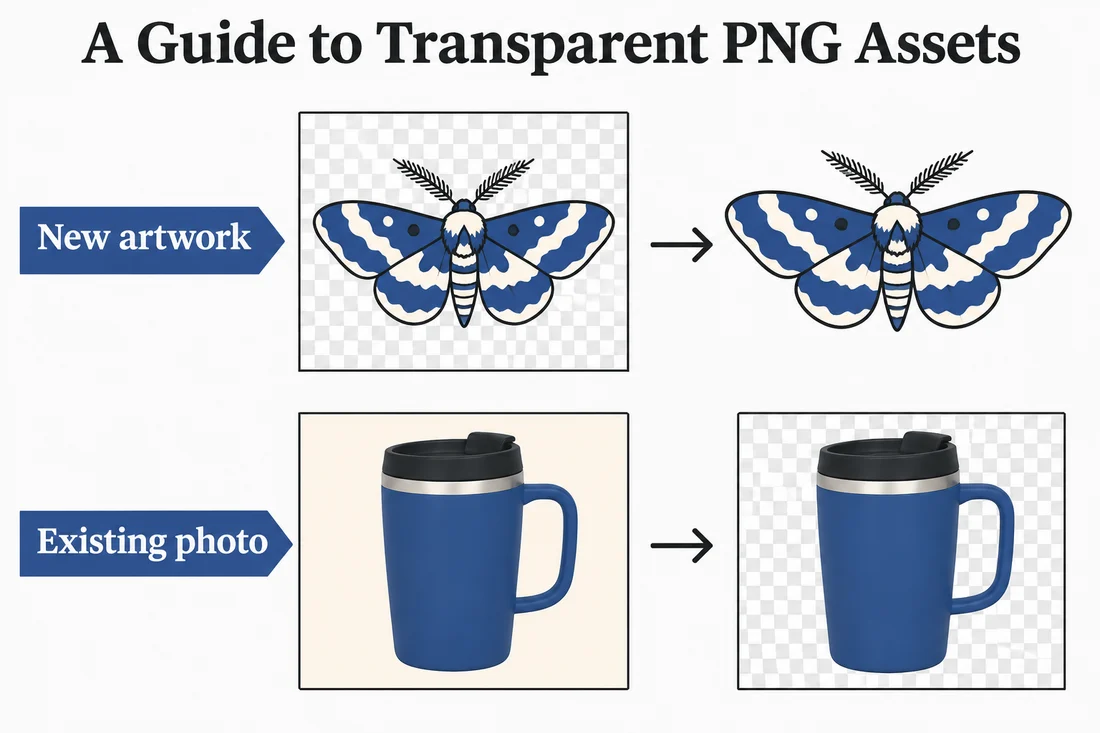
Concept illustration showing two workflows.
For a new illustration, plan the silhouette first
- Describe the subject and the outline. Ask for a single isolated object with room around fine features. For the moth, keep both antennae in frame and leave space between the antennae and the wings.
- If the generator offers a transparent-background option, turn it on before generating or exporting. If the available model outputs an opaque image, generate on a plain color that contrasts with the subject, then remove the background in a layer editor.
- Export at the dimensions you need and retain a master for future placements. If you need a smaller version for the web, create it from that master so future edits start with the most detailed copy.
Example prompt for a starting illustration:
Single cobalt-blue moth sticker with open wings, two clearly separated antennae and crisp flat-color shapes. Center it with padding on all sides. Omit cast shadows, scenery, outlines around the canvas and decorative text.
Use NanoAI's AI Image Workbench to develop the artwork in Text to Image or refine a source in Image Edit. Confirm transparency in the actual download before adding it to a layout. If the image comes out opaque, move to the masking step.
For an existing product photo, keep the original pixels
Suppose the asset is a blue travel mug whose handle, finish and lid need to match the catalog photo. Start with the approved photo, duplicate the layer, and use a selection or background removal tool to build a mask. Refine the mask around the lid, the rim and the gap inside the handle. You want the page color to show through that gap while keeping the original product pixels where the handle begins.
Decide what to do with the original contact shadow. A soft shadow can anchor the product on a compatible backdrop. A strong shadow photographed on a warm tabletop can leave a tinted patch on a cool banner. Keep the shadow separate when you need to change or reposition it across layouts. Before export, hide the background layer and compare the cutout against the source at the same zoom.
Check the exported PNG
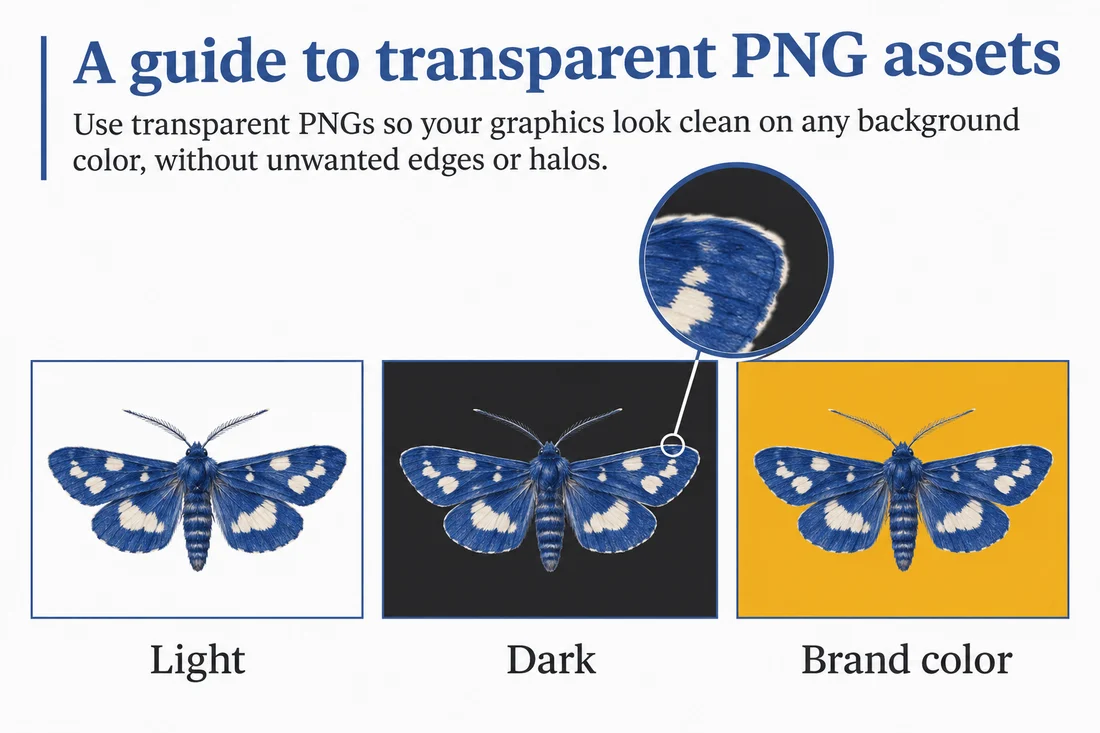
Reopen the exported file in the editor you use to assemble the final creative. Perform three checks:
- Change the background behind the asset. Use white, near-black and the campaign color. If a white rectangle or checkerboard travels with the subject, inspect the export settings and source layers. If you use a pixel inspector, sample the outside area and an interior hole to confirm that the actual alpha values reflect transparency.
- Inspect edges against contrasting colors. A pale fringe often becomes easier to spot on a dark background. A dark fringe stands out on white. Zoom in to fix a specific edge and zoom back out to verify that thin details, such as the moth's antennae, still look natural.
- Check the final placement. A file can look clean on its own and still get cropped or flattened after upload. Preview the final website slot, email block or ad canvas at its intended size. If you optimize a copy with NanoAI's Image Compressor, reopen the downloaded copy and repeat the background check before swapping it in.
For the travel mug, use the handle hole as a quick test. The same brand color should show through the hole and around the product. If the hole holds onto a patch of the old wall color, fix that region of the mask and export again. For the moth, the most revealing points are the narrow gap beside each antenna and the light markings near each wingtip.
Frequently asked questions
Does a checkerboard mean my PNG is transparent?
An editor's checkerboard often marks transparent areas. If the squares still appear when you put a solid layer beneath the downloaded file, the pattern may be baked into the image. Inspect the exported file rather than relying on the generation preview.
Can I convert a white-background JPEG into a transparent PNG?
Yes. Open the JPEG, mask out its background, and export to PNG with transparency. Saving the original as a PNG alone leaves the white pixels in place. For a white product on a white set, refine the mask by hand where automatic selection misses the outline.
Why does the PNG show white when I open it on my phone?
Some viewers render transparent areas on white. Import the file as a layer and change the color behind it. If the white remains attached to the image, it may have been baked in during export, copying or upload.
Should I keep a master once the PNG looks good?
Keep the approved transparent PNG and, when available, the editable file with its original photo and mask. A later revision may need a softer edge or a different shadow. The editable mask lets you make that change without cutting out the asset again.
Start with one asset and one real placement. When the exported file passes the background and edge checks there, use that file as the basis for the remaining campaign sizes.