
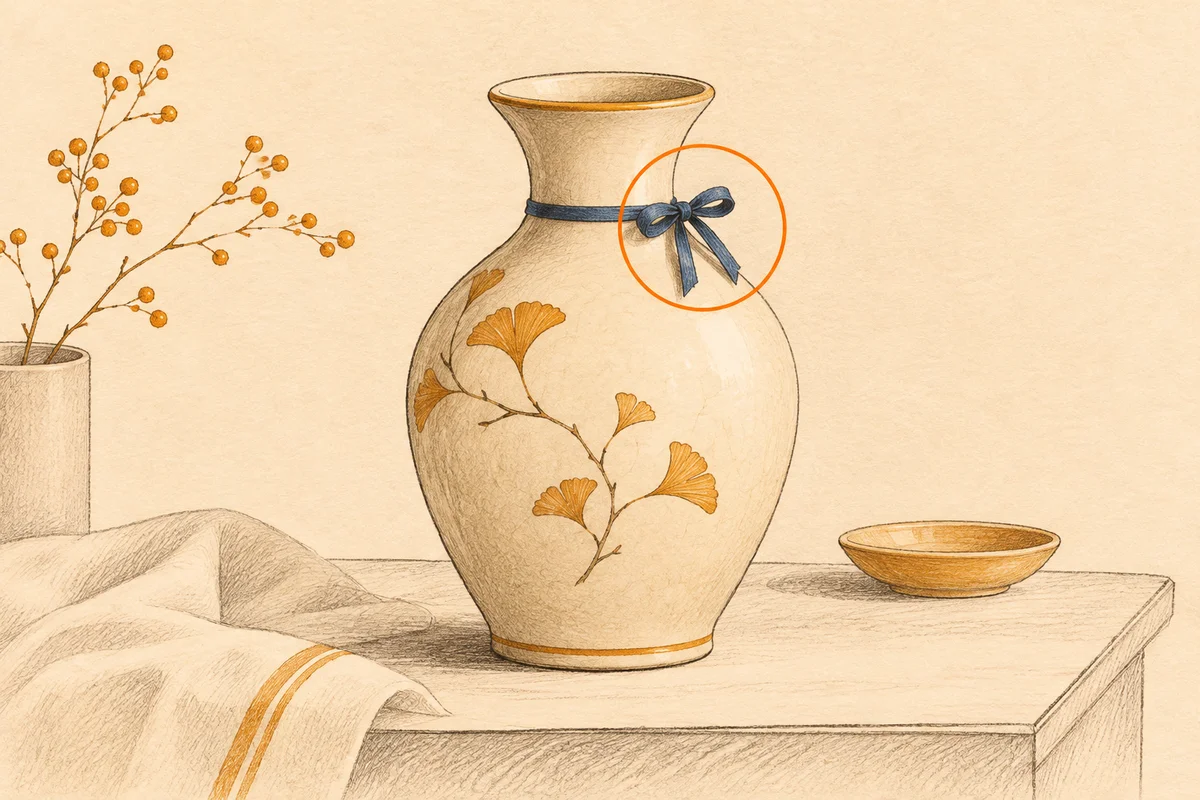
To change one part of an image with AI, identify the smallest area that includes the object and its visible effects, describe what should fill that area, and specify what must stay the same. For example, to remove a blue ribbon beside a ceramic vase, ask the editor to reconstruct the tabletop and remove the ribbon’s shadow while keeping the vase, its shadow and the framing. Compare the result against the original before replacing the approved image.
OpenAI’s November 4, 2026 Images 2.6 announcement brought markup-guided editing to supported API models. A mark helps point to the right object, while the editing brief still needs to describe the desired result. The method below also works as a planning checklist for text-guided edits. OpenAI’s release announcement
- Choose the area to edit
- Write a prompt for one change
- Compare the edit with the original
- Frequently asked questions
Choose the area to edit
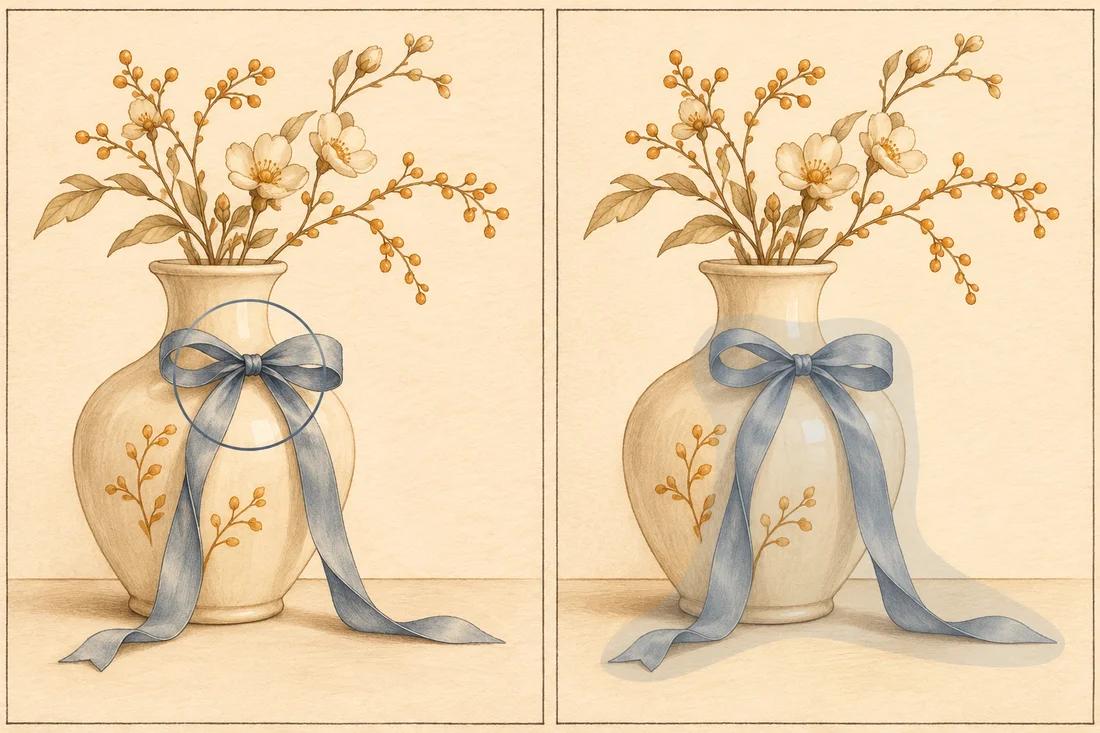
Start with a clean copy of the original. Identify the object by position and appearance. If the scene contains two ribbons, say which one should go. Look for everything the object contributes to the scene, including a shadow on the table, a reflection in glass or an overlap with the subject. An edit that removes only the ribbon may leave a blue tint or shadow that still traces its shape.
| Method | Use it when | What to review |
|---|---|---|
| Text description | The object is easy to identify by color and position | Confirm the edit touched the intended object |
| Markup | There are several similar objects and the tool accepts visual instructions | Confirm the mark was interpreted as an instruction and did not appear in the result |
| Mask or selection | You need to guide the edit to a specific patch and the tool exposes that control | Check the boundary and compare surrounding pixels or details |
Draw markup on a separate copy or in a tool that treats it as an instruction. For a selection-based workflow, include the ribbon and the part of its shadow you want removed. Keep the vase itself outside the selection if its edge is already correct. A small amount of surrounding tabletop gives the edit room to match texture and lighting at the boundary. Adobe documents a selection-based workflow for removing and replacing image content in Photoshop. Adobe Generative Fill documentation
Write a prompt for one change
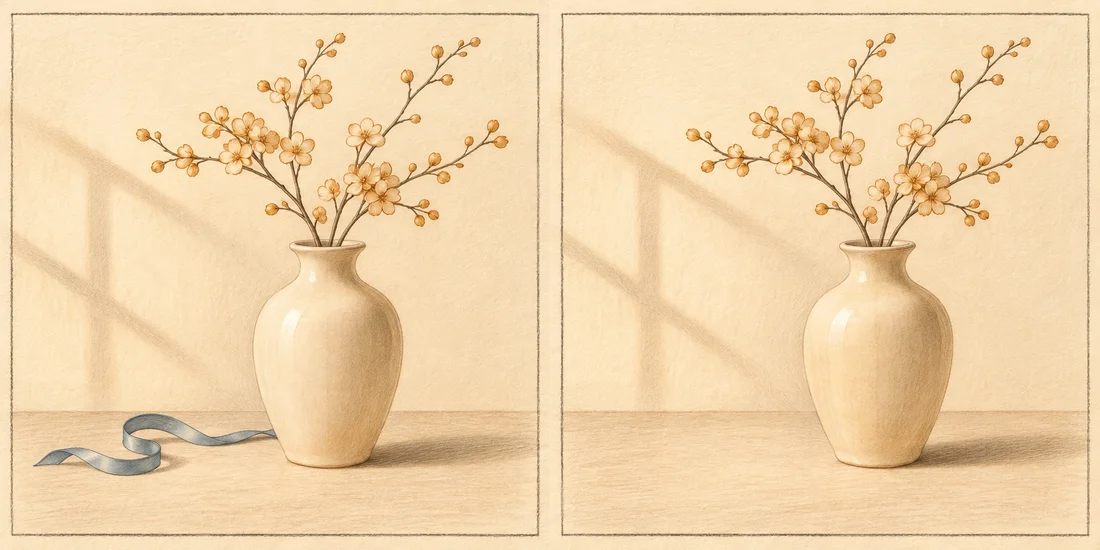
A local edit prompt needs three pieces of information. Name the target, describe the replacement and list the elements that define the approved image. The replacement can be an empty patch of table, a different prop or a surface detail that continues behind the object.
Remove the thin blue ribbon on the tabletop to the left of the cream vase, including the small shadow cast by the ribbon. Continue the existing matte tabletop through that area with the same grain and lighting. Keep the vase silhouette, glaze, vase shadow, background and crop.
For a text-guided attempt, upload the clean image and use the position and color in the prompt to identify the ribbon. NanoAI’s Image Workbench offers an Image Edit mode. Choose a model that accepts your image and check its available controls before relying on any selection or markup feature. NanoAI Image Workbench
Do one material edit per attempt when you need to see what went wrong. If you remove the ribbon and relight the vase together, a change in the shadow could come from either instruction. Approve the object removal first, then decide whether the light still needs attention. Keep the original available in case a later attempt changes a detail you need to recover.
Compare the edit with the original
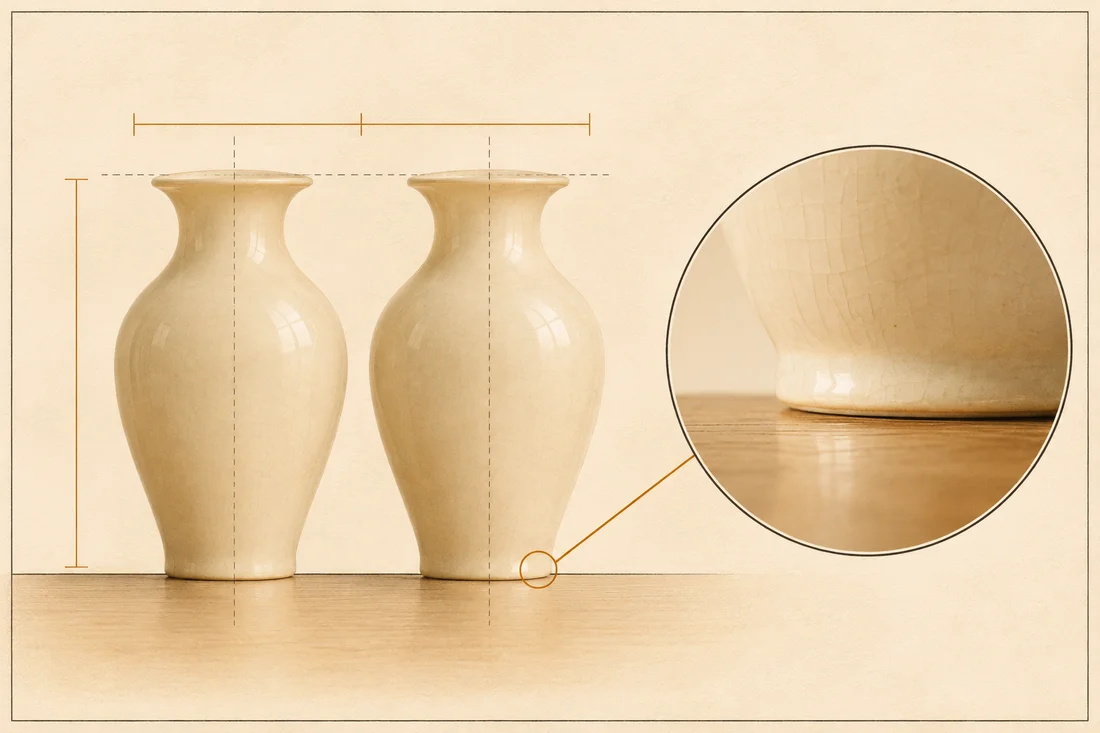
Review the picture at the size it will appear in the final layout. Does the viewer still see the same vase in the same place? Then zoom in where the ribbon was and where its shadow met the surface. Look for repeated grain, a soft patch, a stray blue edge or a break in the tabletop seam.
- Align the original and edited images at the same zoom. Switch between them and watch the parts that should remain stable.
- Check the vase outline, foot and shadow. Verify the framing and any color that identifies the product.
- Inspect the cleared area for leftover reflections or repeated texture.
- If an unrelated part has shifted, retry with a narrower target. If the edit needs strict preservation elsewhere, assemble the approved patch over the original in a layer editor and inspect the seam.
For a catalog image, use the approved photo as the standard. A patch can look plausible on its own while changing a product edge or a material finish. Keep the untouched file and save the approved edit as a new copy so the team can trace what changed.
Frequently asked questions
Is image markup the same as an edit mask?
Markup points out a region or describes a change visually. A mask or selection defines a patch for an editing tool to work with. The exact behavior depends on the tool and model, so check the resulting image around the target.
Can I edit one object using only text?
Yes, when the object is easy to locate. Name the position, appearance and nearby anchor, such as the blue ribbon to the left of the vase. If the tool changes the wrong item, try a selection in an editor that supports one.
What if the removed object leaves a shadow?
Include the part of the shadow cast by that object in your instruction or selection. Preserve the main subject’s shadow when it still belongs in the scene. Check the boundary where those two shadows meet.
How can I keep the rest of an image pixel-for-pixel identical?
Use an editor to composite the approved patch over the original and keep the original pixels outside the composite boundary. Check the transition at full size and use a suitable export format when exact pixel preservation matters.