
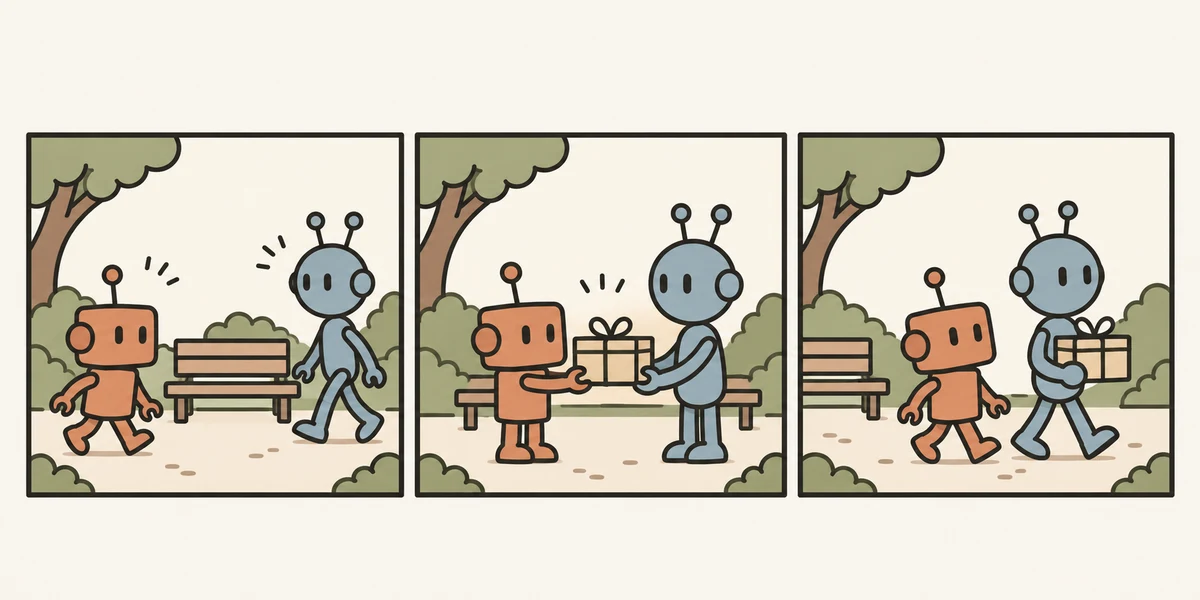
To keep an AI character consistent across video shots, start with one approved character reference, use it to prepare each shot's opening image, and check the finished clips side by side. Give each character a few features you can spot at a glance. When a clip changes those features, repair the still or regenerate that shot from the approved reference. This keeps an early mistake from becoming the reference for the rest of the scene.
Krea’s November 2, 2026 production write-up describes a two-character animated short and distinguishes the creator’s public tool credits from the tutorial’s own example prompts. That distinction matters here too: the two robots below are an original planning example. The Codex illustrations show what to check; they are conceptual drawings, not results from running a video model.
On this page: Build an identity reference · Generate one shot at a time · Review the cuts · Frequently asked questions
Build an identity reference
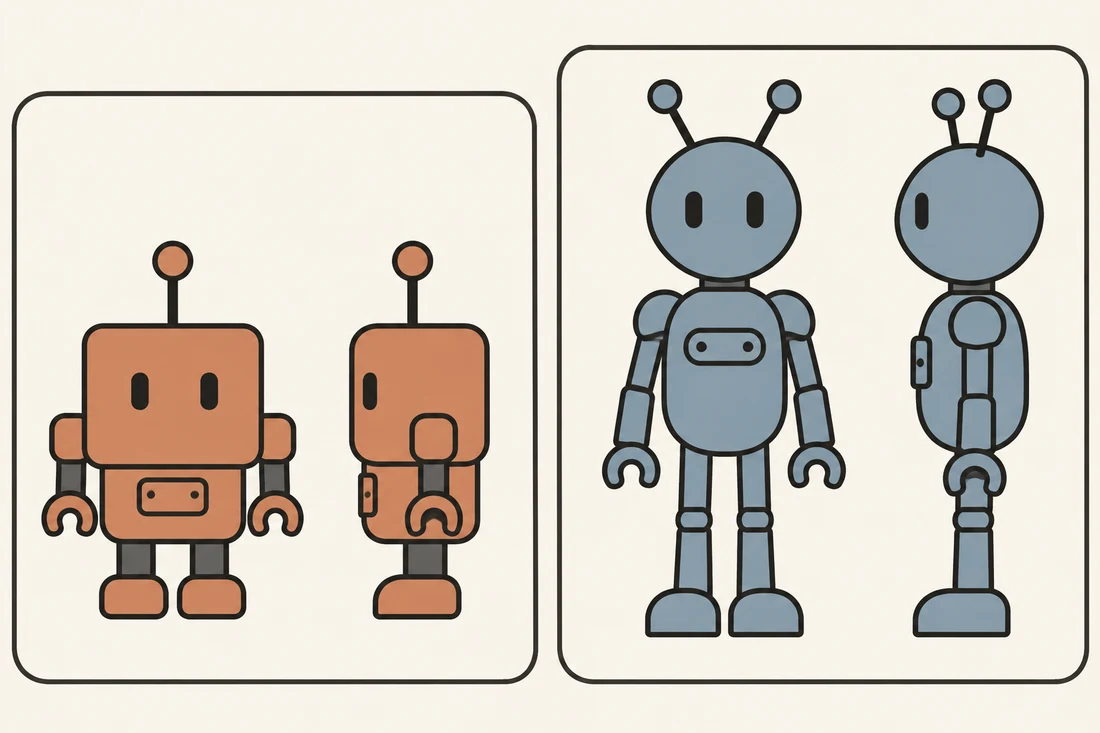
A reliable reference tells you which changes count as mistakes. Start with a clean image of each character where its silhouette, face, outfit or construction is clear. For a two-character scene, check that you can identify both characters even when the frame is small. Two similar faces wearing slightly different shades of the same jacket are harder to distinguish than two characters with visibly different shapes and clothes.
Runway’s longer-video production guide describes using neutral character views before placing characters in scenes. Apply that idea by checking one additional angle only when your shot list needs it.
Write down a short identity card before making shots. For this example:
| Character | Features to preserve | Details that may vary by shot |
|---|---|---|
| Ember | Short square terracotta head, one antenna | Arm position, expression, apparent size in a close-up |
| Slate | Tall round slate-blue head, two antennae | Body angle, gaze, placement within the frame |
The card describes what is visible. An antenna hidden behind another object is not necessarily missing, and a close-up can legitimately crop it out. Check a clearer frame before rejecting the shot. For a change that affects the story, such as a character putting on a jacket, write down when it happens so the new appearance is intentional.
Use NanoAI’s image workbench to create an original character still, or use Image Edit with an approved image to prepare a new composition. Keep the approved reference separate from exploratory versions. If a new angle invents a detail, decide whether it belongs to the character before using that angle in other shots. The reference image guide explains how to give each uploaded image a specific job when the selected image editor supports multiple inputs.
Generate one shot at a time
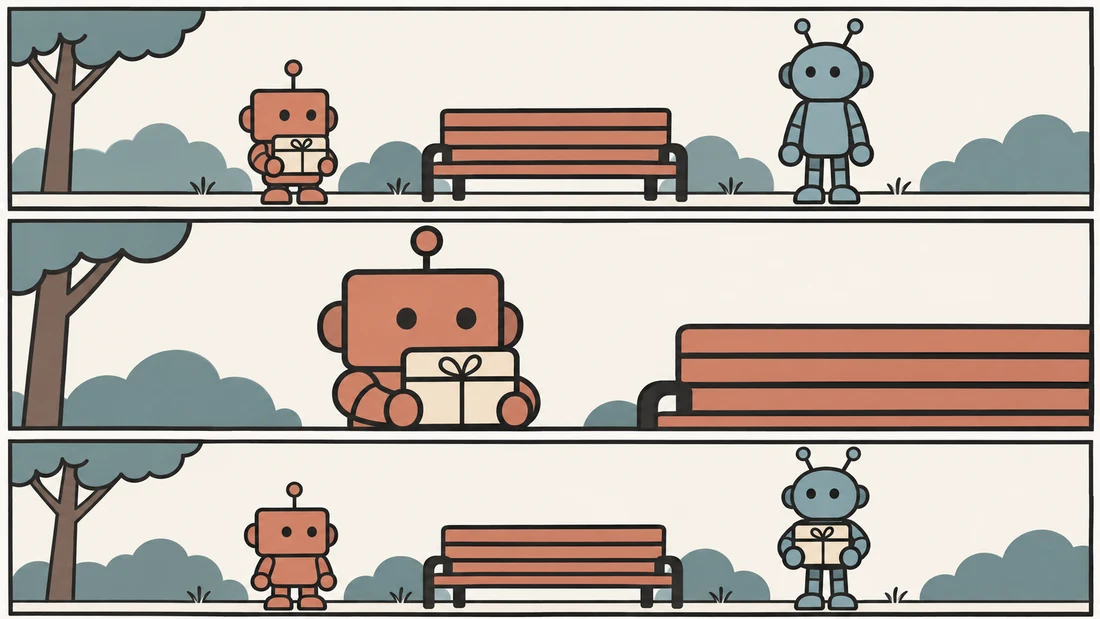
Plan a short scene as a sequence of visible changes. In this example, Ember arrives with a parcel, offers it, and Slate receives it. A shot only needs enough action to make its part of the story clear.
| Shot | Opening still | Motion to request | Detail to carry into the next shot |
|---|---|---|---|
| Establish the meeting | Ember stands left of the bench with the parcel; Slate waits on the right | Ember takes one small step toward the bench | Ember still holds the parcel |
| Show the offer | Closer view of Ember extending the parcel | Ember slowly brings the parcel forward | Parcel is extended toward Slate |
| Confirm receipt | Slate holds the parcel on the right; Ember’s hands are empty | Slate lowers the parcel slightly and nods | Slate leaves with the parcel |
Prepare each opening image from the approved character references and the intended framing. Use a wide frame when the characters’ positions matter, then prepare a closer view when the audience needs to see the parcel. Reusing a single wide image for every clip can keep the starting composition stable, but it gives you less control over the close-up. A newly prepared opening still is useful if you inspect it for identity changes before animating it.
Open NanoAI’s AI Video Generator, choose Image to Video, and check the settings offered by the selected model. Supply the prepared image and describe one action. For the first shot, an illustrative prompt is:
Keep the wide camera fixed. The short square terracotta robot on the left takes one small step toward the bench, holding the parcel with both hands. The tall round slate-blue robot remains on the right. Preserve their silhouettes, colors and antenna counts. End with the parcel still in the terracotta robot’s hands.
Treat the preservation request as guidance and inspect the output. A starting image establishes a composition; it cannot guarantee that every later frame retains the same design. If your selected tool offers a separate appearance reference mode, check how it handles those inputs before using it. The image-to-video versus reference-to-video guide explains the difference. This workflow uses an opening image for each shot and does not depend on a separate persistent character control.
A handoff is also a good example of when to simplify. If a continuous transfer produces merged hands or a disappearing parcel, try an offer shot followed by a clear receipt shot. That cut can convey the same story without asking the model to solve every intermediate movement. Watch the result: if the handoff becomes confusing, add an insert of the parcel or adjust the timing in your editor.
Review the cuts
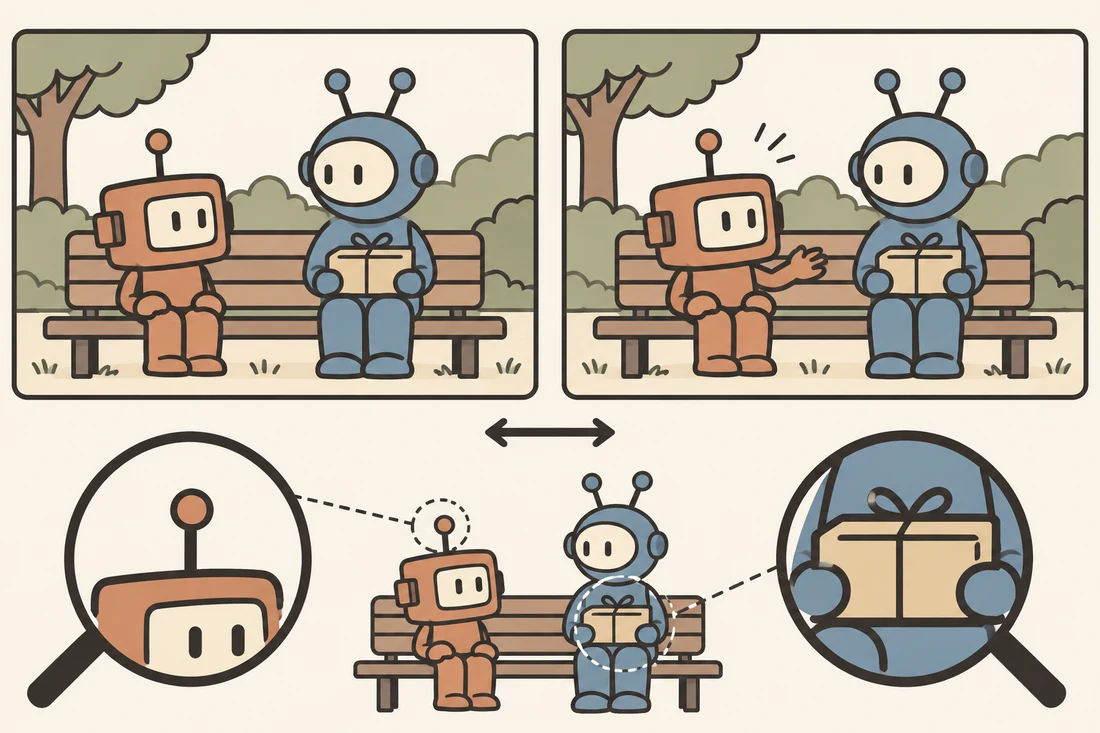
Review each clip once on its own and then as part of the sequence. First, check the opening, middle and end for major identity changes. Then play through the action: a feature can change briefly between the frames you sampled. Finally, watch the cut into the next shot. An acceptable clip can still create a confusing transition if the characters swap places or the parcel appears in the wrong hands.
Use three checks:
- Identity: Do Ember and Slate keep the features that distinguish them? If the opening image is already wrong, fix that image before another video generation.
- State: Who holds the parcel, which way are the characters looking, and where are they relative to the bench? Compare the previous shot’s end with the next shot’s start.
- Readability: Can someone who did not write the prompt tell what happened at normal speed? A coherent thumbnail does not prove the action reads clearly.
If the identity changes only during a large turn, try a smaller movement or a shot that ends before the turn. If the characters appear to switch sides, check whether the camera angle explains it; an establishing shot can orient the viewer before a new angle. If the object changes ownership too early, repair the opening still or choose a different take. Fix the first point where the sequence becomes unclear instead of rewriting the entire production brief.
Save the approved references, opening images and selected clips with short shot names. For example, label the last clip “03-receipt-slate-holds-parcel.” That gives you a clear starting point when replacing a shot or adding a new one later.
Frequently asked questions
Does using the same prompt keep a character consistent?
A repeated prompt helps communicate the same design, but it does not fix how the model draws the character. Reuse a checked visual reference and compare the output with a small set of visible identity features.
Should I use the last frame of one clip as the next opening image?
It can help when the next shot continues the same view and action. Inspect that frame before reusing it. If the character has already drifted or you need a different angle, prepare a new still from the approved reference instead.
How do I avoid two characters swapping identities?
Give them visibly different designs, name their roles and positions in each shot, and avoid asking for several simultaneous actions in the first attempt. Check who moves and who holds each prop throughout the clip.
Can I make the whole sequence in one generation?
Some tools support longer or multi-shot generation. Separate clips are useful when you need to inspect and replace one beat without regenerating the rest. Choose based on the controls available and how precisely the cuts need to match.
Start with two stills that make the characters easy to tell apart. Prepare one wide opening image in the image workbench, animate a single action in the video generator, and check the character and prop states before making the next shot.