
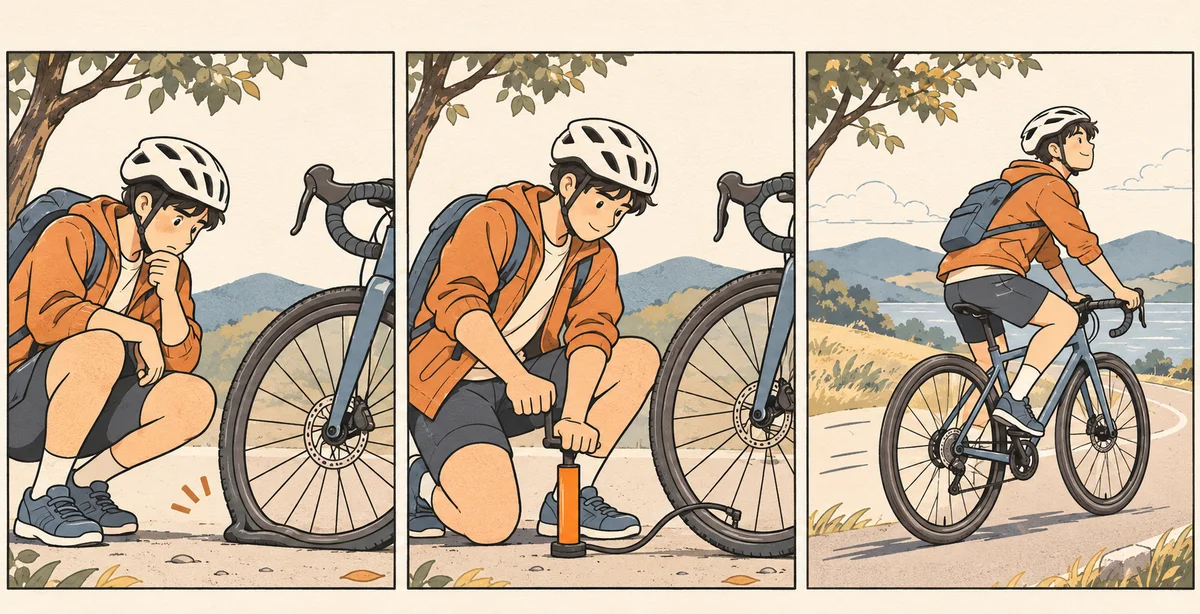
To make an AI micro drama ad, give a character an immediate problem, show one action the product makes possible, and end with a visible change. Plan those three beats before generating video. In a bicycle pump ad, the rider discovers a flat, attaches the pump, and gets back on the road. The middle beat earns the product its place in the story.
On November 6, 2026, Higgsfield introduced Micro Drama Ads in Ads Studio, describing a format built around a conflict and a product at the turning point. You can also build a short version shot by shot. The example below is a fictional storyboard. For a real ad, use your actual product photos, instructions and approved claims.
- Write the turning point
- Generate the shots separately
- Check the product action in the edit
- Frequently asked questions
Write the turning point
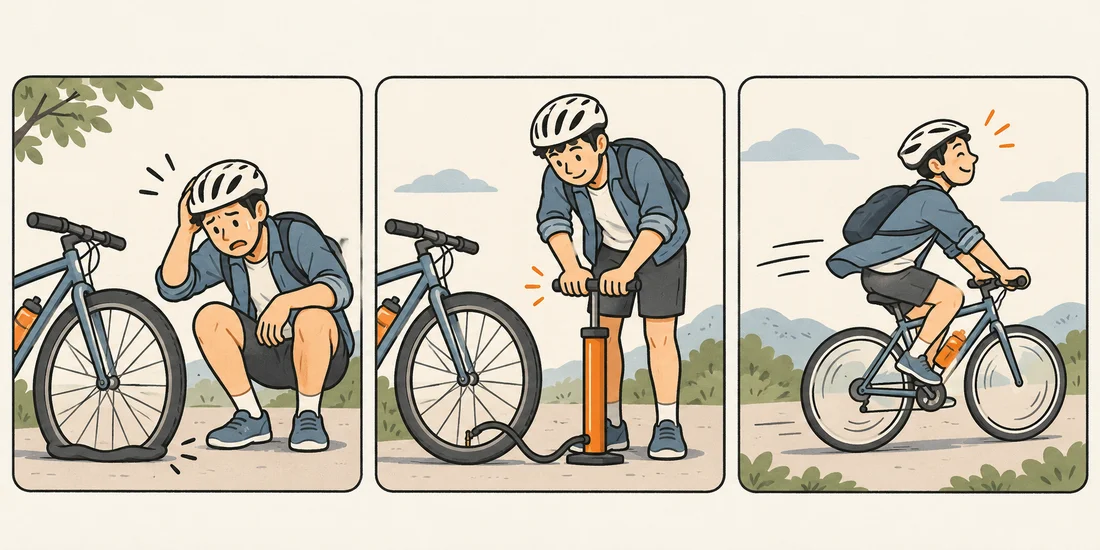
Write the change in one sentence: “The rider can continue because the pump helps restore air to the tire.” That sentence gives you something concrete to show. If your turning point is just “the rider sees the brand,” add an action that connects the product to the outcome.
| Beat | What the viewer sees | What to decide before generation |
|---|---|---|
| Problem | A rider stops and notices the soft tire | Which visual makes the delay obvious? |
| Product action | The rider attaches the pump to the valve | Which product detail makes the action understandable? |
| Payoff | The rider rolls away | Which visible change resolves the problem? |
Use a problem the viewer can recognize in a glance. A soft tire and a stopped bike establish enough context. An elaborate backstory about where the rider is going would take time away from the product action. If the ad needs a brand card, give it a separate beat after the outcome so the viewer has time to understand both.
Try a quick edit on paper: remove the middle panel and read the remaining two. If the story still makes complete sense, the action may be too generic. Give the product a clearer role, such as showing the hose being attached. If the real product works differently, revise the scene around the real mechanism.
Generate the shots separately
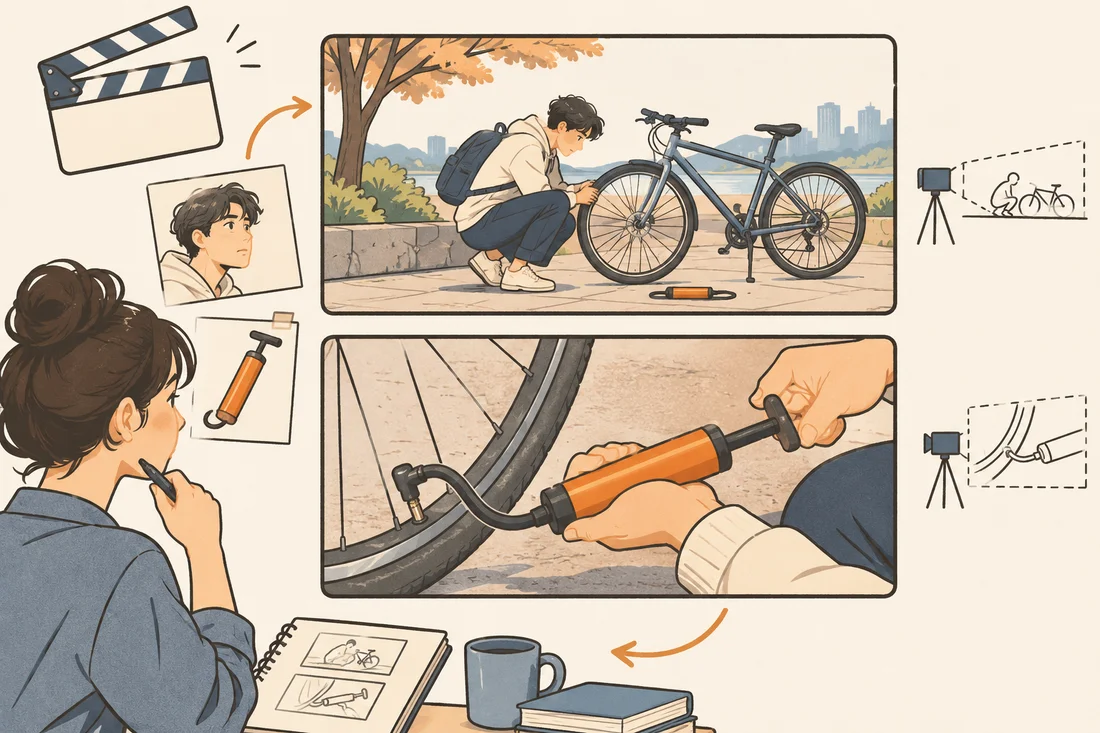
Make a rough still for each beat before animating. Hold the location, clothing and bike steady across the sequence. For any shot where the product is recognizable, work from a clear photo of the actual unit and use the product angle that shows the part the viewer needs to see.
- Establish the problem. Frame the stopped bicycle and the rider in the same shot. If the tire is too small to read, use a closer angle or show the rider pressing it with a thumb.
- Show the action. Frame the pump and wheel valve in a separate shot. Keep background movement low so the viewer can follow what the hands do.
- Show the result. Use a wider shot of the rider moving away. Keep the bike and clothing recognizable across the cut.
Try NanoAI Image Edit to prepare opening stills. Then use NanoAI's video generator with a model that accepts an opening image. For each shot, describe what should move and what should stay steady. A short draft for the payoff is “The rider pedals forward and leaves the frame. The curb and background stay fixed. Keep the bicycle frame and rider's jacket consistent with the opening image.”
If the pump connection needs to be technically accurate, film that short insert with the real unit. The generated wide shots can establish the scene and show the outcome around it. Cut from the stopped bike to the filmed close-up, then back to the wider payoff. Matching the direction of the wheel and the rider's sleeve across those cuts can help the insert feel like part of the same scene.
Check the product action in the edit
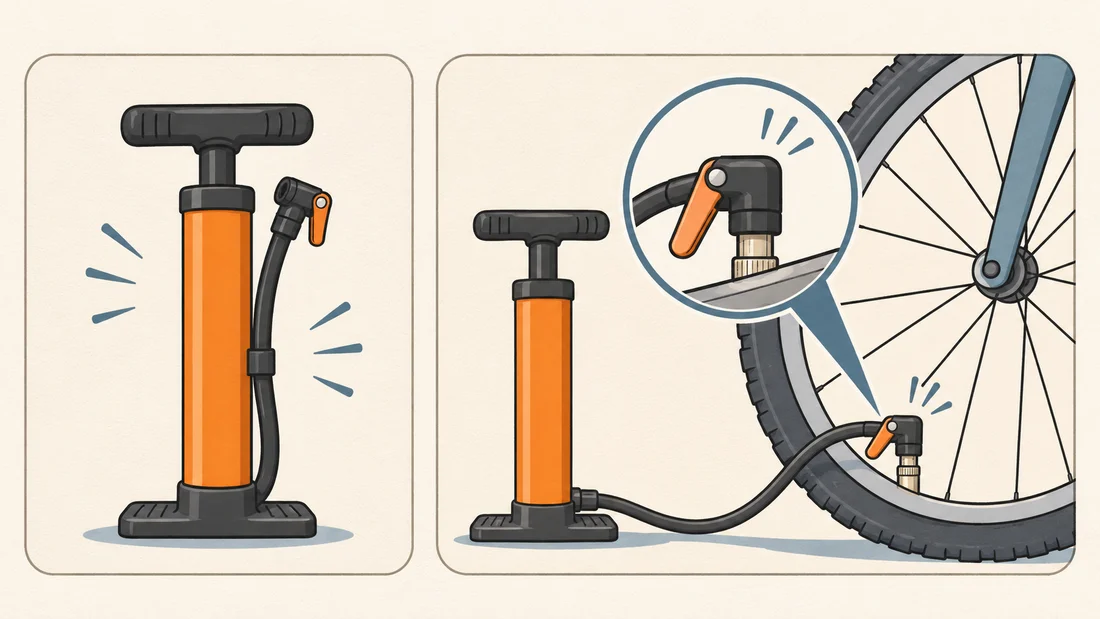
Watch the cut once with the sound off. Pause just before the payoff and ask what the character did and why it worked. If the viewer can describe the problem and outcome but misses the middle action, hold the clearest frame longer or replace the insert with a tighter shot. Add sound or a caption after the action reads on its own.
Review the actual product action frame by frame. Compare the product outline, visible controls, hose and valve connection with approved reference material. The illustrations in this guide are planning sketches, so use the real product and its instructions to establish the correct connection. If the close-up invents a connector or changes the mechanism, replace that shot. For a general list of ad details to check before export, see How to fact-check an AI product ad.
Finally, look at what the cut implies. Cutting directly from attaching a pump to riding away can make the action feel immediate. A brief shot of the rider pumping, or a visible time transition where needed, helps communicate the intended sequence. Keep time, performance and compatibility claims tied to the facts you can verify for the product.
Frequently asked questions
How long should an AI micro drama ad be?
Start with enough time to show the problem, the product action and the payoff. Use the same draft to test whether viewers can follow the transition at your intended placement size. Shorten idle movement before cutting the moment that explains what the product does.
Does a micro drama ad need dialogue?
A visible problem and a clear product action can carry the story on their own. Dialogue works best when it adds something the image cannot show, such as why the rider is in a hurry. Preview the edit muted to see what still comes through.
When should the product appear?
Introduce the product early enough that the action feels plausible. For example, the pump might already be clipped to the bike before the close-up. Hold on the moment when the rider uses it so the connection between product and payoff is easy to follow.
Can I use an actual product shot with generated footage?
Yes. An actual close-up is useful when the geometry, label, controls or handling must be precise. Match the screen direction, light and visible wardrobe around the insert, then check that the surrounding shots do not imply unsupported product behavior.
Start with one problem your product can visibly help solve. Draft three stills, then play them in sequence before generating motion.