
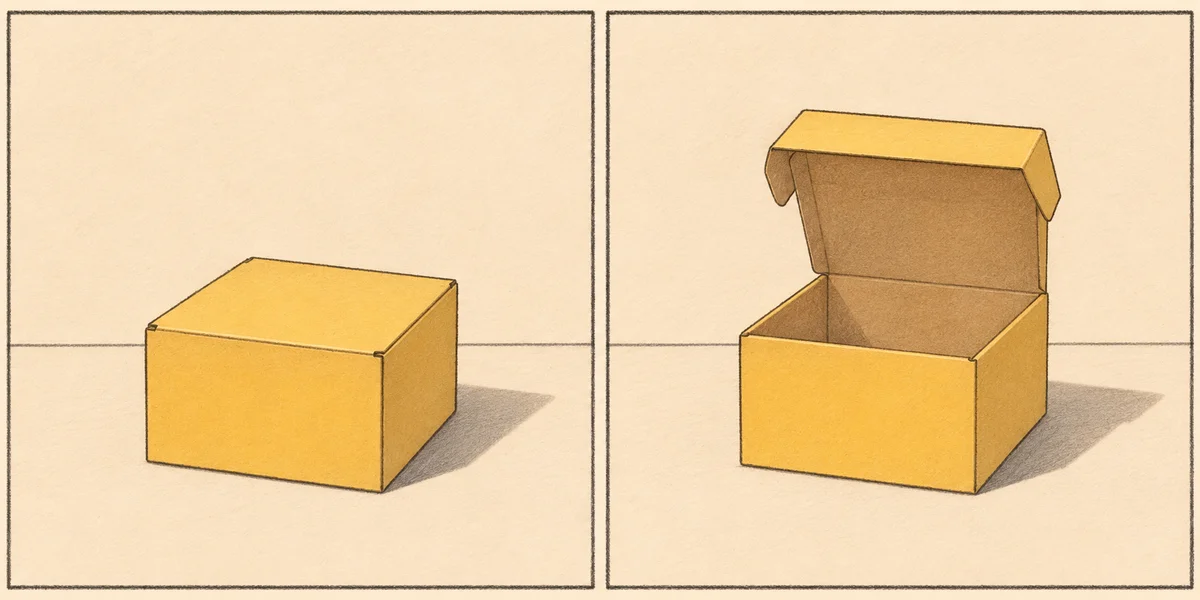
Use first and last frames in AI video when you know how a shot should begin and end. Prepare two images of the same scene, change only what the action requires, and describe the movement that connects them. For a product reveal, start with a closed box, end with its lid open, and ask for one continuous movement around the hinge. Inspect the middle of the clip before approving it. A convincing ending can hide a warped lid or a jump cut earlier in the shot.
Higgsfield’s November 12, 2026 changelog lists first and last frame inputs for Seedance 2.5 Flash. Google also documents this workflow for supported Veo and Gemini Omni models. The examples below illustrate how to prepare and review those inputs. Higgsfield changelog · Google Cloud guide to first and last video frames
- Prepare the two endpoint images
- Prompt the movement between frames
- Review the middle of the clip
- Frequently asked questions
Prepare the two endpoint images
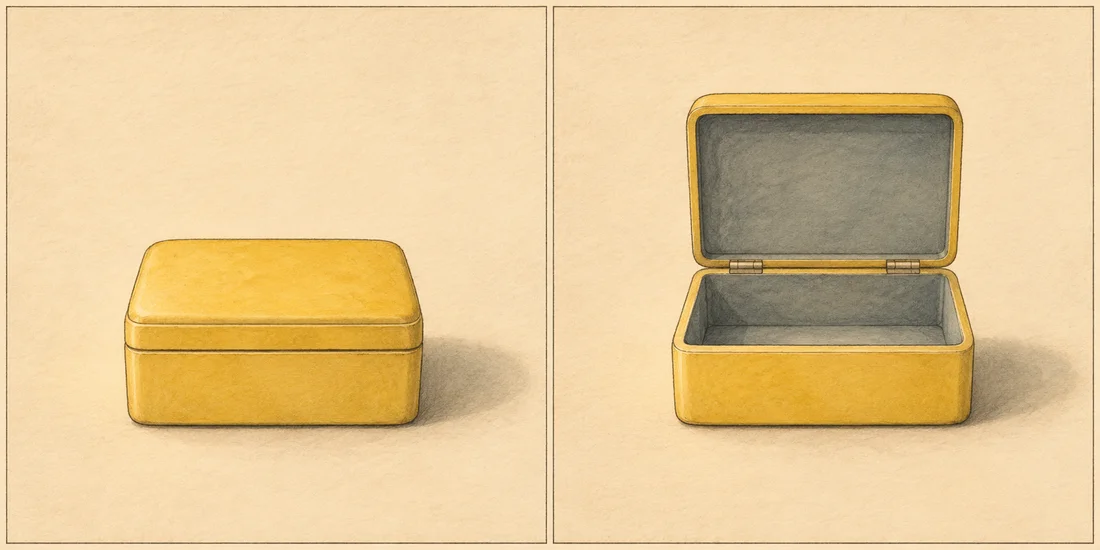
Decide what the viewer should see at the end. If the purpose of the reveal is to show the inside of a box, make the interior visible in the end image. Leave enough room above the box in both frames so the lid has a clear path as it opens.
Frame the closed and open states from the same position and use the same aspect ratio. Compare the box’s corners, its size in the frame and the line where the table meets the background. If the box suddenly appears larger in the final image, the generated shot may have to reconcile both a change in scale and a lid movement. Keep the framing aligned when the lid is the only thing you want to move.
| Input | Use it when | Example |
|---|---|---|
| First frame | You know the opening and can let the motion determine the ending | Begin on the closed box and see where the lid settles |
| First and last frames | The ending needs a specific pose or composition | End with the lid upright and the interior visible |
For a concept, use Image Edit to prepare the two stills from a common source. For a real product, use an approved photograph of each state when construction, markings or contents matter. Open both images side by side before moving to video. NanoAI Image Workbench
Prompt the movement between frames
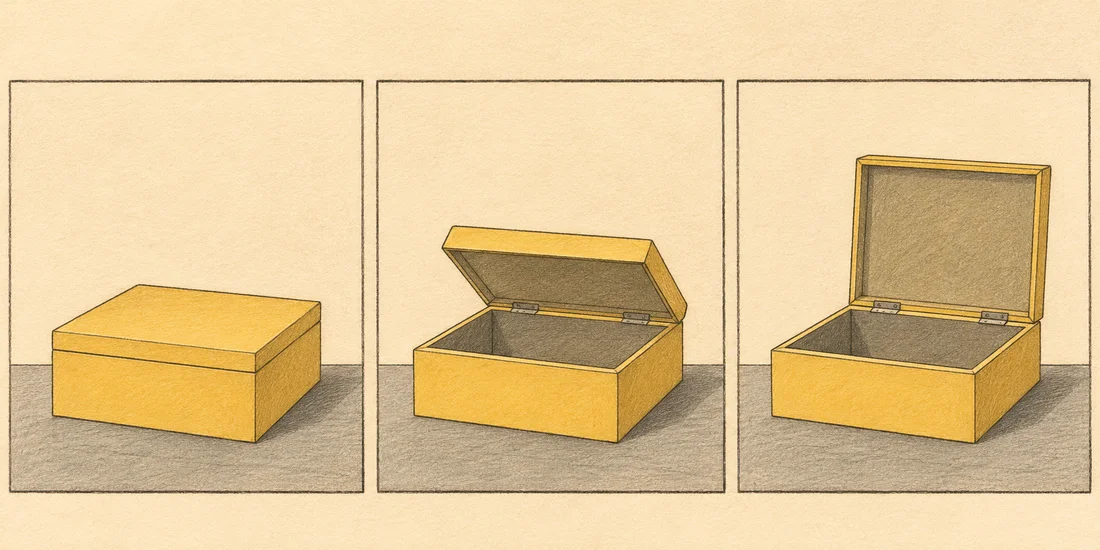
The endpoint images establish the poses. Use the prompt to describe the path between them, the speed of the change and what stays steady. Name the hinge if it determines how the lid moves, and say where the motion should settle.
Fixed camera in a continuous shot. The yellow box stays in place on the tabletop. The lid rotates slowly upward around its rear hinge, then settles in the open position. Keep the front corners and the tabletop line steady. Hold the open position briefly.
- Choose a generation mode with separate first and last frame inputs. Assign the closed and open images to the corresponding slots.
- Start with one action. Add a camera move in a later attempt if the reveal needs one.
- Generate a draft and watch it at normal speed. If the lid opens as expected but the action ends too late, revise the pacing or extend the hold in your edit where there is a stable end frame.
When you only need to explore how the opening might animate, start with the closed still in Image to Video and compare takes before committing to the final pose. NanoAI Video Generator
Review the middle of the clip
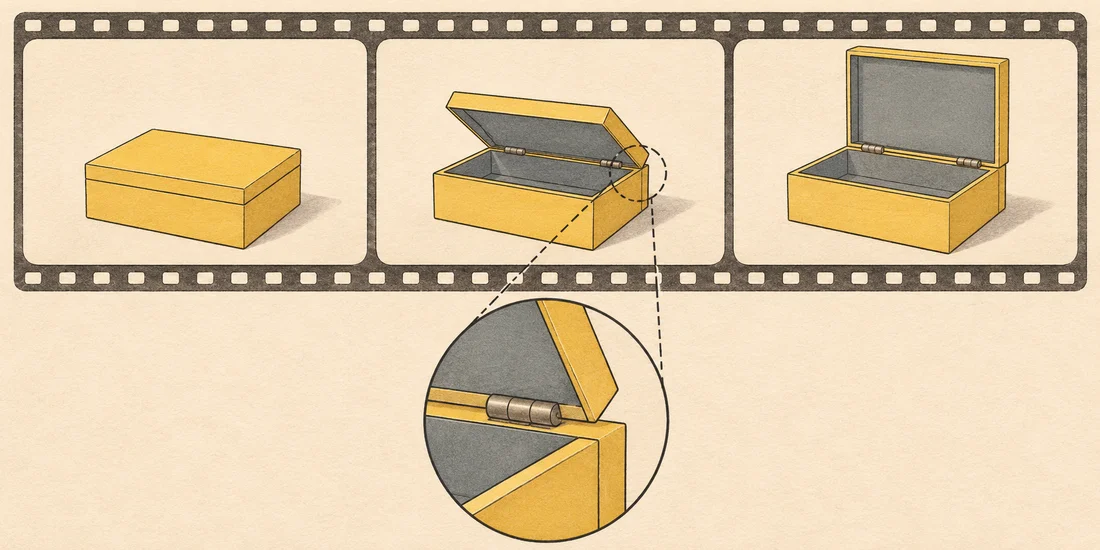
Check the physical movement before judging the ending. In the box example, the lid should stay attached to the hinge and pass through believable intermediate positions. The box base should stay planted on the table. Scrub the clip where the lid first lifts, halfway through the opening, and just before it settles.
| What you see | What to check next |
|---|---|
| The lid changes shape midway | Compare its width and hinge placement across the source images |
| The whole box slides | Check whether the base occupies the same position in both stills |
| The clip jumps to the open box | Simplify the motion prompt and reduce differences between the endpoints |
| The end pose looks good but disappears too quickly | Look for a stable end frame and test a short hold in your editor |
If a second attempt still distorts a mechanism, use the generated sequence for planning and film the action for the final demonstration. When you use the clip in an edit, play the transition to the next shot to see whether the open box appears where the viewer expects it.
Frequently asked questions
Do first and last frames control every frame in between?
They guide the beginning and end. The generator still creates the intermediate motion. Review the rendered clip for jumps, extra actions and changes in object shape.
Should the two images have the same dimensions?
Prepare them at the same aspect ratio and with aligned framing, then check the input requirements of the model you choose. A crop difference can introduce an apparent camera move.
Can I use the same image at both ends?
You can use it as a target for returning to the opening pose where the model supports two inputs. Review the last-to-first transition at normal playback speed before using it as a loop.
Do I need an end frame for every image-to-video clip?
Use one when the final pose or composition matters. A single opening frame can be enough for exploratory clips where you are free to choose the ending after generation.