
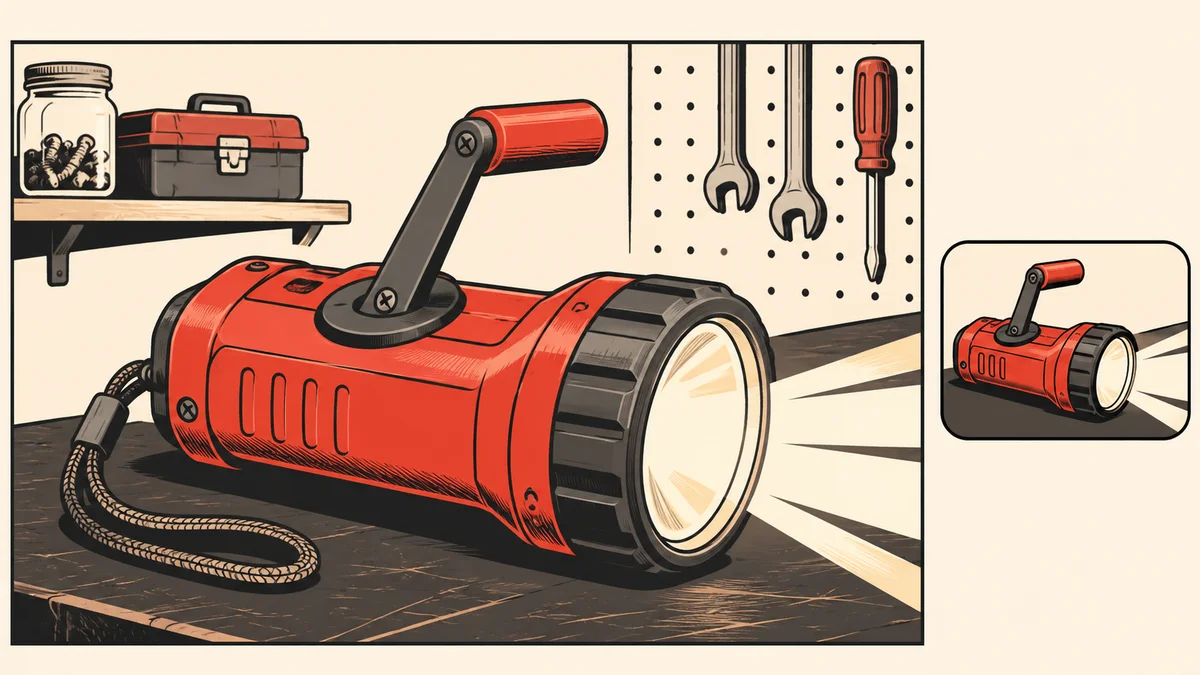
To make an AI video thumbnail, start with one thing your finished video actually shows. Use an approved still or a product photo to build a clear composition, then preview the thumbnail at feed size. Pair it with the video title and check that both make the same promise. If the title says you tested a hand-crank flashlight, the thumbnail should help viewers recognize the flashlight or understand the test.
Adobe included a Thumbnail Generator among its Firefly Quick Actions announced on November 10, 2026. The workflow below starts with a decision you can make in any editor. Pick the moment or detail that would help someone decide whether to watch. Adobe MAX Firefly announcement
- Choose what the thumbnail promises
- Build the composition from one subject
- Check the exported thumbnail at feed size
- Frequently asked questions
Choose what the thumbnail promises
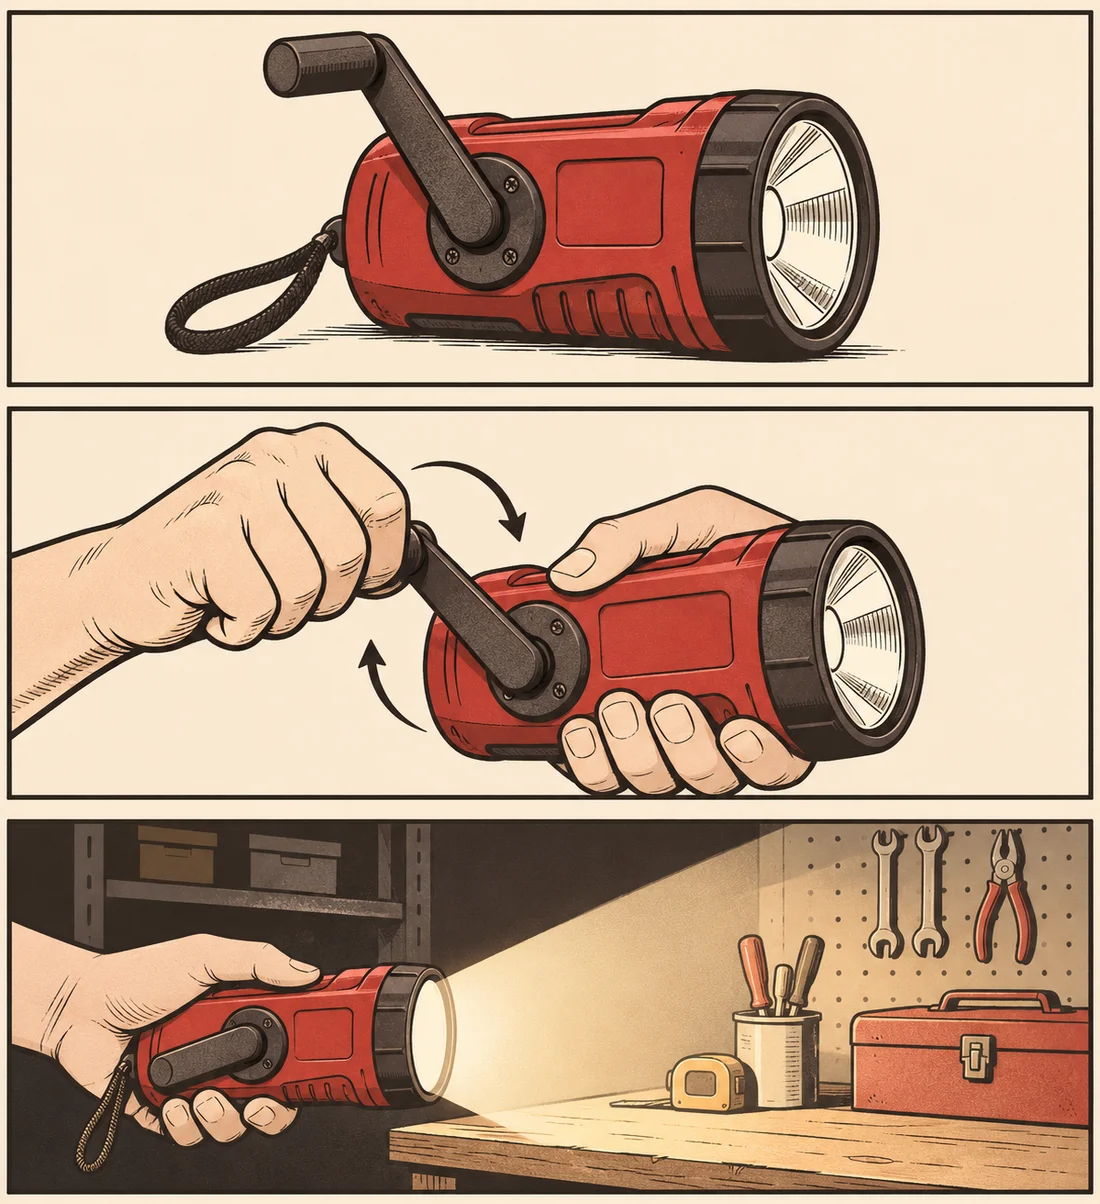
Read the working title and find the part of the video that delivers on it. Suppose the title is “Testing a Hand-Crank Flashlight on a Workbench.” A thumbnail showing a hand on the crank tells viewers what makes the flashlight different. A shot of the beam can work if the video actually shows the beam in that setting. Write a short note naming the moment and keep its timestamp with your draft.
| What the video delivers | Thumbnail starting point | Check against the edit |
|---|---|---|
| A product walkthrough | A clear view of the actual unit | Model, shape and controls match |
| A demonstration | A frame of the key action | The action appears in the video |
| A lighting comparison | Stills from the actual comparison | Exposure and apparent brightness reflect the test |
Pick the starting material based on what viewers need to recognize. A frame from the video keeps the preview tied to the footage. An approved product photo may work better if the video never shows the crank clearly in a single frame. You can also use a generated background or concept when the image is illustrative and the title sets that expectation.
Build the composition from one subject
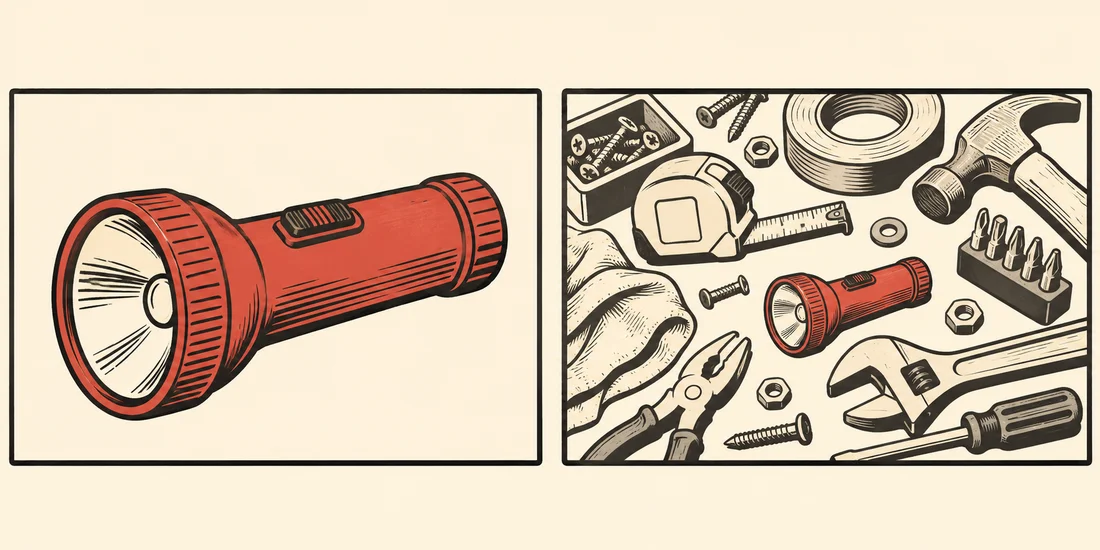
Make the main subject easy to identify in the first glance. Crop until the crank and grip are clear, then remove background distractions that compete with them. Keep enough room around the subject for the crop used by the publishing surface. If you plan to add words, reserve one clear area and typeset them after the image is approved.
For a concept based on a product photo, try a prompt like this.
Wide thumbnail composition for a video about a hand-crank flashlight. Use the supplied red flashlight photo as the reference. Place it large on the left side on a dark matte workbench. Keep the crank, lens and grip visible. Leave open space on the right for a short label. Use soft side light and an uncluttered background.
Choose Image Edit for a reference-based draft, or Text to Image to explore a composition for an illustrative video. Pick the intended aspect ratio where the selected model supports it. Compare any generated edits with the source photo before approving the product. NanoAI Image Workbench
If the layout needs text, use a short phrase that complements the title. In this example, “Crank Test” names the action while the title gives the setting. Add the text as an editable layer so it can be moved or corrected after you check the crop.
Check the exported thumbnail at feed size
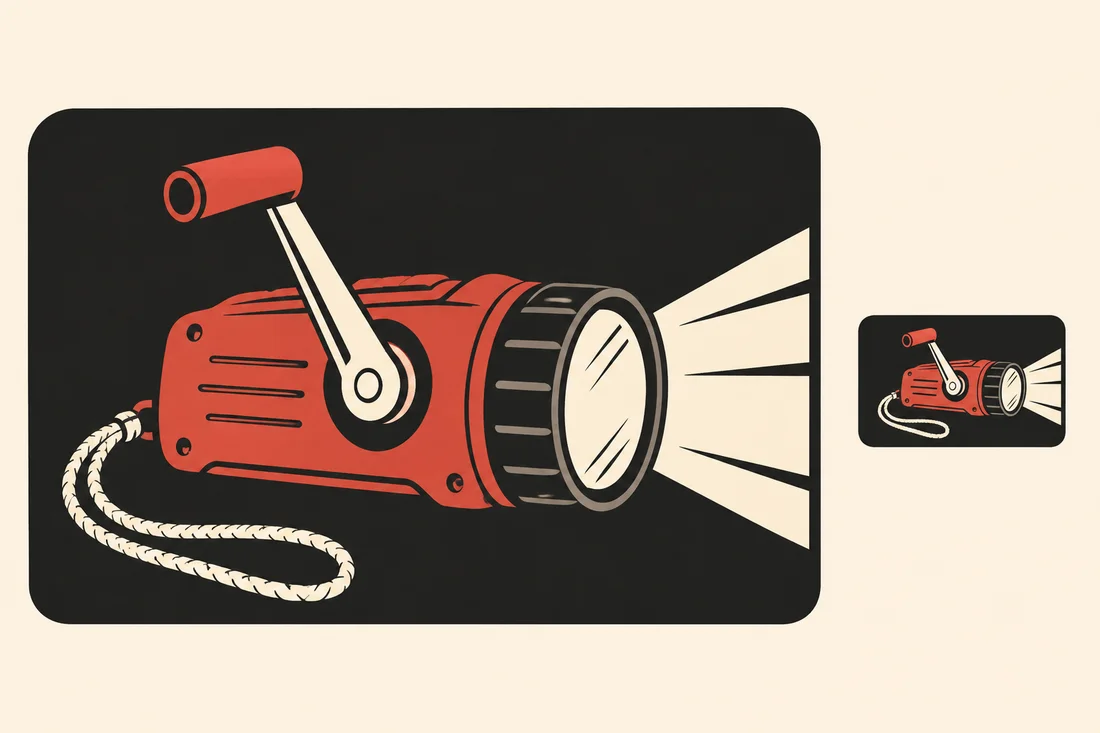
Open the exported image next to the final video title and shrink it to a small feed preview. Check the image at that size before judging the details in the full-size version. If the flashlight looks like a red rectangle, choose a clearer angle or crop closer to the crank. If the text disappears, try fewer words or improve contrast.
- Check that the subject and its key detail are recognizable at the intended display size.
- Compare the image and title with the video. Replace any visual that implies a result the footage does not show.
- Confirm the destination's aspect ratio and accepted file format. For a standard horizontal YouTube video, YouTube recommends a 16:9 thumbnail and lists JPG and PNG among accepted formats. YouTube thumbnail documentation
- Preview the uploaded thumbnail on the destination where possible. Check for crops and interface elements that could cover an important detail.
Keep a clean copy of the image and an editable layout. If the video title changes, you can adjust the thumbnail copy or framing without regenerating the background.
Frequently asked questions
Should I generate the whole thumbnail or start from a video still?
Start from the video when the thumbnail needs to show an actual moment or result. Generate or edit a composition when you need a cleaner background, more room for text or an illustration that supports the subject.
Do AI video thumbnails need text?
A strong image and title may already identify the subject. Add a short label when it communicates something the image alone cannot show, such as the name of the action being demonstrated.
Can I reuse one thumbnail on every platform?
Keep a master, then check each destination's crop and upload requirements. A horizontal thumbnail may need a different composition for a vertical placement.
How do I check an AI thumbnail for accuracy?
Compare the preview with the relevant frame and any approved product photo. Check the subject's shape and controls, the action shown and the result the image implies. If you are depicting a real test, use its actual footage for the result.