
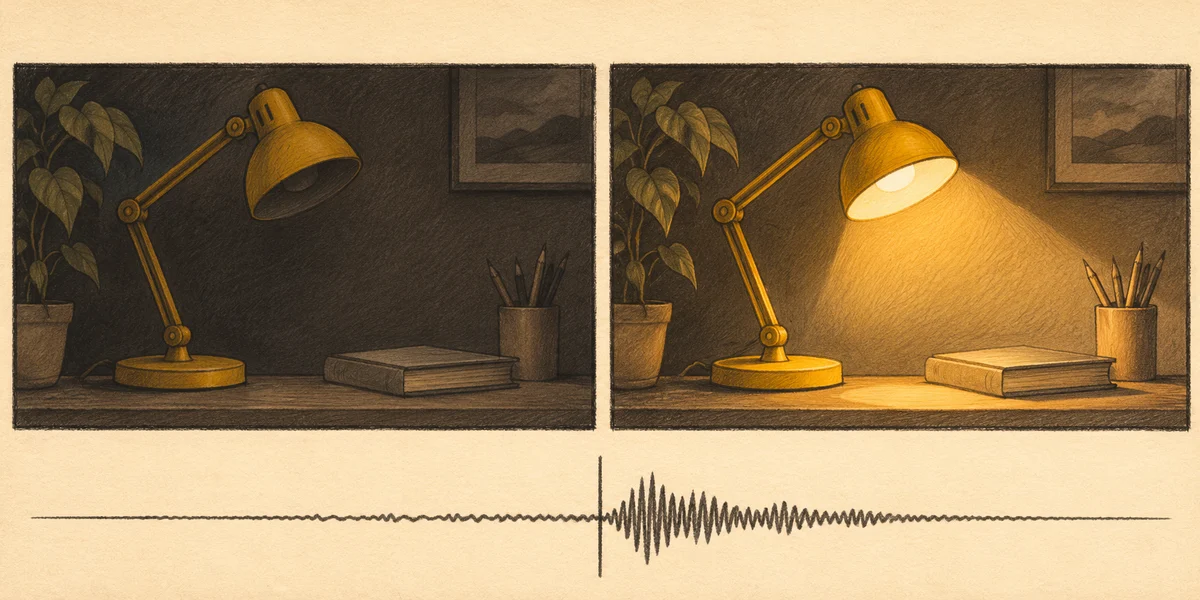
To time an AI video action to a beat, mark the beat in your editor and identify the first frame where the action is visible. Slide the generated clip until that frame meets the marker, then trim the surrounding footage to fit. If a desk lamp should switch on with a drum hit, align the first visibly lit frame with the hit. The clip can begin earlier to give viewers a moment to see the unlit lamp.
On November 11, 2026, Adobe previewed Project On Cue, a research project that uses timing signals to direct when an event happens in generated video. If your generator gives you a clip with an action somewhere inside it, you can align that moment afterward in an editor. The lamp example below uses a single cue to show how. The illustrations are concept diagrams created with Codex, showing how the edit works. Adobe MAX 2026 Sneaks
- Choose the action and its cue
- Generate a clip with room to trim
- Align the visible frame with the beat
- Frequently asked questions
Choose the action and its cue
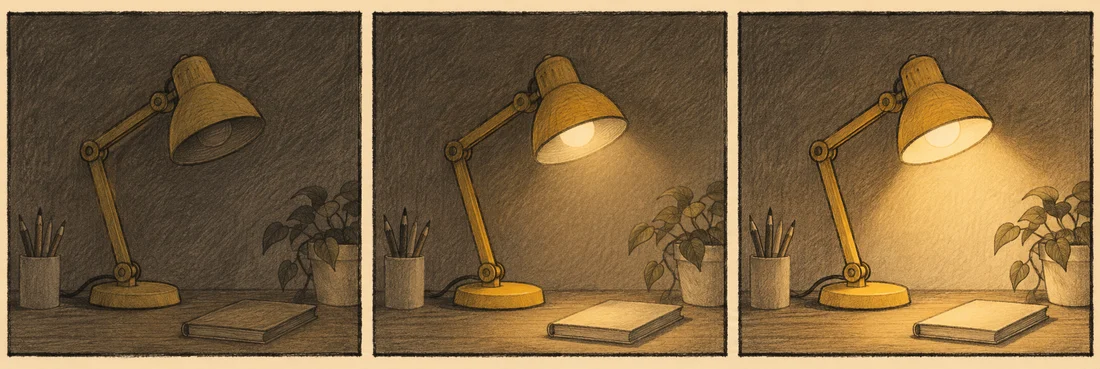
Choose a visual event that viewers can locate to within a frame or two. A lamp switching on, a lid touching a table and a title appearing all have a clear moment you can find while scrubbing. For a slower action, pick the point that carries meaning. A box might begin opening on one beat and reveal the product on the next. If the reveal matters most, mark the first frame where the product is easy to recognize.
| Visual event | Frame to mark | Audio cue |
|---|---|---|
| Lamp turns on | First readable glow on the desk | Drum hit or switch click |
| Box reveals a product | First frame where the product is recognizable | Beat, spoken keyword or sound accent |
| Title appears | First frame where the title is readable | Edit marker or musical accent |
Listen to the soundtrack before choosing the cue. A waveform spike can help you locate a sound, but listen to confirm it is the hit you intended. Mark that point on the sequence. If the lamp and the beat belong to different clips, a sequence marker gives you a reference that stays in place as you reposition the video. Adobe guide to adding markers in Premiere
Generate a clip with room to trim
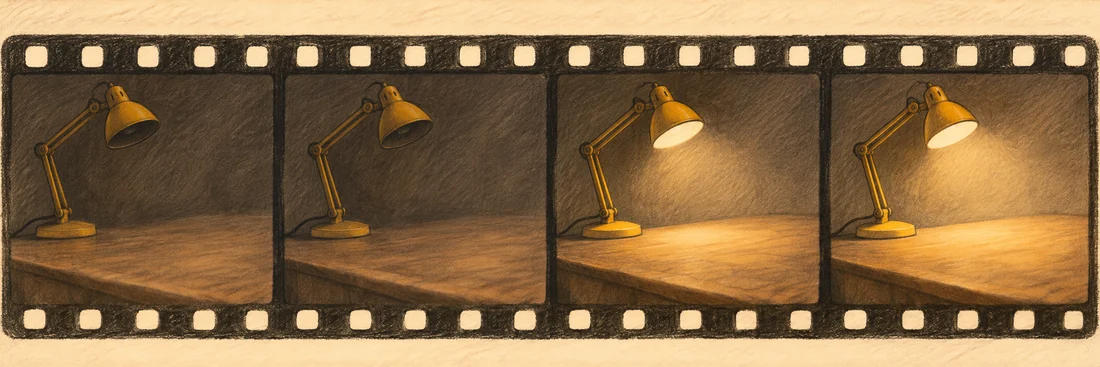
Ask the model for one clear change and enough usable footage on both sides. In the desk lamp example, the audience needs to see it unlit briefly before the switch and lit long enough afterward to register the change. A fixed camera and a plain desk make it easier to see where the light appears.
Fixed shot of a yellow desk lamp on an uncluttered desk. The lamp starts unlit. After a short pause, it switches on once, casting a warm pool of light across the desktop. The light then holds steady. Keep the lamp and camera position fixed for the whole shot.
If you have a matching opening image, use it as the start of an Image to Video draft. You can also describe the complete scene in Text to Video. Review the rendered take and look for a clean change. If the bulb flickers, the light is already visible in the first frame, or the lamp changes shape, try another take before editing the timing. NanoAI Video Generator
Plan some spare frames at the beginning and end of the source take. If you need a full second of darkness before the cue, a clip with only two dark frames gives you little flexibility. An unlit still can extend a locked shot if it matches the opening. For a moving shot, a clean take with more lead-in gives you a smoother result.
Align the visible frame with the beat
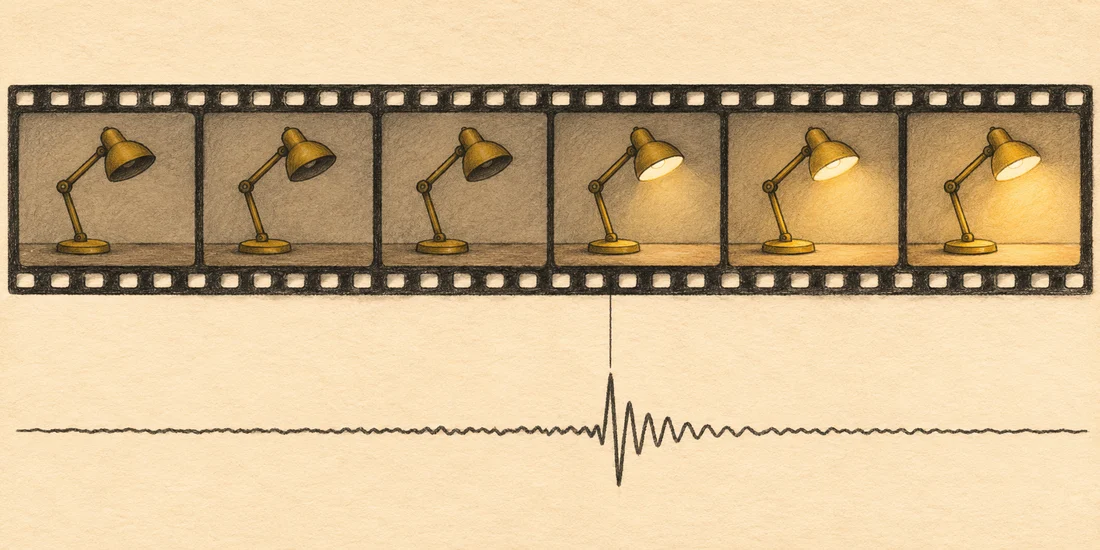
- Put the soundtrack on the timeline and mark the intended beat.
- Scrub the video and find the first frame where the pool of light appears. Add a clip marker or write down its position.
- Move the video so that frame lines up with the sequence marker. If the lamp lights up 36 frames into the clip and the beat is at frame 60 of the sequence, begin the source clip at sequence frame 24. That assumes you are counting at the sequence frame rate and using the source from its start.
- Trim the lead-in and hold without moving the synced frame. Mute the generated audio if it competes with your intended soundtrack.
- Play the cut at normal speed. Check the export as well as the editing preview.
A precise edit may still feel off if the glow builds gradually. Choose the frame where the change becomes readable at your intended viewing size. If the switch needs to feel instant, use a clean take with a sharp change or cut from a matching unlit still to the lit take at the beat. Premiere’s waveform view can help compare the visible action with the sound. Adobe guide to video and audio waveforms
Frequently asked questions
Can a prompt put an action at an exact second?
A timing instruction can guide the shot. Check the rendered clip to see where the event lands. If timing needs to hit a specific frame in your edit, align the visible action to a marker.
What if the action happens too early in the generated clip?
Move the event to the cue first. If you run out of footage before it, choose a take with a longer lead-in or use a matching still for a fixed shot.
Do I have to match every beat?
Choose the beats that correspond to meaningful changes. One clear reveal can carry a shot across several beats. Mark other cues when they help explain a second action or cut.
Should I move the sound or move the video?
Keep the sound fixed when the beat belongs to an approved soundtrack or spoken edit. Move the video to meet it. For a separate sound effect such as a switch click, you can place the effect at the first readable frame of the action.