
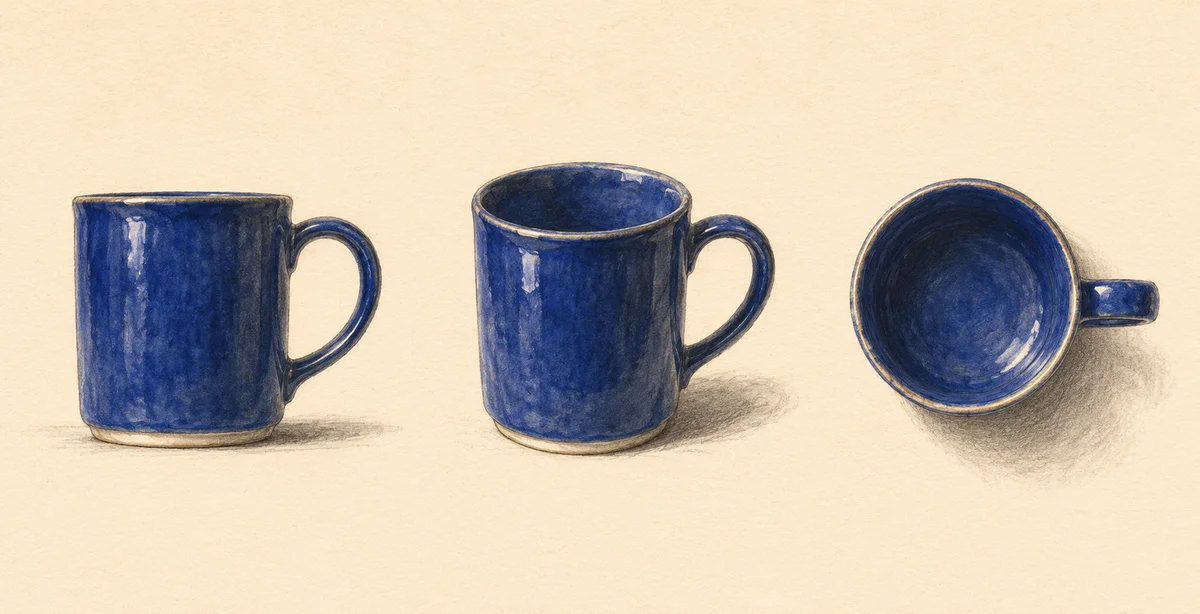
To change a product photo angle with AI, start with a clear product photo, add a reference for any surface the new view will expose, and describe where the camera should move. Compare the generated view with your approved photos before publishing it. If the new view reveals a part you cannot verify, use the result as a composition draft and photograph that part for the listing.
Adobe’s November 10, 2026 Photoshop beta documentation describes a Camera Angles Layer that can generate views such as high and low angles, close-ups and wider shots. You can also plan a new product view with a reference image and a written brief. This guide uses a cobalt ceramic mug to show what to supply and where to inspect the result. Adobe Camera Angles documentation
- Choose the angle and gather references
- Describe the new camera position
- Verify the surfaces the new view reveals
- Frequently asked questions
Choose the angle and gather references
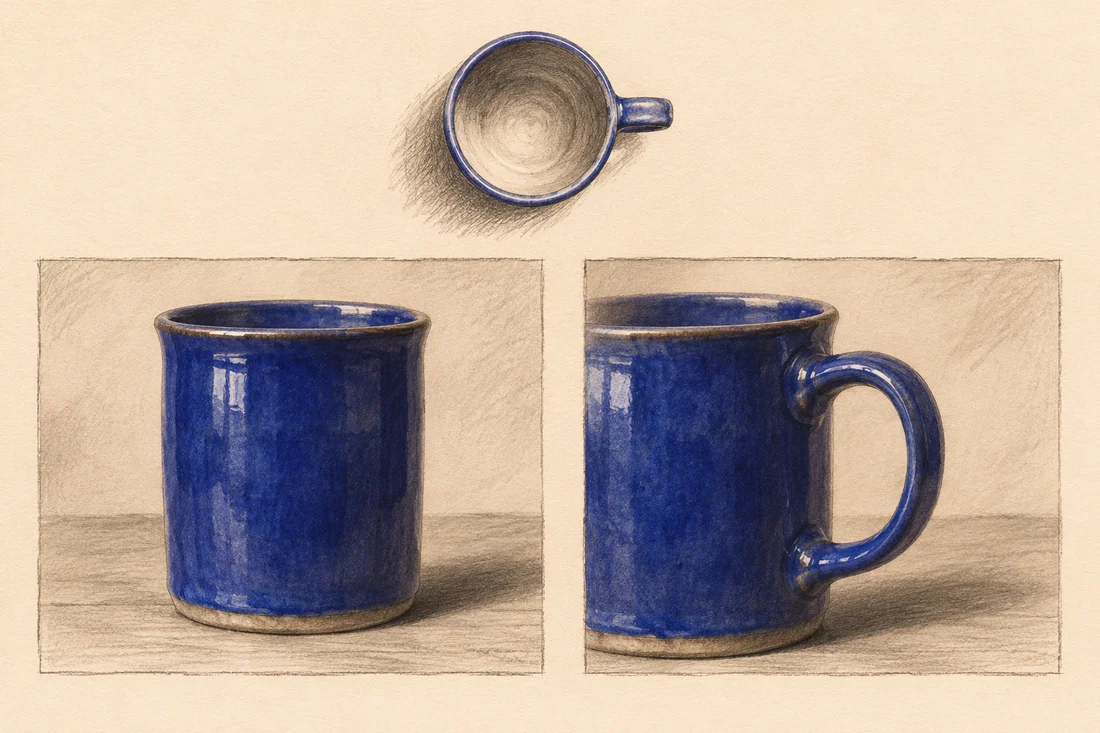
Decide what the extra image should show. A three-quarter angle can show the mug’s silhouette and handle depth together. A higher view can show the rim and interior. A side view can reveal how the handle joins the mug. These views need different evidence from the original product.
| New view | Reference to gather | Detail to check |
|---|---|---|
| Slight three-quarter view | Front photo and a view of the handle side | Body width, handle shape and both joins |
| High view | An approved rim or interior photo | Opening shape, rim thickness and glaze inside |
| Opposite side | A photo taken from that side | Marks, seams and other details hidden in the hero photo |
Start with the clearest approved photo as the base. Use another image to answer a specific question, such as whether the lower handle joint sits flush against the body. If neither photo shows the underside, ask for a view that keeps the base on the table or capture a real underside shot. Label the references by what they show, especially when the files have similar names. NanoAI guide to assigning roles to reference images
Describe the new camera position
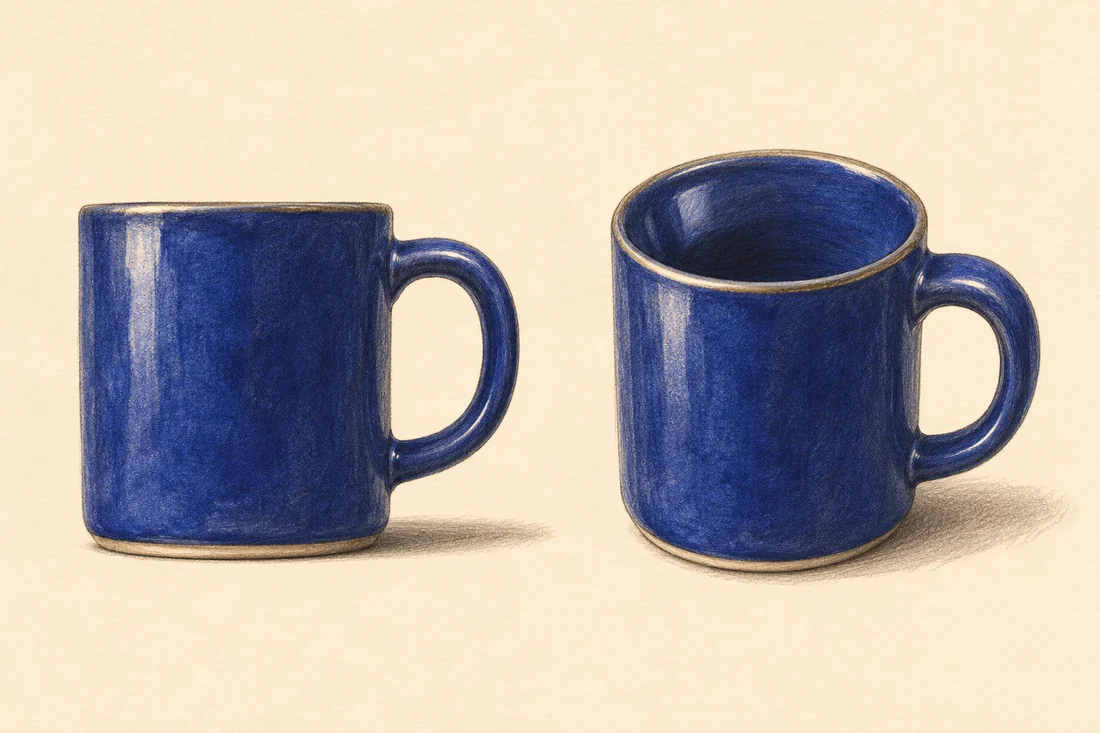
Specify the lens viewpoint in terms of what should become visible. “Make it more dynamic” leaves the camera position open. “Move slightly higher and toward the handle side so the rim and both handle joins are visible” gives the editor a concrete result to aim for. Describe what should remain consistent, including the crop format if the images will appear next to one another.
Use the supplied product photo as the base. Show the cobalt ceramic mug from a slightly elevated three-quarter angle on the handle side. Keep the handle on the right side of the frame and show its two attachment points. Make the rim and a small part of the interior visible. Preserve the reference mug’s silhouette, cobalt glaze and handle shape. Keep the cream backdrop and soft side light.
In NanoAI, open Image Edit and choose a model that accepts a source photo. If it supports multiple reference inputs, add the verified side or rim photo and describe its role in the prompt. A model’s reference inputs guide the edit, so the output still needs inspection. NanoAI Image Workbench
When a draft preserves the product but leaves the handle partly hidden, change the viewing instruction first. Ask to move a little further around the handle side and keep the other conditions. If the draft changes the mug’s shape, choose a stronger reference or reduce how far the camera moves. Start those revisions from the approved source so the draft does not become the product reference.
Verify the surfaces the new view reveals
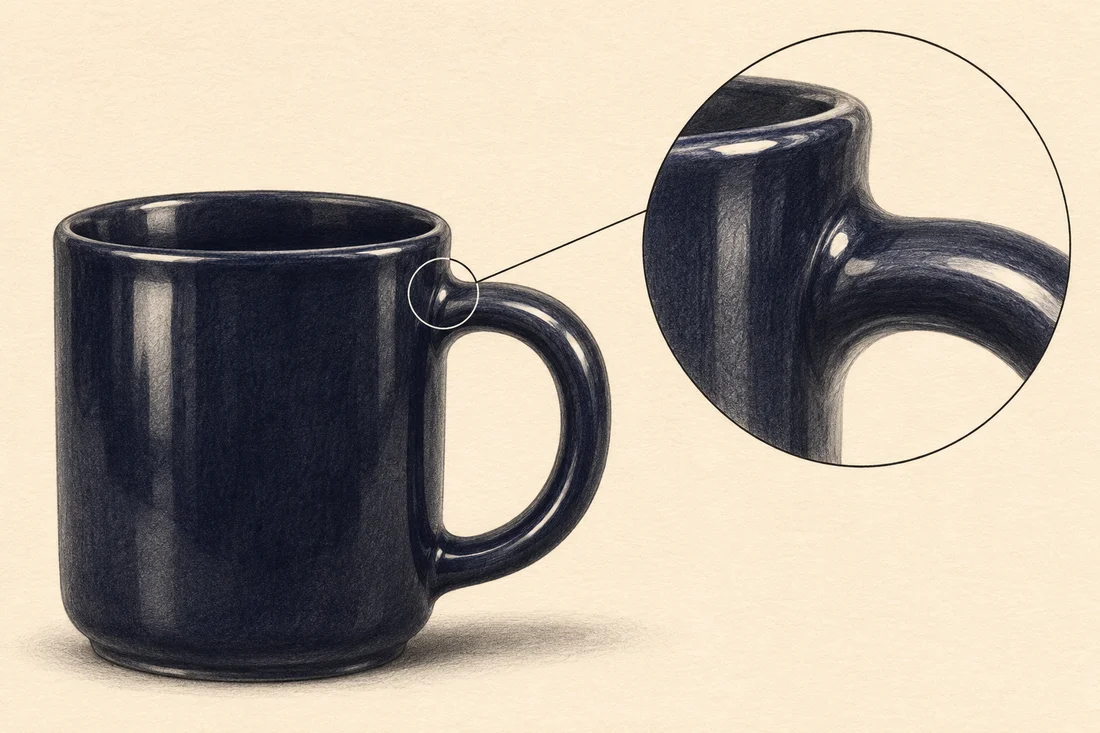
Put the generated frame beside the source photos. Check features that establish which item this is and whether it works as shown. On the mug, compare the two handle joins, the opening, the inside glaze and the foot. On electronics or packaging, this could mean a port, a label or a seam that showed up only after the angle changed.
- Compare the new view with the approved image of that side at a similar viewing size. A round opening will look more elliptical when seen at a shallower angle, so use a reference that makes the shape easy to judge.
- Zoom in on newly visible details. Check whether the handle connects at the right height and whether the pattern repeats or breaks where it should.
- Open the draft alongside the other listing images. Check for contradictory product colors, proportions or details across the carousel.
- Keep a record of the source photos and the intended use. Use a real photo when the new view makes a claim about measurements, labels, controls or hidden construction that the available references cannot establish.
Look at the finished frame at thumbnail size too. If the new angle makes the handle harder to recognize than in the original, keep the original as the main image and give the generated angle a more specific role.
Frequently asked questions
Can AI make new product angles from one photo?
It can synthesize a plausible view. Details outside the original photo may be inferred, so use a second photo or a real capture when the result needs to show a specific product accurately.
What is the difference between changing the angle and cropping?
Cropping changes which part of the original photo is visible. A new angle changes the viewpoint and may show surfaces that were hidden. Use a crop when you need a closer composition of an existing view.
Which reference should I supply first?
Use the clearest approved photo of the product as the base. Add a second image that shows the detail the new angle will reveal, and describe what each image contributes.
Can I put an AI product angle in an online listing?
Check the marketplace’s current image rules and review the view against approved photos. Use a real product photo when shoppers need to verify an exact feature that the generated angle cannot establish.