
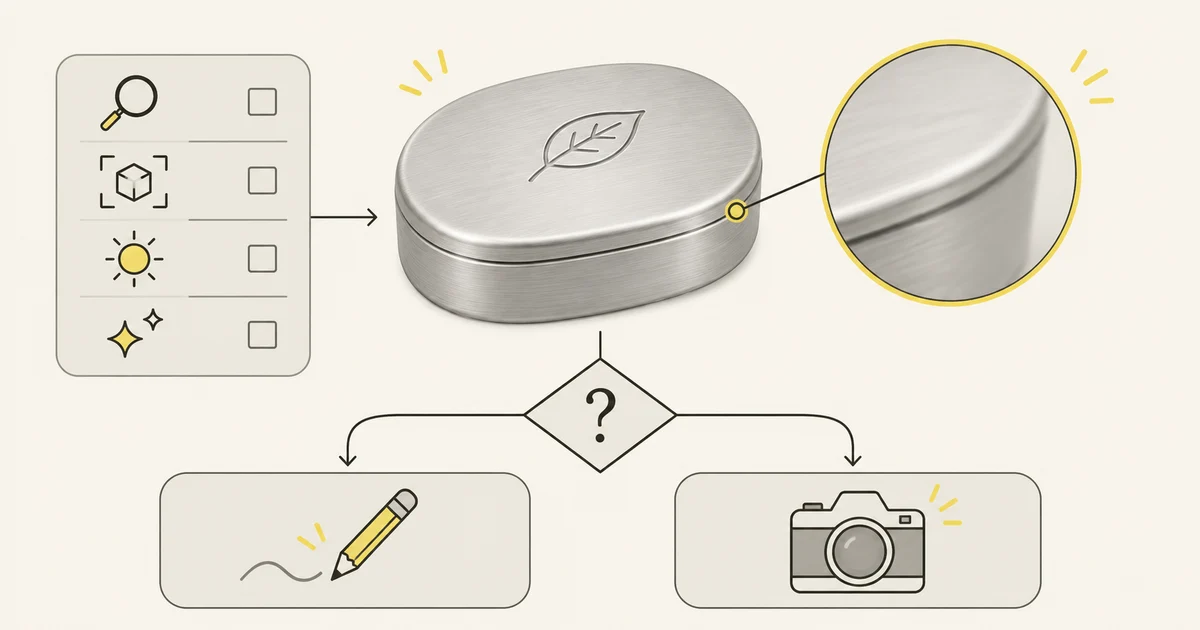
To fix blurry product photos with AI, start with the original camera file, identify the blur, and try a restrained edit on a copy. Compare the result with the actual item before publishing. If the source does not show a label, seam, or surface detail clearly enough to verify it, use a better photograph. A sharper-looking edge alone does not establish that the edited product is accurate.
Microsoft's November 17, 2026 announcement includes MAI Image 2.7 and MAI Image 2.7 Flash, reflecting continued development in image generation and editing. For a seller, the useful question is specific: can an edit make this photograph easier to read while preserving the item? This guide uses a fictional metal soap tin to explain that decision. The prompts are teaching examples, and all illustrations are Codex concept diagrams, not NanoAI or Microsoft model tests.
- Diagnose why the product photo looks blurry
- Try one controlled image edit
- Approve the detail or take a new photo
- Frequently asked questions
Diagnose why the product photo looks blurry
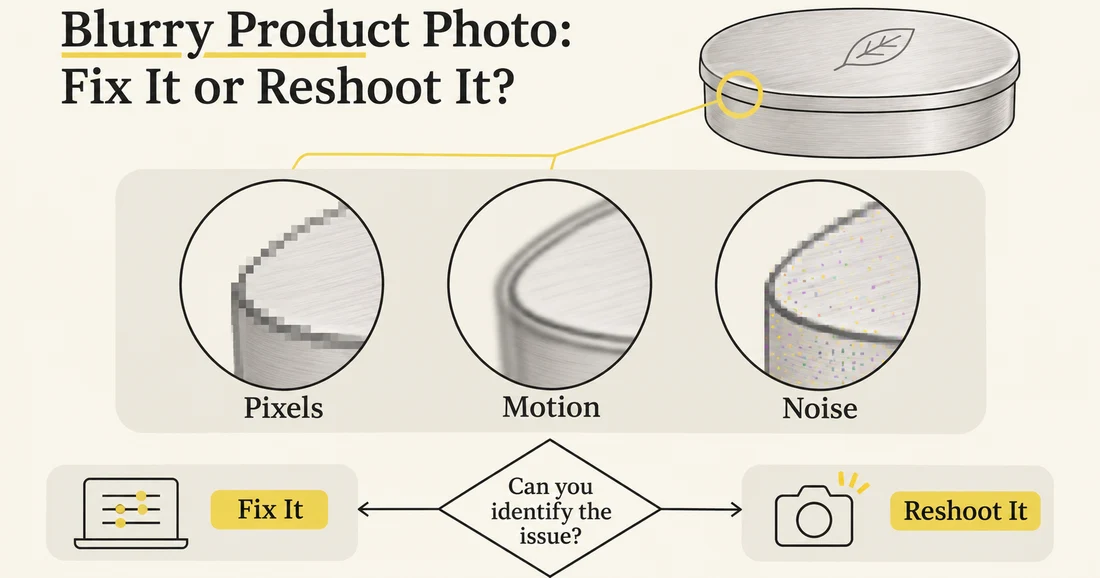
Download the largest original you have before opening an enhancer. A screenshot of a supplier page or an image saved from a messaging preview may already have lost useful information. Check the original at a normal listing size and then at 100% view, where one image pixel corresponds to one display pixel. If the original looks clear but the website preview does not, inspect the site's crop and delivered image before regenerating the product.
Look at a firm boundary such as the tin's rim. Does it have two offset edges, an evenly soft transition, or visible square steps? Next inspect the lid's embossed leaf. Can you follow its outline in the source? These checks help separate problems that can look similar in a small preview.
| What you see | First action | What to check afterward |
|---|---|---|
| Small original looks clear until enlarged | Find a larger source or evaluate an upscale | Leaf imprint and rim stay faithful |
| Soft or doubled edges in the camera file | Evaluate a blur-reduction edit on a copy | No extra rim or changed lid geometry |
| Speckles and blocky patches | Consider noise or compression cleanup | Surface finish stays recognizable |
| Shape or lettering cannot be established | Photograph the item again or obtain a clearer source | Required detail is visible before editing |
Sharpening, denoising, and enlargement address different parts of the image. Adobe's Smart Sharpen documentation provides controls for sharpening amount, radius, noise reduction, and blur type. That makes it possible to try a targeted conventional adjustment before asking a generative editor to reinterpret the photograph. Adobe also documents noise and JPEG-artifact reduction. Use a preview to judge the balance between cleanup and retained texture.
For the soap tin, suppose the overall shape is visible but the lid edge is slightly soft. That is a reasonable candidate for a limited experiment. If the lid's leaf has disappeared into a smear, a newly crisp leaf may be a guess. Keep a clear photograph of the real lid available as the reference for approval.
Try one controlled image edit
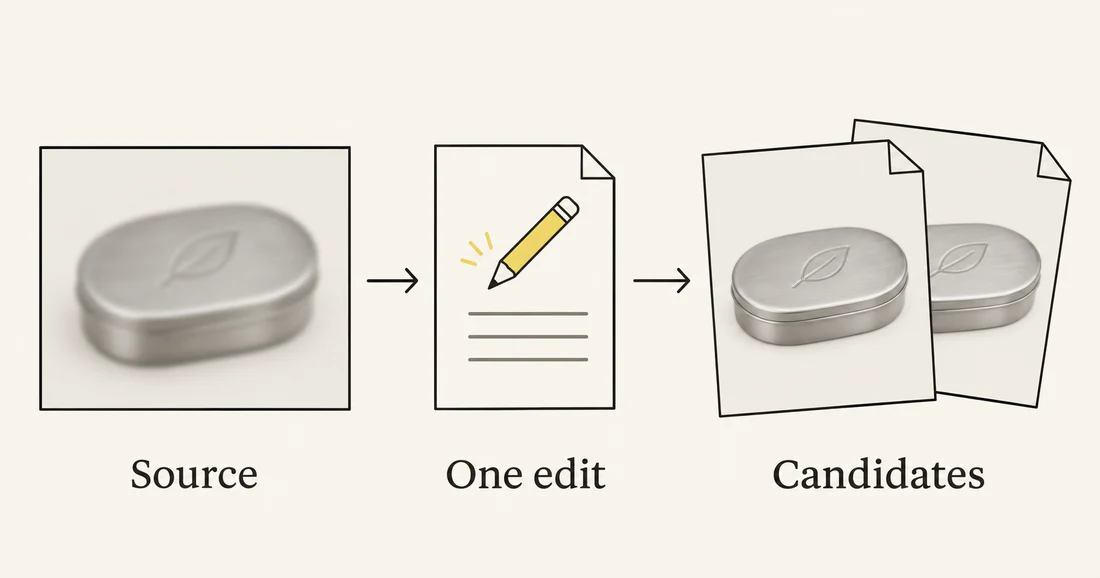
Save the original unchanged. Name the working copy so it is easy to trace back, and write down the one problem you want to fix. “Reduce the slight blur on the tin” gives you a narrower review task than “make this a premium product photo,” which leaves the model room to alter lighting, polish, composition, and materials.
For a text-guided attempt, open NanoAI's Image Workbench, choose Image Edit, and upload the source using a model that supports reference images. Check its current controls and displayed cost. This is an image-editing attempt; this guide does not claim that NanoAI has a dedicated deblurring filter or that it offers the Microsoft model mentioned above.
Use an instruction such as:
Reduce the slight blur in this photograph of an oval brushed-metal soap tin. Keep the existing lid shape, embossed leaf, rim seam, metal finish, viewpoint, lighting, background, and crop. Do not add lettering or invent surface decoration. Keep the edit restrained.
Generate a candidate and compare it before making another change. If you also need a different background, leave that for a later step after the product passes review. The local image-editing guide covers isolating a separate object change; blur correction needs its own judgment about whether the source contains enough trustworthy detail.
Inspect the metal finish early. An edit may make brushed metal look mirror-polished or give a matte lid an attractive new sheen. Those can be visible product changes even when the outline stays intact. Reject that candidate or try a narrower instruction. Do not keep feeding increasingly altered candidates back into the editor simply because each one appears crisper.
A useful stopping rule is to return to the original whenever you can no longer tell which detail came from the photograph. If a mild cleanup does not improve the intended listing view, a better source may be the more practical next step.
Approve the detail or take a new photo
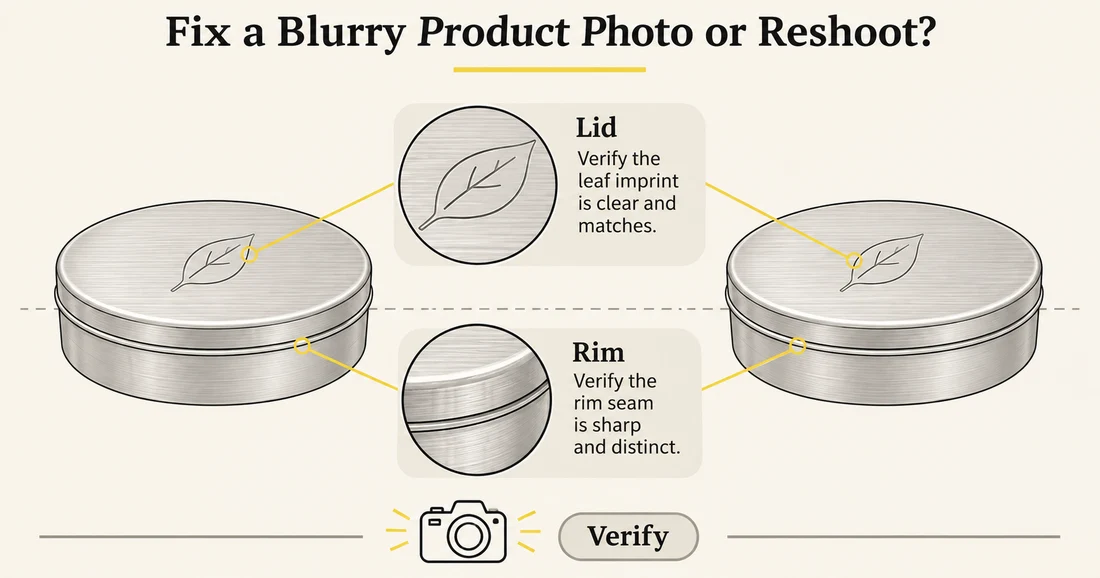
Place the original and candidate at the same displayed size. Toggle between them, then look closely at the areas that identify the item. For this tin, check the lid outline, the embossed leaf, the number of visible seams, and the direction of the brushed finish. Use the physical item or an independently clear photo to resolve uncertainty.
- Check the silhouette. The lid should fit the same body, with the same proportions.
- Check identifying detail. The leaf imprint and rim should match the actual product.
- Check artifacts. Look for bright edge halos, doubled seams, repeated scratches, and texture that changes abruptly.
- Check the export. Open the saved file, then preview the uploaded listing at its intended size.
- Record the decision. Keep the accepted file with its original and a short note about what changed.
If the listing still hides the feature shoppers need to inspect, retake that view. For the tin example, support the camera, keep the product still, provide enough light, and focus on the lid detail. Capture a close view of the leaf as well as the overall product. The goal is to record the missing information clearly.
Consider the intended use when deciding how much uncertainty is acceptable. A background concept can tolerate imagined detail that a close product listing cannot. A reconstructed seam or invented engraving can change what a shopper expects to receive. The product-ad fact-checking guide explains the broader approval process; here, the approval question is whether the repaired photograph still depicts the same item.
Frequently asked questions
Can AI recover unreadable text on a product label?
An editor may produce readable-looking characters, but the generated text is not proof of the original wording. Obtain the label artwork or a clearer photograph and verify each character before using it.
Is increasing resolution the same as removing blur?
No. Resolution describes pixel dimensions. Blur describes how detail spreads across those pixels. A larger file can retain blurred edges, and an enhanced file can introduce plausible detail that needs checking.
Should I sharpen the background as much as the product?
Only if the photograph needs it. A deliberately soft background can help the product stand out. Review the item first and avoid an all-over instruction that changes the intended depth of field.
What if the edited image looks good on my laptop but poor on the listing?
Inspect the exported file and the version the website delivers. Cropping, resizing, and compression may change its appearance. Check the original export before deciding that another AI edit is needed.
Start with one slightly soft source in NanoAI's Image Workbench. Make one limited edit, compare it with the real item, and keep the candidate only when it improves the photo without changing the product.