
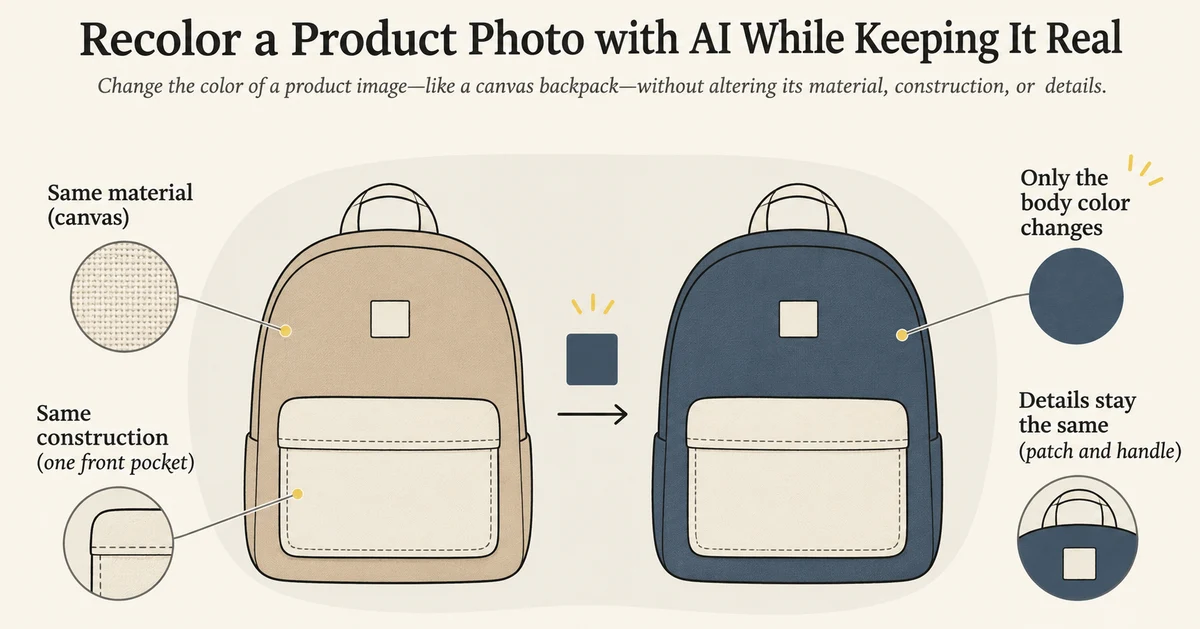
To recolor a product photo with AI, identify the exact surface to change, supply a clear target color, and name the details that must stay untouched. Make one color edit, then compare the result with the source and a reference for the intended finish. Check the product's shape and texture separately from the new color before using the image.
Ideogram's November 19, 2026 release emphasizes focused image edits and continued refinement. Its current product lineup also includes a color-change workflow. That is a timely reason to make a color brief precise: changing a backpack's fabric should not quietly change its pockets, patch, or material.
This guide uses a fictional canvas backpack, changing its tan body to muted navy while keeping the pale pocket, handle, patch, and construction. The prompts are untested teaching examples. All four illustrations are Codex concept diagrams, not NanoAI or Ideogram test outputs.
- Define the color region and reference
- Make one fabric-only color edit
- Check color and construction separately
- Frequently asked questions
Define the color region and reference
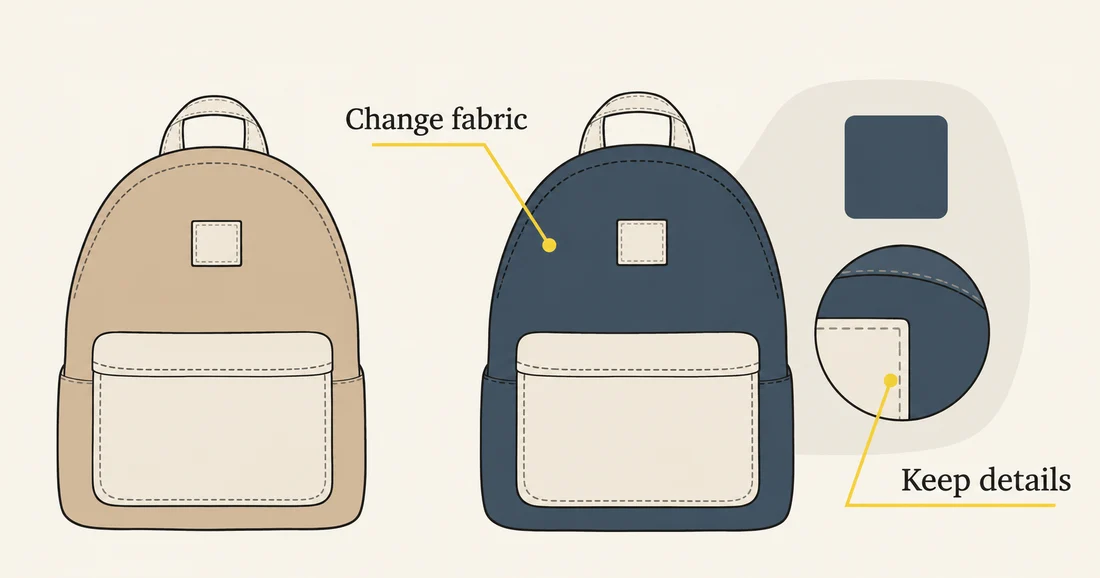
Start with a photograph where the product's edges and surface are readable. The backpack example has a main body, one front pocket, a short handle, and a pale square patch. Decide which of those parts belongs in the new colorway. A request to make the entire bag navy can reasonably include the patch, even if you meant only the canvas.
Write the change as a small region map:
| Region | Color instruction | Details to preserve |
|---|---|---|
| Main canvas body | Change tan to muted navy | Fabric texture, folds, and silhouette |
| Pale front-pocket fabric | Keep its original appearance | Pocket size, seam, and opening |
| Pale square patch | Keep its original appearance | Shape, position, and any real artwork |
| Background | Keep unchanged | Crop, light direction, and visible surroundings |
In this example, the pale handle stays unchanged. The handle needs an explicit decision in any brief. If it is made from the same canvas and should match, include it. If it is a different material or trim color, name that exception. For a real product, check the actual variant rather than assuming every component changes together.
Use a reference that communicates the intended color clearly. A photograph of the real navy fabric under suitable light is more useful for a listing than a color name alone. A digital swatch can guide creative exploration, but it does not describe how fabric absorbs light or how a finished bag will appear under every condition.
If you upload a swatch as a second reference, explain that it supplies color only. It should not become a new patch, backdrop, or prop. The multi-reference guide explains how to separate input roles when combining images.
Dedicated tools also make this distinction. Photoroom's Recolor documentation describes target-color selection and prompts identifying which parts should change. Its controls belong to Photoroom. The useful preparation step here is to define the regions before choosing any editor.
Make one fabric-only color edit
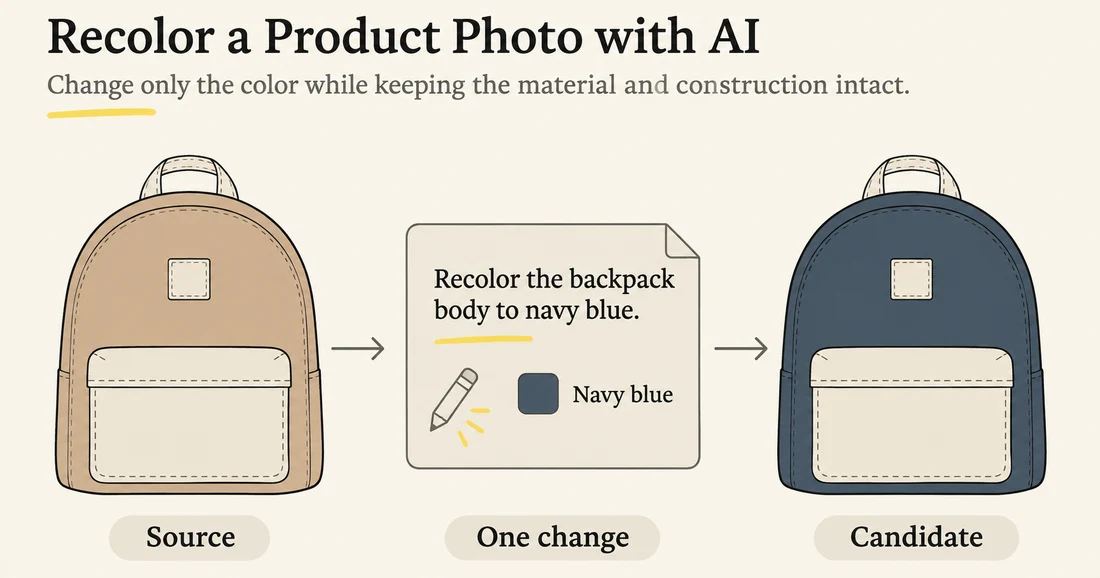
Open NanoAI's Image Workbench and choose Image Edit with a model that supports reference images. Upload the backpack photograph, check the selected model's available controls, and review the displayed cost. If you add a color reference, confirm the thumbnail order so the prompt identifies the right input.
Try this original instruction:
Change only the tan main canvas body of the backpack to muted navy blue. Keep the pale front-pocket fabric, top handle, and square patch unchanged. Preserve the backpack silhouette, pocket opening, stitching, fabric texture, folds, crop, background, and existing lighting. Keep the same matte canvas material. Add no logos, pockets, accessories, or decoration.
When supplying a second image, add:
The second uploaded image supplies the target color only. Use no objects, texture, or background from it. Keep the backpack photograph as the source for shape and material.
Check one candidate before adding another request. If the canvas turns glossy or leather-like, the edit has changed more than color. Return to the source and restate the material rather than trying to fix a chain of later changes. If the patch becomes navy, clarify that it is excluded from the fabric region.
For this task, avoid combining color, lighting, camera angle, and background changes in one prompt. Those operations can affect what the new color looks like and make it harder to judge the result. If the source has an unwanted color cast, address that separately; the product-relighting guide distinguishes tonal correction from deliberately changing the lighting.
A conventional selection-based adjustment is another route when you need close control over a surface. Adobe documents object recoloring with a Hue/Saturation adjustment layer, where a selection becomes a mask that can be refined. Use the method that gives you the control your image needs.
This NanoAI workflow is a text-guided editing attempt. It does not assume a dedicated recolor button, an exact color-matching guarantee, or access to Ideogram 4.6 in the workbench. Judge the actual exported candidate against your brief.
Check color and construction separately
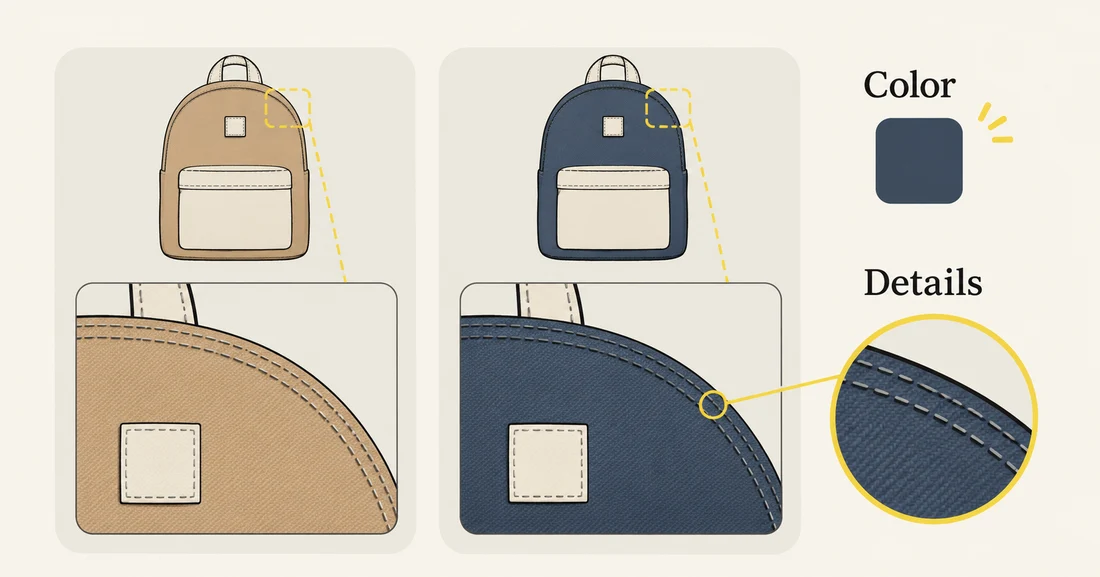
Compare the original and candidate at the same displayed size. First examine the parts that should remain stable: the outer edge, handle shape, pocket opening, seam path, and patch. Then compare the color with the intended reference. An attractive navy tone does not compensate for a changed pocket.
Look closely at the transitions around the patch and seams. Leftover tan fringes can make the recoloring appear unfinished. Blue bleeding into the pale patch is a different error. New texture or a smoother surface can make the backpack appear to be made from another fabric.
Use this approval order:
- Construction: verify the same parts, proportions, openings, and seams.
- Material: check that the canvas still reads as canvas, with appropriate folds and texture.
- Coverage: inspect edges and small regions for missed fabric or spilled color.
- Color: compare the result with the chosen swatch or real variant reference.
- Export: open the saved file and preview it in the intended listing or layout.
Color varies across highlights and shadows. Do not expect every pixel of navy fabric to equal one flat swatch. The question is whether the overall surface represents the intended finish under the depicted light. If exact product color is important, use a suitable color-managed workflow and photographs of the actual variant for approval.
Keep the accepted file with its original, target reference, prompt, and variant name. Label exploratory colorways as concepts. If the bag will be sold in navy, the image still needs checking against that real item; generation does not establish that the variant exists or matches the visualization.
Frequently asked questions
Can a hex code guarantee the product color?
No. It gives a digital target, but the model's interpretation, surface shading, export, and viewing conditions can affect the result. Verify a real product variant with an appropriate reference.
How do I keep a printed design or logo unchanged?
Exclude it explicitly from the color region and compare it carefully after editing. If the artwork must remain exact, use a workflow with a separately preserved artwork layer or a controlled selection rather than relying on a prompt alone.
Is changing a product's color the same as changing its material?
No. Color is one appearance choice; material also involves texture, reflectivity, and surface behavior. Ask to preserve the existing material and reject candidates that change it unintentionally.
Should every colorway start from the previous edited image?
Keep the original as a stable source. Starting each new colorway from it makes comparisons easier and avoids carrying unintended changes from one edit into the next.
Prepare a short region map and a target reference, then try one color change in NanoAI's Image Workbench. Approve the construction and color before making another variant.