
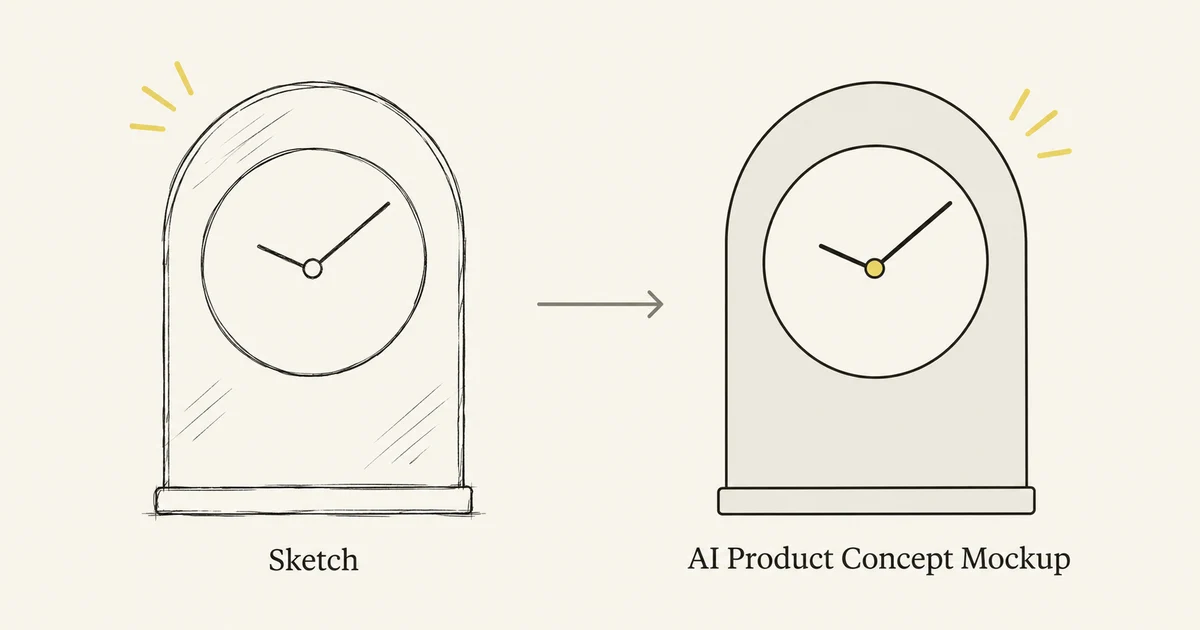
To turn a sketch into an AI product mockup, upload a clean drawing, explain which shapes must stay, and describe the material and presentation you want added. Start with the same viewpoint as the sketch. Compare the result with the drawing before exploring another finish or angle. This gives you a visual concept to discuss; dimensions, construction, and feasibility still need a design process.
Microsoft's November 17, 2026 Canvas announcement describes beginning with a prompt or sketch and refining images in an interactive workspace. The broader workflow is useful for anyone with a product idea on paper: separate the shape you have decided from the appearance you want to explore. Below, a fictional arch-shaped tabletop clock shows how to write that brief.
The prompts are teaching examples. All illustrations were created with Codex as concept diagrams; they are not NanoAI or Microsoft test results.
- Prepare a sketch that defines the product
- Add materials and a focused prompt
- Check the mockup before sharing it
- Frequently asked questions
Prepare a sketch that defines the product
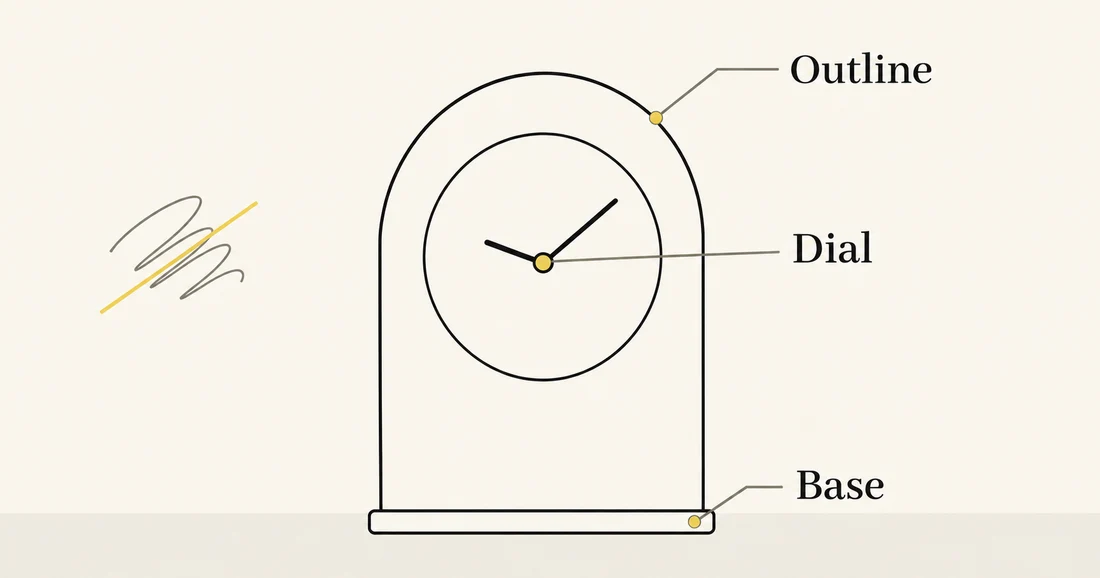
Draw the product large enough that its main parts are easy to distinguish. For the clock concept, we need a tall rounded arch, one circular dial in the upper half, and a short flat base. A simple front view communicates those decisions without asking the generator to resolve hidden surfaces.
Remove abandoned alternatives and stray lines from the input copy. Two faint circles can look like two requested dials. A shadow scribble can look like a separate part. Keep your working notes elsewhere and upload a drawing with one readable direction. If you photograph paper, crop out the desk and straighten the page so the sketch itself supplies the intended proportions.
Write down the features that define the idea. For our clock, that record could be:
| Part | Keep from the sketch | Open for exploration |
|---|---|---|
| Body | Tall arch silhouette and rounded top | Surface material and color |
| Dial | One circle in the upper half | Quiet, plain face treatment |
| Base | Short, flat support under the body | Finish matched to the body |
| Presentation | Straight-on front view | Simple background and soft lighting |
This table is a brief, not a measurement sheet. If a particular spacing matters, make it visible in the drawing and name it in the prompt. Do not assume that a generator can infer a hidden depth or a manufacturing tolerance from a loose outline.
Adobe's sketch-guided image tutorial demonstrates using a rough drawing to guide a photographic composition. For a product concept, apply the same division of information: the sketch contributes structure; your written brief supplies appearance. The exact reference controls depend on the application and selected model.
A single view is often enough for the first visual decision. If you already have front and side drawings that agree, retain both for later work. If they disagree about the base or body depth, resolve that design choice before expecting an image model to make the views consistent.
Add materials and a focused prompt
Open NanoAI's Image Workbench and choose Image Edit with a model that accepts reference images. Upload the sketch and confirm that its thumbnail shows the intended orientation. Check the current controls and displayed generation cost before running the request.
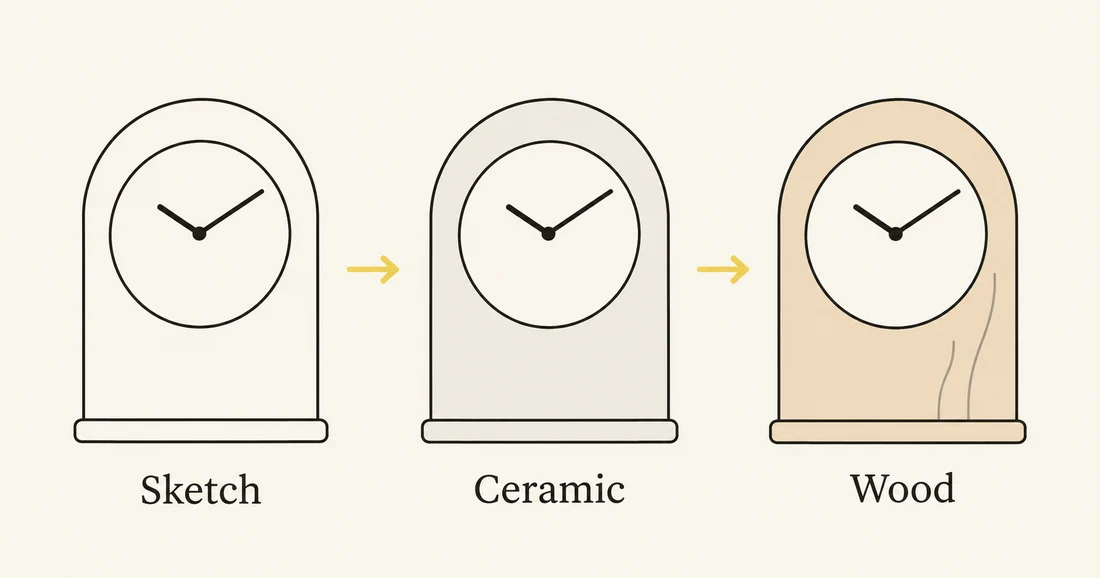
Begin with one finish and a plain presentation. A ceramic clock against a neutral background lets you inspect the arch and dial without the distractions of a full room scene. Once the form is acceptable, you can explore a wooden finish as a separate revision.
Try this original prompt:
Use the uploaded front-view sketch as the shape reference for a fictional tabletop clock concept. Keep the tall rounded arch body, one circular dial centered in the upper half, and the short flat base. Show the same straight-on front view. Give the body a pale matte ceramic finish with soft studio lighting against a plain neutral background. Use a simple dial with two hands and no numerals. Add no logo, extra dial, buttons, or decorative parts. Create a product concept visualization.
Describe what you want the image to communicate. “Matte ceramic” gives the surface a direction; “premium” alone leaves much more open. State the viewpoint explicitly when the drawing is flat. A dramatic three-quarter view may introduce a thickness or rear housing you have not designed yet.
This workflow uses NanoAI's general reference-image editing mode. Canvas and dedicated structure-strength controls described in other products should not be assumed to exist in the selected NanoAI model. Adobe's Structure Reference documentation explains one specific implementation of reference-guided outline and depth. Check the controls actually available in your workbench.
After selecting a promising ceramic candidate, request one material change:
Explore a pale wood finish for the same clock concept. Keep the arch outline, dial size and position, base, front view, and crop. Use restrained wood grain. Keep the dial plain and add no new parts.
Compare that candidate with both the sketch and the accepted ceramic version. A material request can also alter shape, so review the body again. If the design drifts, return to the original sketch rather than continuing from a chain of increasingly different images.
For a project that also needs a separate style photograph, the multi-reference prompt guide explains how to assign each input a role. Start with the sketch and written material brief here; add another reference only when it communicates a choice those inputs leave unclear.
Check the mockup before sharing it
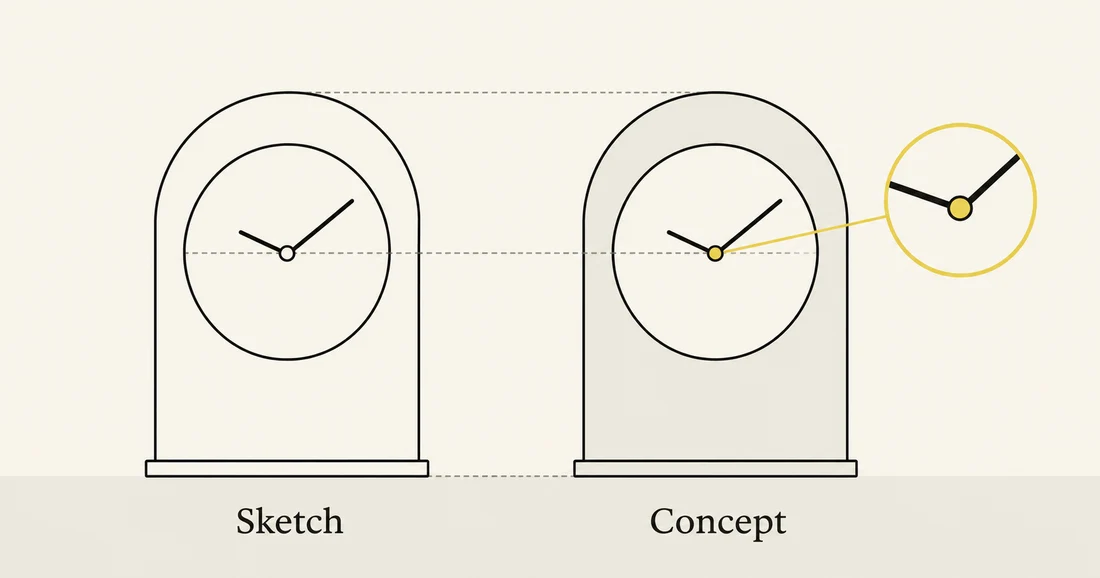
Review structure before judging the polish. Place the drawing and concept at a similar displayed size and look at the outer silhouette first. Does the arch remain tall, or has it become a wide dome? Is the dial still a single circle in the upper half? Does the base still support the body in the way you drew?
Use a short approval sequence:
- Outline: compare the top curve, side edges, and overall proportions.
- Parts: count the dials and supports; look for newly invented controls or decoration.
- Placement: check the dial's position relative to the body and base.
- Material: decide whether the finish communicates the intended direction.
- Handoff: save the selected file with its source sketch, prompt, and unresolved design questions.
A polished image may suggest details you never specified. The model might introduce a seam, a recessed dial, or a glossy rim. Treat each as a proposed design choice. Accept it deliberately, remove it, or mark it for discussion. Do not let presentation quality silently settle the product's construction.
When sharing the clock, label it a concept visualization and name the decision you want reviewed: ceramic versus wood, for example. Keep questions about wall thickness, clock mechanism, assembly, and stability in a separate design brief. The image can help people discuss an idea while those questions remain unresolved.
If you need another view next, prepare a sketch that explains that view or use a suitable design tool to establish the geometry. The product-angle guide addresses checking what a new view reveals. For this invented object, there is no existing product photograph to verify hidden parts, so those surfaces remain design proposals.
Frequently asked questions
Do I need drawing skills to make an AI product mockup?
You need a readable representation of the decisions that matter. Clear outlines and separate parts are more useful than decorative shading. Start with one view and describe anything the sketch leaves ambiguous.
Why does the output look like a pencil drawing?
The model may be carrying over the input's visual style. Specify the intended output, such as a matte ceramic concept visualization, and say that the drawing supplies shape rather than pencil texture. Check the next result instead of assuming the instruction guarantees a change.
Can the mockup provide exact dimensions?
An image can illustrate proportions, but it does not establish accurate dimensions or manufacturable geometry. Use measured drawings or an appropriate design workflow when those details matter.
Should I generate several angles at once?
Start with one view so you can approve the form. Add views once the geometry is clear enough to describe consistently. Unspecified sides can differ between generated images.
Choose one sketch and one finish, then open NanoAI's Image Workbench. Make a first concept, compare its shape with your drawing, and save the accepted image with a clear note about the decision it supports.